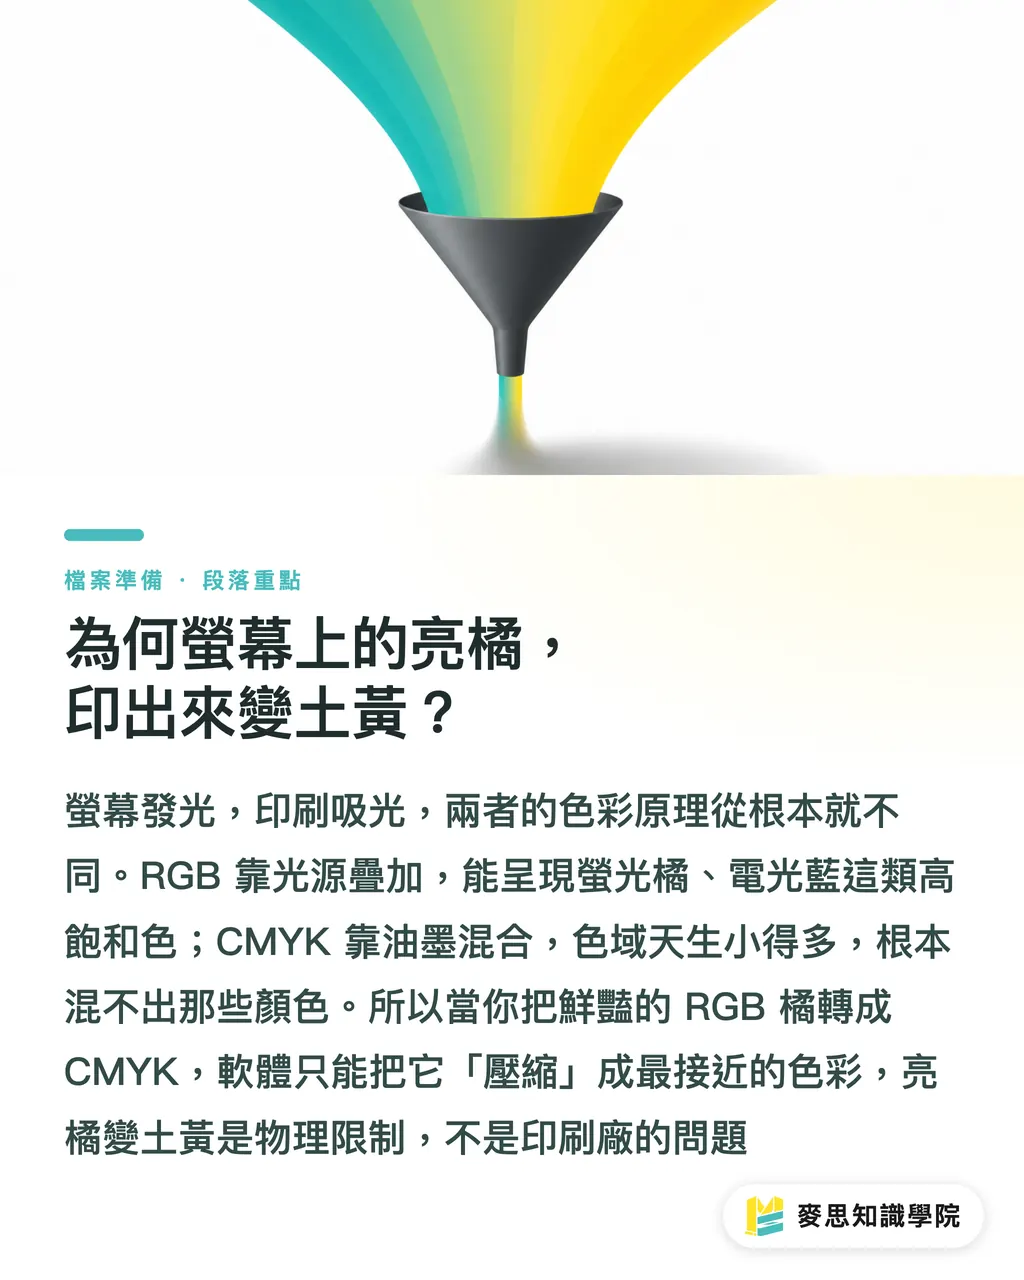
Why does the bright orange on screen turn dull yellow in print?
When designers send files, they often specify, "I need this orange to be very bright," yet it often comes out as a dull, muddy yellow, leading to disputes. This isn't the printer cutting corners; it's an inherent limitation of the two color modes, RGB and CMYK
Simply put, RGB (the primary colors of light) used by screens is an additive color model with a very broad range of colors (Gamut), especially for fluorescent and vibrant hues. Conversely, CMYK (the four process colors of ink) used for printing is a subtractive color model with a significantly smaller gamut. It simply cannot reproduce the electric blues or fluorescent greens seen on screen
When you convert an RGB file to CMYK, the software performs what's called "gamut mapping" or compression, essentially forcing those RGB colors that CMYK can't reproduce into the CMYK gamut. This process inevitably sacrifices some vibrancy; the brightest colors are often converted to the closest, but comparatively duller, alternatives. This is a physical process, not an operational error
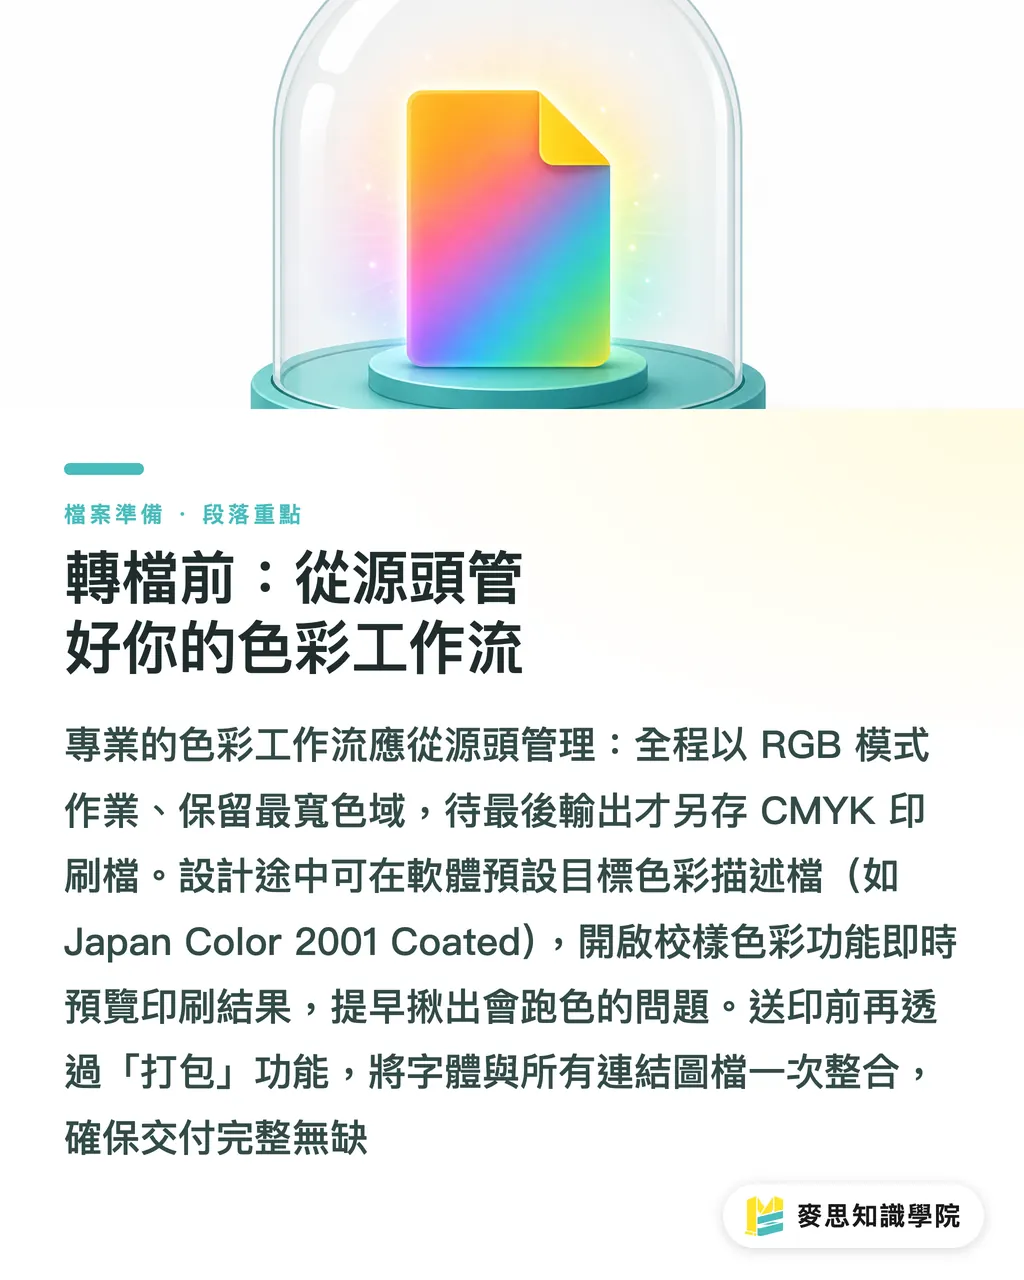
Before Conversion: Manage Your Color Workflow at the Source
Rather than scrambling to fix things later, it's better to establish correct work habits from the start, which saves a massive amount of time on back-and-forth communication and revisions
・Keep your master working files in RGB format
Never start creating directly in CMYK mode. A professional workflow involves designing entirely in RGB mode to retain the widest possible gamut and editing flexibility. This ensures that if the same design is needed for web or social media platforms in the future, the colors won't be distorted. Only save a separate copy converted to CMYK when it's time to export for print
・Properly set your software's Color Profile
In Photoshop or Illustrator, pre-configure your target print color profile, such as the commonly used Japan Color 2001 Coated. This isn't an actual conversion, but it allows you to use the View > Proof Colors function to instantly preview what your design will likely look like in CMYK. It's like working with a "print filter" applied, allowing you to catch color shifts early
・Distinguish between "Linked" and "Embedded" images
If your design project includes multiple raster images (like photos), be sure to clarify whether they are linked or embedded. Linked files keep the main file size smaller and facilitate team collaboration, but they are prone to missing links when sent for printing. While embedding files increases the file size, it ensures all images are included. My recommendation is to use linked files during the design process, and before sending to print, use the software's "Package" function to collect all fonts and linked images into a single folder, this is the most foolproof method
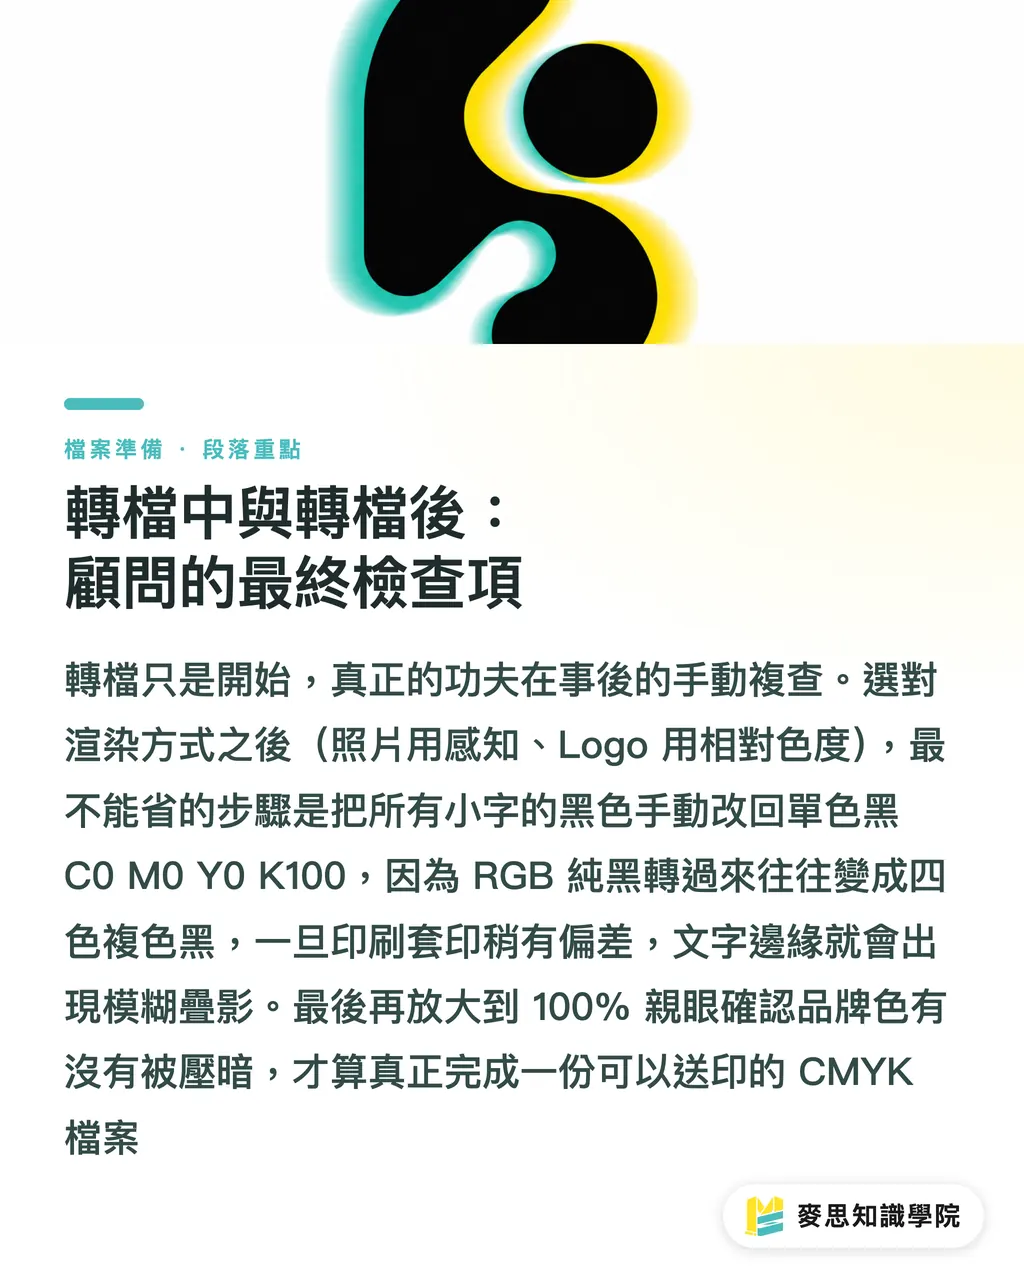
During and After Conversion: A Consultant's Final Checklist
Conversion is just a click of a button, but true professionalism is reflected in the detailed checks performed afterward. Here are a few points I always check without fail
・Select the correct Rendering Intent
When converting, the software will ask for the rendering intent. The most common are "Perceptual" and "Relative Colorimetric."
・Perceptual: Compresses all colors proportionally into the CMYK gamut to maintain the relative relationships between colors. It is suitable for color-rich images like photographs. The overall tone might change slightly, but it looks more natural
・Relative Colorimetric: Only affects colors that fall outside the CMYK gamut, leaving colors within the gamut unchanged. This is suitable for graphics with high accuracy requirements, such as logos and brand typography. However, be careful as multiple vibrant colors might be compressed into the same closest dark color, making gradients look like solid color blocks
In my experience, use "Perceptual" for photos and "Relative Colorimetric" for designs dominated by logos or solid color blocks. Regardless of the choice, manual inspection is mandatory
・Hunt down "Rich Black" text in your file
This is the most overlooked and most fatal error. Black converted from RGB pure black (0, 0, 0) usually becomes "Rich Black," a mixture of C, M, Y, and K. While this black is rich and looks great on large color blocks, using it on small text or fine lines can cause blurry registration or white edges if the printing registration is even slightly off. All body text and small text in print files must be manually checked and set to single-color black: C0 M0 Y0 K100
・Manually verify all vibrant colors and brand colors
After conversion, don't trust what your eyes see in fit-to-screen view. Zoom in to 100% and carefully inspect the most vibrant, saturated areas of your original design, especially brand colors. See if they have turned into dull or muddy colors you can't accept. If the color shift is severe, you may need to manually adjust the CMYK values or choose an alternative color that performs equally well within the CMYK gamut during the early stages of design
Key Takeaways
・The RGB color gamut on screens is much larger than CMYK for printing; color darkening is a physical limitation, not a printing error
・Keep editable RGB working files and only save a converted copy when exporting the final print-ready file
・All body text must be single-color black (K100) to avoid registration issues causing blurry edges
・After conversion, always zoom in and manually verify vibrant colors and brand colors; do not rely solely on automatic software conversion
・Use the software's "Package" function to deliver files, which effectively prevents missing fonts or dropped images
Further Reflection
For designers, creating a personal "pre-press checklist" is a necessary step toward professionalism. It is not just a technical operation; it is taking responsibility for your work. For printers, proactively providing this kind of knowledge to clients can reduce the rate of erroneous files at the source, make production scheduling smoother, and avoid unnecessary communication costs and wasted production capacity
For software and AI application developers, there is a huge opportunity here. The market needs a "Linter for print files" that can automatically scan AI and PDF files and, with a single click, identify rich black text, low-resolution images, elements exceeding safe margins, and areas with the most severe color shifts after gamut compression. This could translate the implicit knowledge of veteran print masters into tools accessible to designers, which is exactly where a platform pursuing one-stop integrated services, like MINDS, can truly create value
FAQ
- Can I start designing in CMYK mode right from the beginning?
- Yes, but it will reduce the flexibility of your design. If there's any possibility your work might be used on a screen (e.g., website, social media) in the future, starting in RGB mode and then exporting separate files for different purposes is a more professional and scalable workflow
- What is the "Gamut Warning" in Photoshop?
- This is a very useful preview feature. When enabled, all colors in your image that fall outside the target CMYK gamut are marked in gray, letting you immediately know which RGB colors will distort during printing so you can make adjustments early
- Do I always have to convert files to CMYK myself before sending them for printing?
- I highly recommend doing so. Although some printers offer conversion services, having the designer perform the conversion and final check is the only way to ensure the color results are as close to your expectations as possible. Giving away the power to interpret color to someone else increases the risk of communication misunderstandings
References
- ICC Profile Format Specification(ICC.1) · International Color Consortium (ICC)定義 ICC 色彩描述檔的資料結構,跨裝置色彩轉換的基礎規範
- Fogra 特性化資料(FOGRA39 / FOGRA51) · Fogra Research Institute for Media Technologies塗佈紙印刷的標準特性化資料,數位打樣與 ICC 描述檔的對色基準
Related articles

The Print × AI weekly
The print and AI know-how designers, brands and enterprises can use before they commit — one email, every week
MINDS Free Tools
Imposition calculator and preflight file check — free prepress tools, right in your browser.
MINDS Group
Need actual printing or gifting services?
From premium printing to online ordering and festive gifts — the MINDS Group sister brands take it from here.