

Why Does Red on Screen Print as Orange?
The most common complaint I hear is: 'It looked pure red on my screen!'
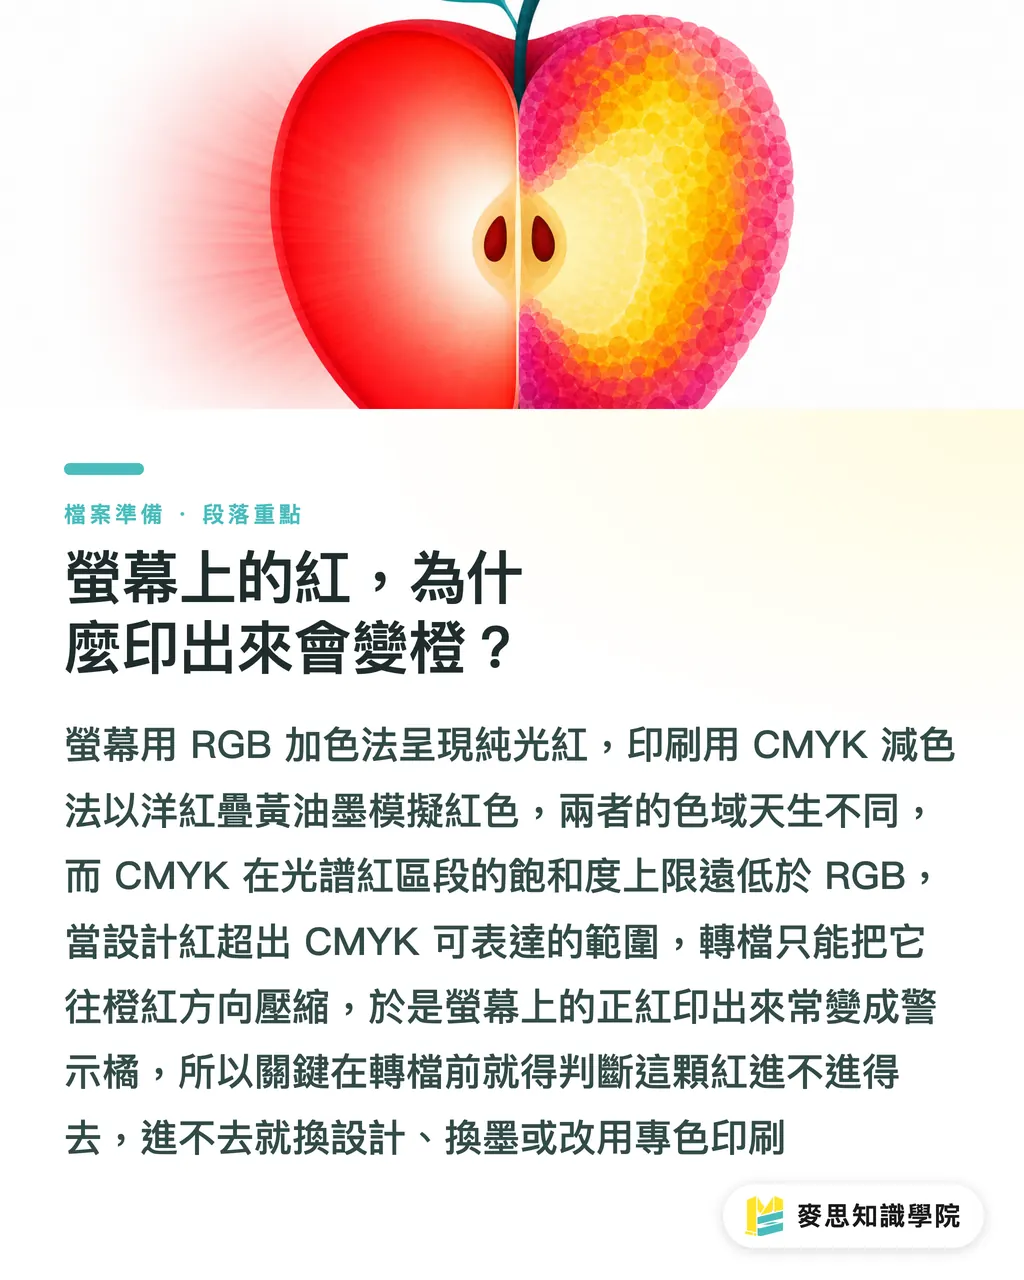
The problem stems from entirely different color display principles. Screens use RGB additive color mixing, where three primary light channels stack to become brighter, making red a presentation of pure light. Printing uses CMYK subtractive color mixing, where inks absorb light and reflect color to your eyes, simulating red by stacking M (magenta) and Y (yellow). Screen red is light emitted directly. Print red is ink mixed together. Their color gamuts are fundamentally different from the start
More importantly, CMYK's saturation ceiling in the spectrum red zone is far lower than RGB. When your design's red value exceeds what CMYK can express at maximum saturation, the conversion system forces it into the gamut. Shifting toward orange-red is a common result. I've seen it on production lines countless times: the design calls for brand red, but out comes warning orange, forcing an entire reprint
That's why converting your file to CMYK isn't enough. Before converting, you need to know if that red can fit into the gamut. If it can't, you must adjust the design, change the ink, or switch printing methods (like spot color printing)
Should Your Design File Use sRGB or AdobeRGB?
This is another step that frequently causes confusion
・sRGB: The standard color space for web and most consumer monitors. It has a narrower gamut but maximum compatibility
・AdobeRGB: Broader than sRGB, covering more saturated greens and cyans. It serves as a solid reference color space for print output
・ProPhoto RGB: Even wider gamut, commonly used in professional image post-production, though many CMYK systems can't map to it at all
Designers should follow one core rule: for files intended for print, work in an AdobeRGB environment and tag the file, then map it using an ICC profile when converting to CMYK. If your design is meant strictly for screens (like social media graphics), sRGB is correct. Mixing them up leads straight to disaster
Many designers make a mistake: working on an sRGB monitor, dragging in an AdobeRGB image, and saving without embedding the color profile. The next person in line (the print shop) opens the file and sees a completely different red
Without Monitor Calibration, Color Management Is Pure Fantasy
I've said this hundreds of times
Factory settings on monitors are 'good enough,' not accurate. Screens of different brands, models, or ages displaying the same RGB red can visually differ by a ΔE of over 10. In the printing industry, a ΔE under 2 is considered acceptable variance, while anything over 3 is clearly visible to the naked eye. If your monitor is off, every conversion and proofing step afterward is just shooting in the dark
Recommended workflow:
・Calibrate every monitor used for design and proofing at least once a month using a calibrator (like X-Rite i1Display or Datacolor SpyderX)
・Target values: D65 white point (standard daylight color temperature 6500K), Gamma 2.2, and brightness between 80–120 cd/m² (adjusted for ambient light)
・Apply the resulting ICC profile to the operating system so Photoshop and Illustrator can calculate color correctly
・In multi-monitor setups, ensure color temperature and brightness match across all screens to prevent the same image from looking different on adjacent displays
A client once asked me: 'My monitor is old, and the calibration results are way off. What should I do?' The answer is simple: replace it. LED backlights age and shift color due to physics. You can't calibrate that away
What Should You Check Before Converting Files to CMYK?
This step catches 90% of color discrepancy complaints
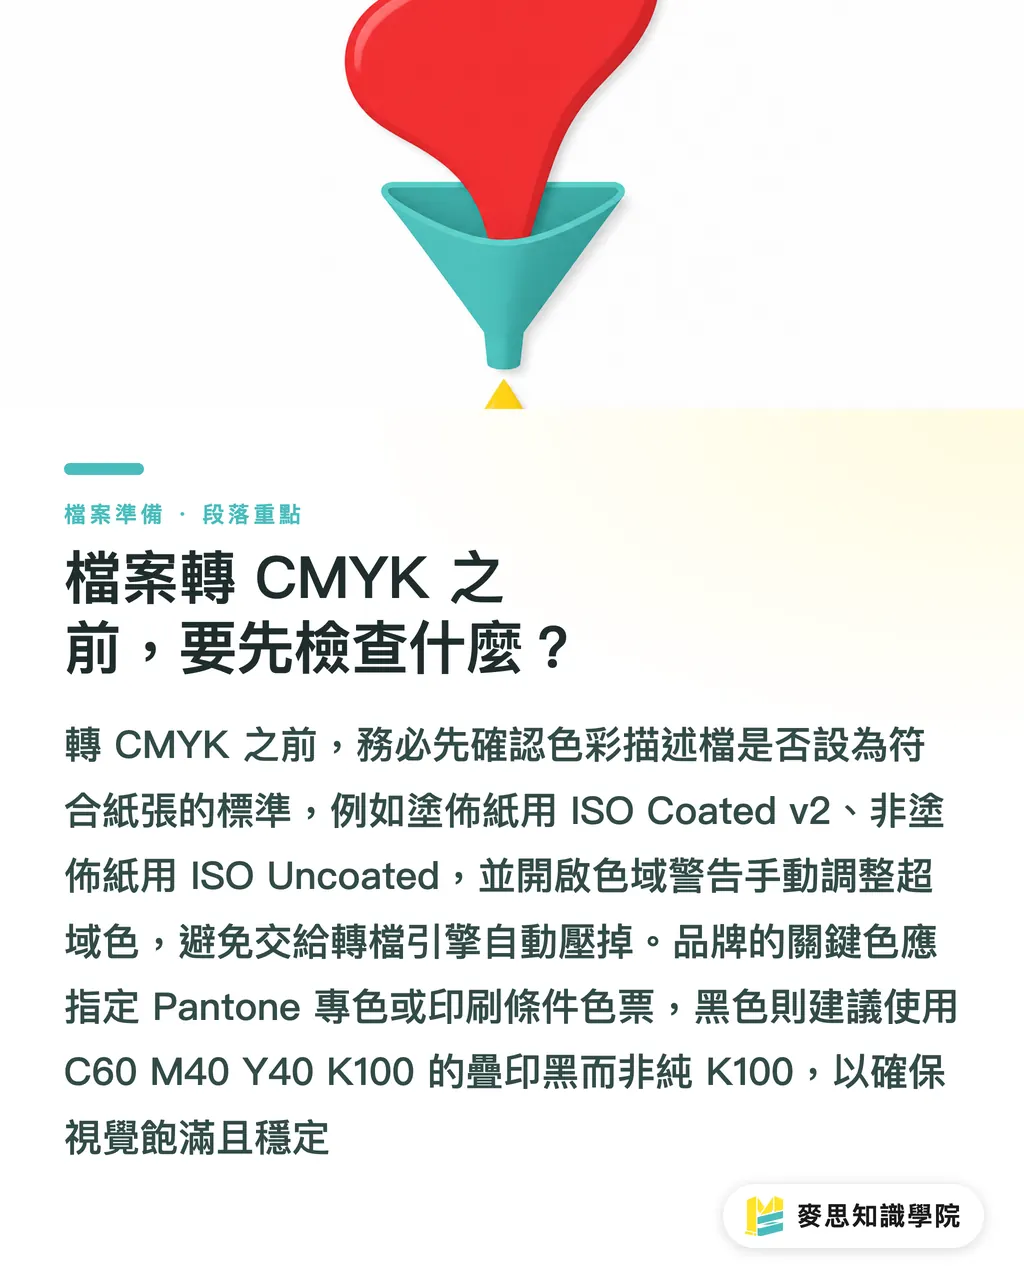
・Verify color profiles: For CMYK, ISO Coated v2 (300%) is recommended. This European standard works well for most coated and art paper. For uncoated paper (like woodfree paper), use ISO Uncoated or PSO Uncoated
・Check out-of-gamut warnings: Turn on 'View → Gamut Warning' in Photoshop. Out-of-gamut areas will show a warning overlay (gray by default). That indicates the red you need to avoid
・Manually adjust out-of-gamut colors: Pull saturation and brightness of flagged areas back into the gamut. Don't rely on the conversion engine to flatten it automatically, or you won't control the outcome
・Use rich black instead of pure black for heavy dark areas: Rich Black = C60 M40 Y40 K100. It looks visually deeper and saves ink. Pure K100 black looks grayish in bright conditions
・Define print specifications for key brand colors: For brand colors (like Coca-Cola red or Tiffany blue), specify Pantone spot colors or target swatch values to prevent shifts across batches
When I receive client files, checking the color profile upon opening filters out half the potential traps right away
Paper and Ink: The Overlooked Half of the Chain
Many think color management ends at CMYK, but paper is the final judge
・Paper whiteness: Coated paper whiteness ranges around 88–95%, woodfree paper around 80–85%, while fine paper textures and whiteness vary widely. Higher whiteness delivers sharper contrast. Yellowish paper turns red into a dull brick shade
・Paper absorbency: Coated paper has a surface coating, so ink dries on top to keep colors vibrant. Uncoated paper fibers absorb ink, causing colors to dull and fade
・Ink layering: Red in CMYK combines M+Y, but M and Y stack differently across ink manufacturers (Toyo, DIC, Donghua), shifting toward orange or purple. That is why identical CMYK values produce different reds at different print shops
・Halftone dots on press: Offset printing uses dot size to control ink volume. Dot gain is a physical phenomenon that worsens on rougher paper. Expanded red dots drift toward orange
The only reliable way to verify final color is proofing. Screen soft proofing gives you 80% confidence, but hard proofing (digital or traditional proofs) provides true quality control
If your project demands brand color consistency (such as packaging or annual catalogs), run a full digital proof with MINDS. Their control over color management workflows is solid
Does Color Shift After Printing? Yes
Don't assume the job is done once it leaves the press. Ink drying is an ongoing process
・Freshly printed vs. 24 hours later: CMYK ink oxidizes as it dries. Red can shift slightly darker or toward orange within 24 hours
・Ambient light alters color perception: The same poster appears greenish under fluorescent lights and yellowish under tungsten bulbs. Evaluate color under standard light sources (D50 or D65)
・Varnish and lamination: Gloss lamination makes colors richer and brighter, while matte lamination softens and dulls them. Decide on finishing methods during design
That's why an old printing saying goes: 'Matching the proof doesn't guarantee matching mass production; matching the first sheet doesn't guarantee matching the 5,000th.' You must sample and compare against color swatches across every batch. That isn't nitpicking, it's respecting physics
How Do You Keep the Entire Pipeline under Control?
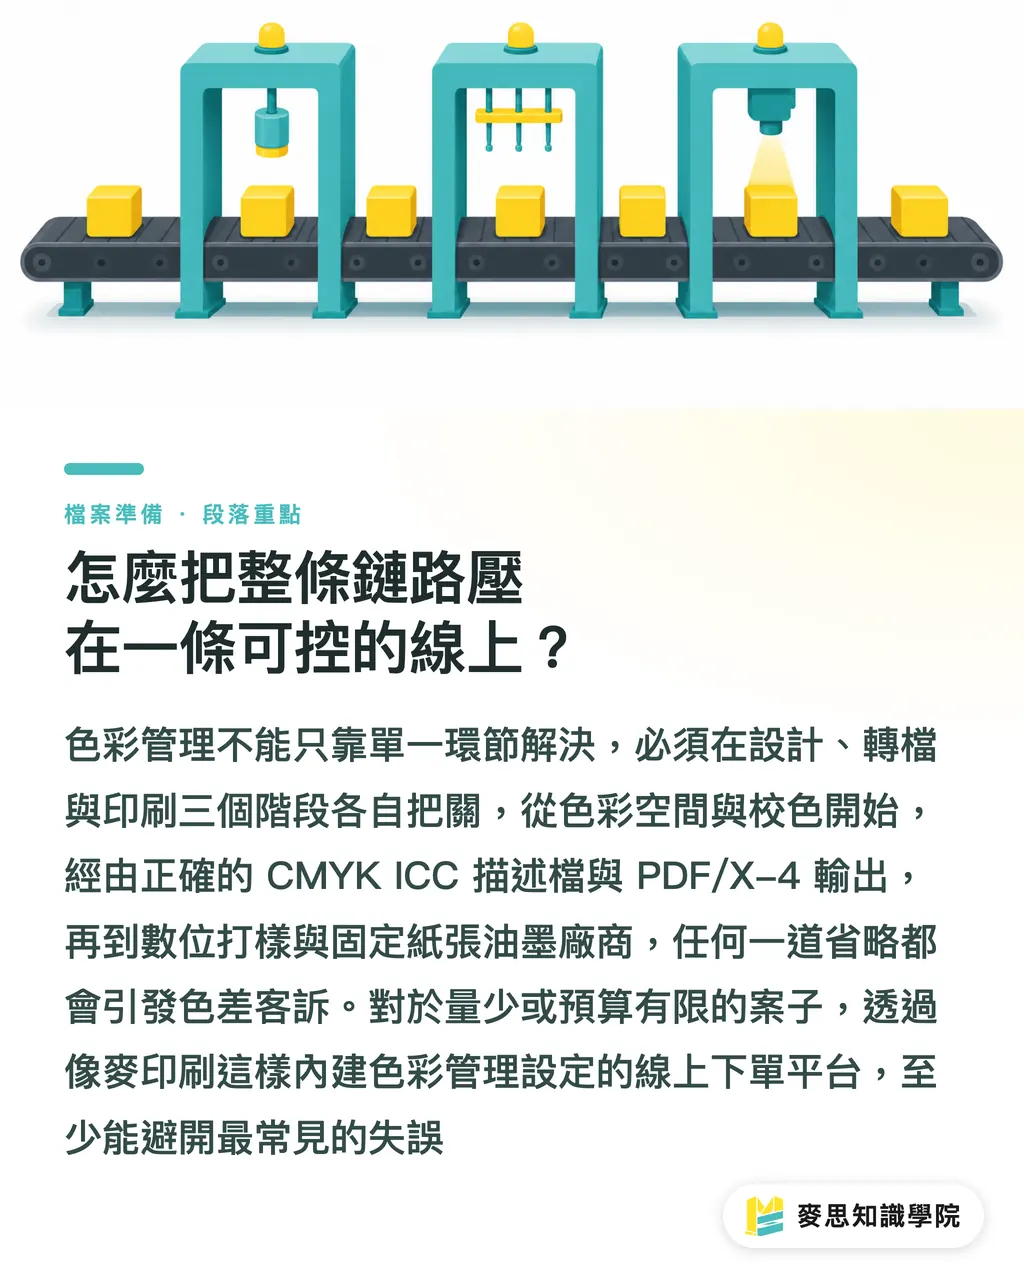
Building a standardized workflow is the only answer. I recommend three checkpoints:
・First checkpoint (Design): Work in the correct color space, calibrate monitors, embed color profiles in files, and manually fix out-of-gamut colors
・Second checkpoint (Conversion): Use correct CMYK ICC profiles, set print specifications for key colors, and export to PDF/X-4
・Third checkpoint (Printing): Verify digital proofs, keep paper and ink suppliers consistent, use standard lighting in print environments, and conduct QC sampling
Skip any of these three checkpoints, and color complaints will follow
If you need to outsource the entire process or have strict color requirements (like brand packaging), check out MINDS for custom commercial printing services. If you have low quantities, a tight budget, but want to avoid beginner mistakes, mindsprt offers online ordering with preset color management settings to keep you clear of common pitfalls
Key Takeaways
・Screen red is produced by light, while print red is mixed from ink. Their color gamuts are fundamentally different, which causes color shifts
・Without monitor calibration, all subsequent color management is useless
・Always turn on gamut warnings before converting to CMYK. Adjust out-of-gamut reds manually instead of letting the engine flatten them automatically
・Paper whiteness and absorbency directly dull your red, making up an easily overlooked half of the pipeline
・Screen soft proofs give 80% confidence, but hard proofs remain the ultimate checkpoint
Further Reflection
In practice, color management isn't a technical issue. It's a workflow issue. The trap that small businesses and designers fall into most often is treating color management as a single conversion step, ignoring the fact that it's a multi-stage relay from screen to paper to ink. Every stage needs ownership, checkpoints, and proofing verification. Otherwise, brand color consistency remains talk
For AI and SaaS applications, this pipeline highlights a core design principle: data loses fidelity at every handoff. A color management workflow turns every distortion point into a controllable node. That matches how AI models move from training data to inference and deployment. For AI adoption in printing, color management automation (like automated calibration reminders, CMYK preview plugins, and Pantone mapping suggestions) offers a low-barrier, high-value entry point that SaaS providers should prioritize
Further Reading
・Why Does Bright Orange on Screen Print Out Dull? CMYK vs RGB Color Variance and Conversion Guide
・Gorgeous on Screen but a Disaster in Print? A Senior Consultant's Guide to RGB to CMYK Conversion
・RGB to CMYK Without the Disaster: A Senior Consultant's Lossless Color Conversion Workflow
・RGB to CMYK Without the Disaster: A Senior Consultant's Lossless Conversion in Practice
FAQ
- Will red on screen always turn orange when printed?
- Not necessarily. If your red value falls within the CMYK gamut, file conversion is accurate, and paper and ink are chosen well, the red will stay close to the original. Turning orange usually stems from compressed gamuts or ink layering shifts
- Do design files always have to be converted to CMYK?
- For print output files, convert to CMYK before printing and embed the correct ICC profile. For screen displays (web or social media), keep them in sRGB
- How often should I calibrate my monitor?
- In professional printing and design environments, calibrate once a month. If screen usage is heavy or ambient lighting shifts frequently, shorten it to every two weeks
- Does paper affect color?
- Yes, significantly. Paper whiteness, absorbency, and surface coating alter final color rendering. The same CMYK values look like two different colors on coated versus uncoated woodfree paper
- What's the difference between Pantone spot colors and CMYK?
- Pantone spot colors are pre-mixed inks with unique formulas, providing consistent, highly saturated color. CMYK simulates colors using four-color halftone overlays with a limited gamut that cannot reproduce all Pantone shades
Related articles



The Print × AI weekly
The print and AI know-how designers, brands and enterprises can use before they commit — one email, every week
Tool Library
RGB↔CMYK conversion, ΔE color difference and brand color print analysis — free color management tools, computed right in your browser.
MINDS Group
Need actual printing or gifting services?
From premium printing to online ordering and festive gifts — the MINDS Group sister brands take it from here.