

Why Do Screens Get Brighter as Colors Stack, While Print Gets Darker?
Let's start with the most basic fact: RGB and CMYK build color in opposite directions
RGB is light. You stack red, green, and blue light together, and it gets brighter with each layer. Turn all three all the way up, and you get pure white
CMYK is ink. You layer cyan, magenta, and yellow ink, and it gets darker with each pass. In theory, stacking them completely gives you near-black
That is the core difference. White on a screen is emitted light. White in print is unprinted paper showing through where no ink lands
This is not just academic theory. It directly decides whether what your eyes see on screen can physically be printed
Screens are backlit, meaning every pixel has its own light source, so brightness and saturation can push very high
Print works the opposite way. Ink absorbs light and subtracts color. What you see is only the light reflected back off the paper, which means printed colors physically have a lower ceiling than a glowing screen
I often use this analogy with clients: a screen is like a stage spotlight that shines on its own, while print is like watercolor, where the color relies entirely on the white paper underneath

Why Do Bright Greens, Electric Blues, and Hot Pinks Always Look Dull in Print?
The key comes down to color gamut, which is the range of colors a system can reproduce
The RGB color space is larger than CMYK. Much larger
Those punchy neon greens, electric blues, and saturated hot pinks on your monitor fall squarely in the zone RGB can display, but CMYK cannot print
When your file is converted from RGB to CMYK, the software forces these unprintable colors back into the printable CMYK range. During that conversion, colors get muted and muddy
This is the real reason prints look less vibrant. The print shop did not cut corners. You simply hit a physical color gamut ceiling
Here are a few colors that run into trouble most often:
・Neon green and grass green: The easiest to disappoint. Bright on screen, dull on paper
・Electric blue and sky blue: Often shifts toward purple or turns muddy
・Hot pink and magenta gradients: The bright highlights blow out and subtle tonal steps flatten
If your brand colors happen to be these high-chroma shades, be prepared from step one of your design process. Align on color with your printer early rather than being surprised when the job comes off the press

Should You Design in RGB or CMYK?
Here is the straight answer: if it is going to print, set your design file to CMYK from day one, and do not wait to convert it right before exporting
Here is why
If you color-grade your entire file in RGB, everything looks great on screen. But the moment you convert to CMYK before prepress, colors immediately shift, and the vibrancy you worked hard to dial in drops right away
Worse, you cannot see this shift at all until after the conversion, which means you are essentially gambling
The right approach is to move color management upstream:
・Set the document color mode to CMYK when creating the file, instead of converting after you finish
・Assign an industry-standard print profile, such as Japan Color for Taiwanese and Japanese print workflows, or ISO Coated profiles for coated stock
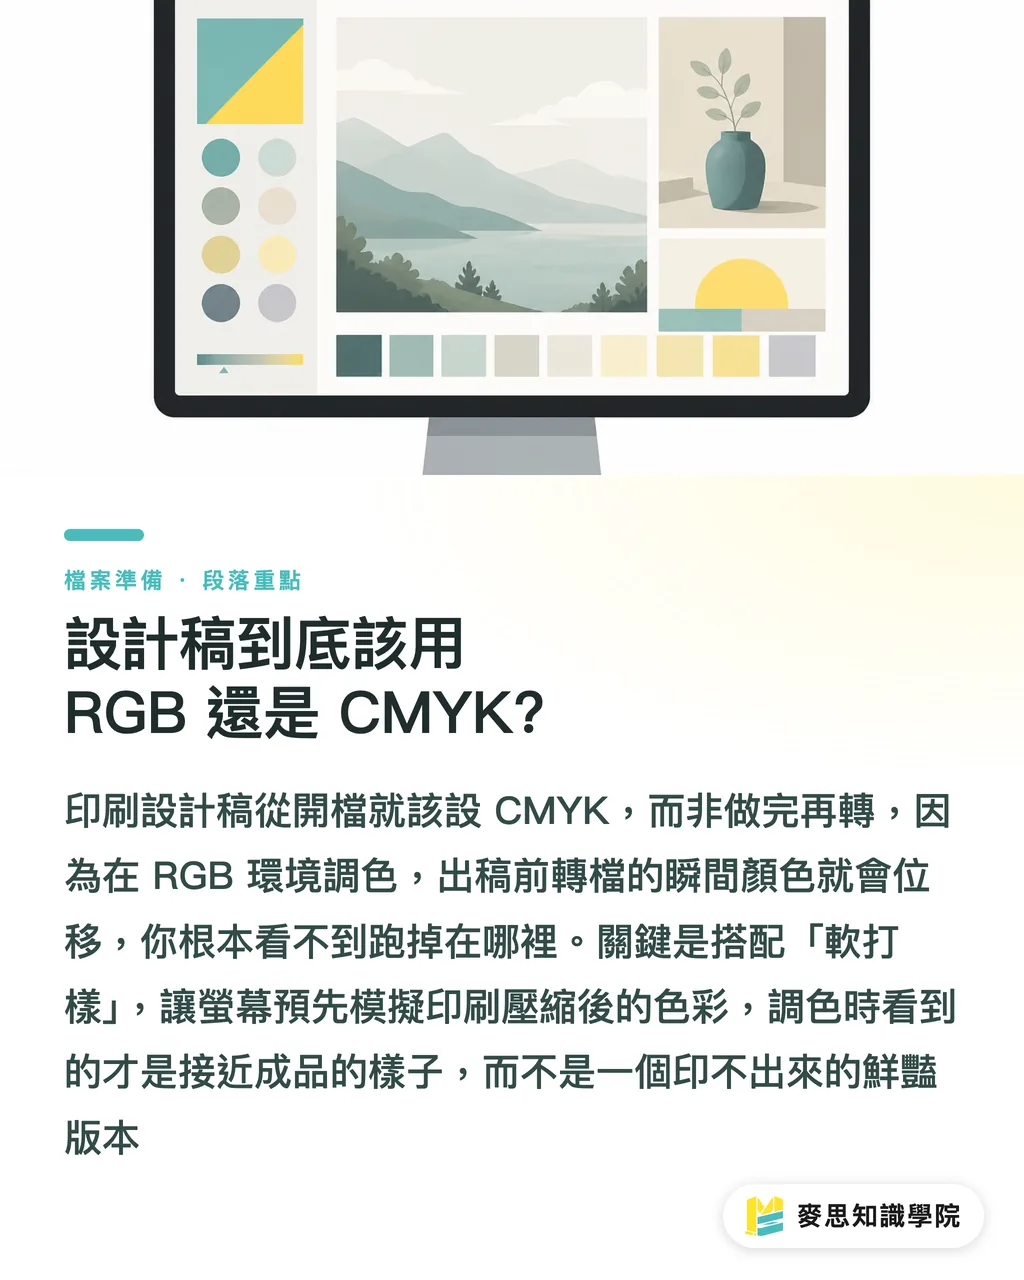
・Use soft proofing to simulate printed output on your display, effectively dialing your screen down in advance to show you how it will actually look on paper
Soft proofing matters because it lets you preview compressed CMYK colors on screen before sending files to press, instead of guessing
This way, what you see while adjusting color is close to the final print, rather than admiring a hyper-vibrant version you cannot actually print
From years of working with clients, designers who set up CMYK and run soft proofs early face far fewer revisions and reprints down the line. On the flip side, projects exported in RGB with demands to match the screen exactly almost always get stuck in color approval
Why Do Large Black Backgrounds Look Washed Out? Should You Use Rich Black or 100K Black?
This is another trap that happens every day, yet many people still miss it
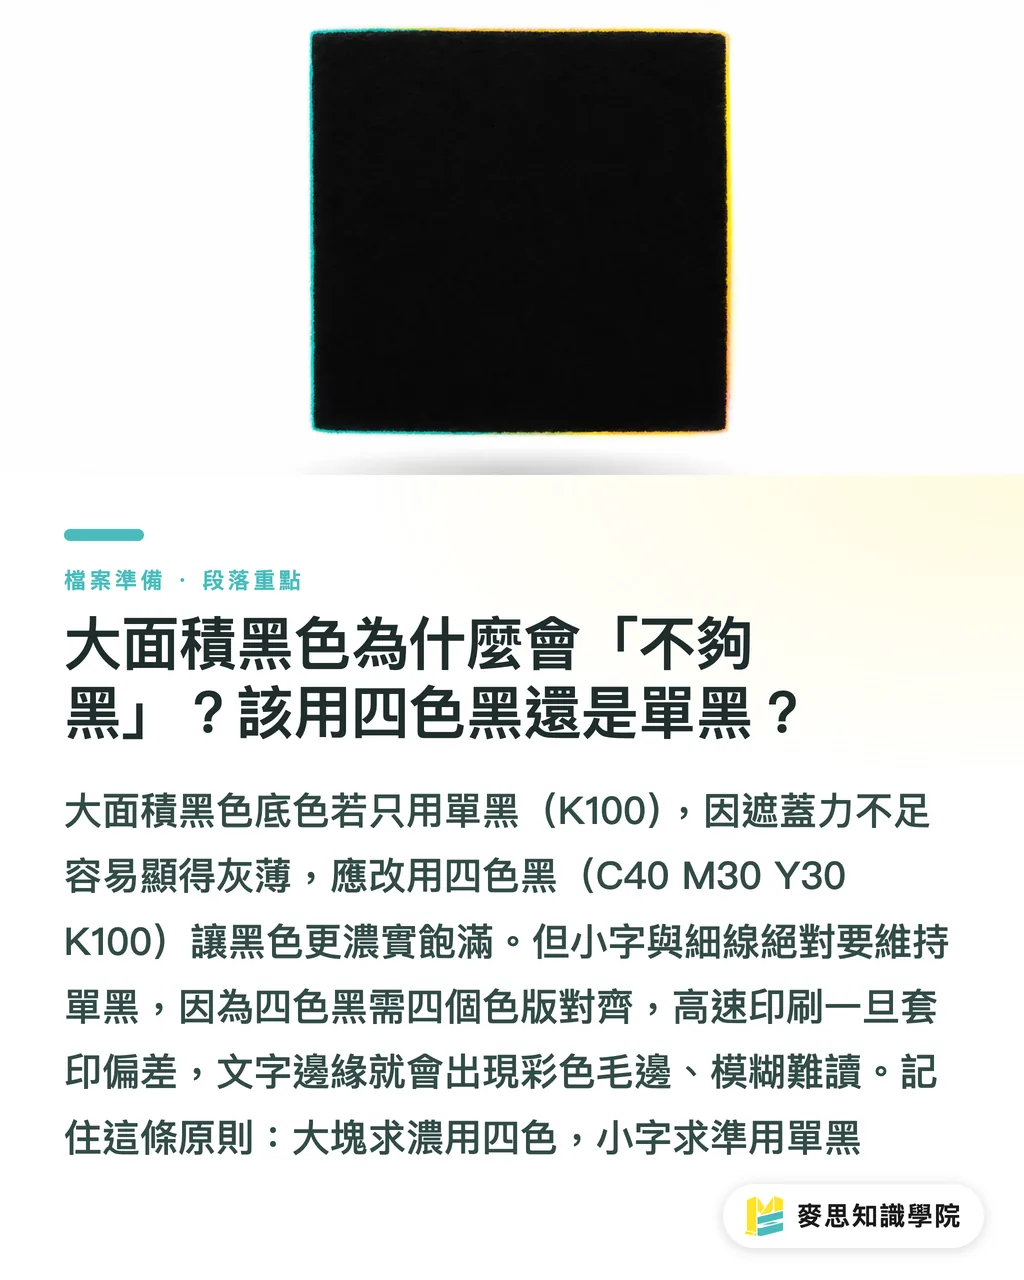
If you use pure black (100% K with 0% CMY) for large background areas, the printed result often looks weak, lacks depth, or even appears slightly grayish
A single layer of black ink has limited opacity, so covering large areas makes it look thin
The fix is using rich black, which layers extra CMY inks under K100 to make the black look dense, solid, and deep
A common safe formula is C40 M30 Y30 K100, which yields a large black solid that is noticeably deeper and richer than 100% K alone
However, there is an essential flip side you must remember:
・Large color blocks and backgrounds: Use rich black (such as C40 M30 Y30 K100) for a dense, powerful finish
・Small text, fine lines, and body copy: Stick to 100% K black, and never use rich black
Why use single black for small text? Rich black requires all four plates to register perfectly. If there is even the slightest misregistration on press (which is completely normal in high-speed printing), color halos and fuzzy fringes will blur the tiny letters into a messy smudge
Single black uses only one plate, so there are no registration issues, keeping small text edges sharp and crisp
To keep it simple: use rich black for deep coverage on big blocks, and single black for sharp precision on small text and lines. This rule alone will save you from endless client complaints about fuzzy body copy
Key Takeaways
・RGB is light and builds toward white as colors stack. CMYK is ink and darkens as colors layer, relying on unprinted paper for white. They build color in opposite directions
・Prints look darker than screens because the RGB color space is larger than CMYK. High-chroma neon greens, electric blues, and hot pinks fall outside CMYK capabilities and get compressed into muddier tones
・Set print files to CMYK right from the start instead of converting at export, which causes instant, hidden color shifts
・Use print profile standards like Japan Color or ISO Coated for soft proofing, letting your monitor scale down to preview realistic press output
・Use rich black (C40 M30 Y30 K100) for richer coverage across large backgrounds, and keep small text and fine lines at 100% K to prevent plate misregistration halos
Further Thoughts
With AI image generation tools booming, a new color matching challenge has surfaced over the past few months: many clients send AI-generated images directly to print. These images are almost always in RGB and often use hypersaturated colors that CMYK cannot physically reproduce
As a result, the gap between looking good on screen and being print-ready will only grow wider, not narrower
Here is a practical next step for designers and marketers: treat color management as the first step in file prep, not a last-minute patch. Set files to CMYK from the start, assign the proper ICC profile, and run soft proofs. Nailing these three steps will eliminate eighty percent of color disputes
For teams building design tools or SaaS products, there is a clear opportunity here: embedding CMYK preflight checks, soft proofing previews, and out-of-gamut warnings directly into export workflows delivers far more value than fixing broken files after the fact
To consistently reproduce intended colors on press, upfront alignment and a standardized soft proofing workflow are both essential. That is why at MINDS (specializing in mid-to-high-end fully customized commercial printing), we position file preflight and color verification as the bridge between design and press, saving clients from costly trial and error
FAQ
- Should print designs be set up in RGB or CMYK?
- Always use CMYK for files intended for print, and configure it right when you create the document rather than converting afterward. Converting from RGB to CMYK causes an immediate color shift and dims your hues, so setting it up early lets you adjust colors against something close to the finished print
- Why does my artwork look vibrant on screen but dull and muddy in print?
- Because the RGB color gamut is larger than CMYK. High-chroma colors on screen, like neon green, electric blue, and hot pink, fall outside what CMYK can reproduce. During conversion, they get forced into printable limits, making the colors look muted. This is a physical gamut limit, not a print quality defect
- What is soft proofing and why is it useful?
- Soft proofing applies an industry-standard print profile (like Japan Color or ISO Coated) on your monitor to simulate actual CMYK printed colors. It lets you preview the scaled-down result before sending files to press, keeping you from grading colors against an unprintable, hyper-saturated preview
- What should I do if large black areas do not look dark enough in print?
- Replace pure 100K black with rich black by adding CMY inks beneath K100. A reliable formula is C40 M30 Y30 K100, which produces a noticeably denser and deeper black. Keep this strictly for large background blocks and avoid using it on small text
- Why shouldn't small text use rich black?
- Rich black requires four separate printing plates to align with absolute precision. If there is even a tiny registration shift on press, small text will show color fringing and blurry halos. Always use 100% K single black for small text and thin lines so only one plate is used, keeping edges crisp and clean
References
- ICC Profile Format Specification (ICC.1) · International Color Consortium (ICC)Defines the data structure of ICC color profiles — the foundational standard for cross-device color conversion
- ISO 12647-2 — dot and color control standard for offset printing · International Organization for Standardization (ISO)Defines target chromaticity, dot gain, and gray balance for CMYK printing — the international reference printers use for color matching
Related articles





The Print × AI weekly
The print and AI know-how designers, brands and enterprises can use before they commit — one email, every week
MINDS Free Tools
Imposition calculator and preflight file check — free prepress tools, right in your browser.
MINDS Group
Need actual printing or gifting services?
From premium printing to online ordering and festive gifts — the MINDS Group sister brands take it from here.