
What Is Sensory Printing?
Sensory printing pairs ink and paper surfaces with specialty finishes to give printed pieces both visual and tactile cues. MINDS (a mid- to high-end commercial printer specializing in custom work) can help assess finishing techniques and proofing options based on how the finished piece will be used
Sensory printing uses color printing with paper treatments or post-press finishes. Differences in gloss, texture, and smoothness help people recognize information hierarchy and brand personality
On product packaging, the main artwork gets noticed first. Spot gloss, an embossed or debossed logo, or a soft-touch surface gives fingertips another detail to remember. I start by asking whether people will pick up the product, open it, or mostly see it from a distance on a shelf. That way, the finish won't compete with the product message
Which Finishes Add Texture?
Sensory printing commonly uses four finishes. Each changes how light reflects, adds a metallic sheen, creates raised or recessed areas, or changes the overall feel of the surface. Decide where you want the eye to land first, then choose the effect
・Spot UV: A clear gloss varnish is applied only to selected text or artwork, making it stand out against a matte paper surface. It works well for logos or small design details, though it may not create a noticeable raised feel
・Foil stamping: Heat and pressure transfer metallic or colored foil onto the paper. It works well for a small title or logo. The main effect is reflective shine, with usually little texture
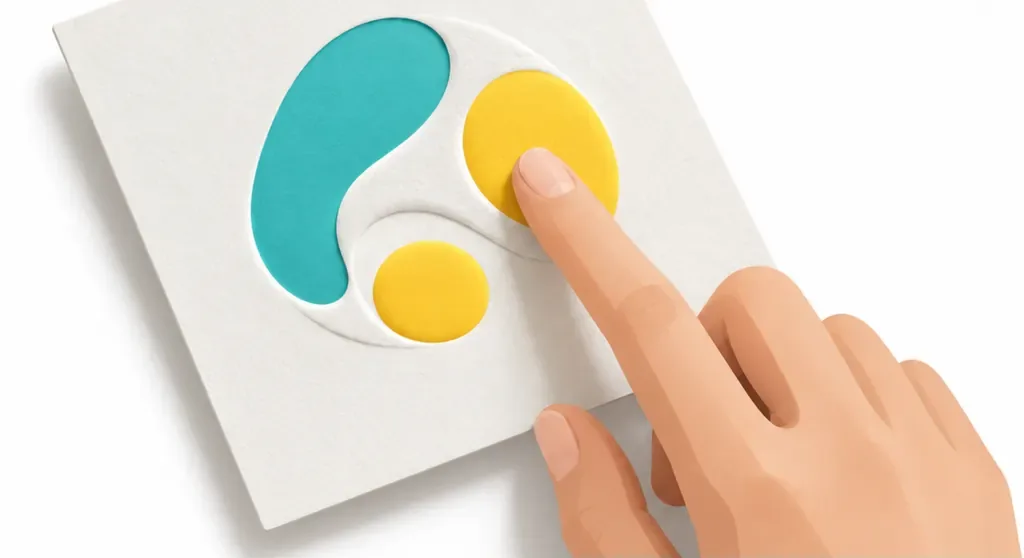
・Embossing and debossing: A die raises or presses down selected areas of the paper, creating a height difference you can feel. Very fine, tightly spaced lines can blur together
・Soft-touch lamination: A soft, smooth film is applied across the paper surface. It works well over a large area, but it covers up the paper's original fiber texture
Sensory printing can combine finishes, but each added process means another paper compatibility and registration detail to check
How Should You Prepare Artwork for Sensory Printing?
Your files need to show exactly where each finish goes. Supply the printed artwork and finishing masks separately so prepress staff can tell what needs gloss, foil, embossing, or lamination
・Choose one main tactile detail, such as the product name or brand logo. Keep other details for reading, so the whole surface doesn't compete with itself in gloss or texture
・Save the finishing mask as a separate layer and label it Spot UV, Foil, or Emboss. Include a composite preview. Color plate names and overprint settings vary by printer, so ask for a file template first
・Check that the paper and finish are compatible. Coated, uncoated, and laminated stock all produce different results, so don't rely on an on-screen preview alone
・Review the proof under lighting similar to the final use. Feel the edges of the logo, check whether fine lines have broken up, and make sure folds won't affect the finished areas
Feel the proof before you approve it
Which Products Work Well with Sensory Printing?
Sensory printing works best on pieces people pick up, open, or unwrap, where they can actually feel the finish. Business cards, catalog covers, gift boxes, and invitation cards can all use finishes suited to their purpose
On a product box, foil or debossing can highlight the brand logo, giving people something to touch as they open it. A catalog cover might use Spot UV to trace part of an image while keeping the inside pages clear and easy to read. If the product will mostly be displayed behind glass, prioritize gloss and color that still read well from a distance
For custom sensory packaging or catalogs, gather your budget, paper preferences, and desired feel before asking MINDS about finishing techniques and proofing options. Starting with one main effect usually makes it easier to judge the result than filling the whole layout with multiple finishes
How Can You Avoid Mistakes on Your First Sensory Printing Project?
For your first sensory printing project, start by confirming how people will handle the finished piece and where the finish will go. Then ask the printer for a physical proof and an itemized quote
・Describe how the piece will be used, including whether it will be folded, how often it will be handled, and which side people will see first
・Ask for separate quote items for paper, finishing, dies, and proofing. Confirm how each production step affects the schedule
・Check that the finished areas won't overlap small text, fold lines, or glue areas. For foil and lamination, check that the edges are clean and complete
・Keep an approved proof as the reference for production, so the on-screen preview and the actual surface don't tell different stories
I'd put the budget toward the one spot most worth seeing or touching. Doing less makes it easier to get that spot right
Key Takeaways
・First decide which part you want people to see or feel
・Spot UV, foil stamping, embossing, and soft-touch lamination each change a different aspect of the surface
・Supply finishing masks on separate layers, and ask the printer for a file template first
・A physical proof lets you check how the paper, lighting, texture, and folds work in practice
Further Thoughts
When bringing AI into sensory print design, generated images can help explore gloss, texture, and color directions. A designer should still prepare the actual finishing masks to the printer's specifications, then confirm them with a proof. A SaaS ordering or prepress system can also keep a consistent record of paper, finish locations, file versions, and approved proofs, so sales, design, and production all work from the same specifications. As a next step, try a spot proof on an existing package, find out which feel matters most to the client, and then decide whether to extend it across the product line
Further Reading
・MINDS official website
FAQ
- Do you need special paper for sensory printing?
- No. Common paper stocks can also be paired with Spot UV, foil stamping, or lamination. Ask the printer to confirm that the paper and finish are compatible
- Does Spot UV feel raised?
- Spot UV mainly adds gloss to selected areas, with little noticeable difference in height. If you want a texture people can feel, consider embossing or debossing
- How do you choose between foil stamping and Spot UV?
- Foil stamping creates shine with metallic or colored foil, while Spot UV uses clear varnish for a glossy finish. For sensory printing, decide based on the artwork and paper, then confirm with a proof
- How should I supply files for finishing?
- Put the finishing areas on a separate mask layer, label it Spot UV, Foil, or Emboss, and include a composite preview. Follow the printer's template for the production settings
Related articles




The Print × AI weekly
The print and AI know-how designers, brands and enterprises can use before they commit — one email, every week
MINDS Free Tools
Spine width and imposition calculators — skip the manual math, free in your browser.
MINDS Group
Need actual printing or gifting services?
From premium printing to online ordering and festive gifts — the MINDS Group sister brands take it from here.