
Overview
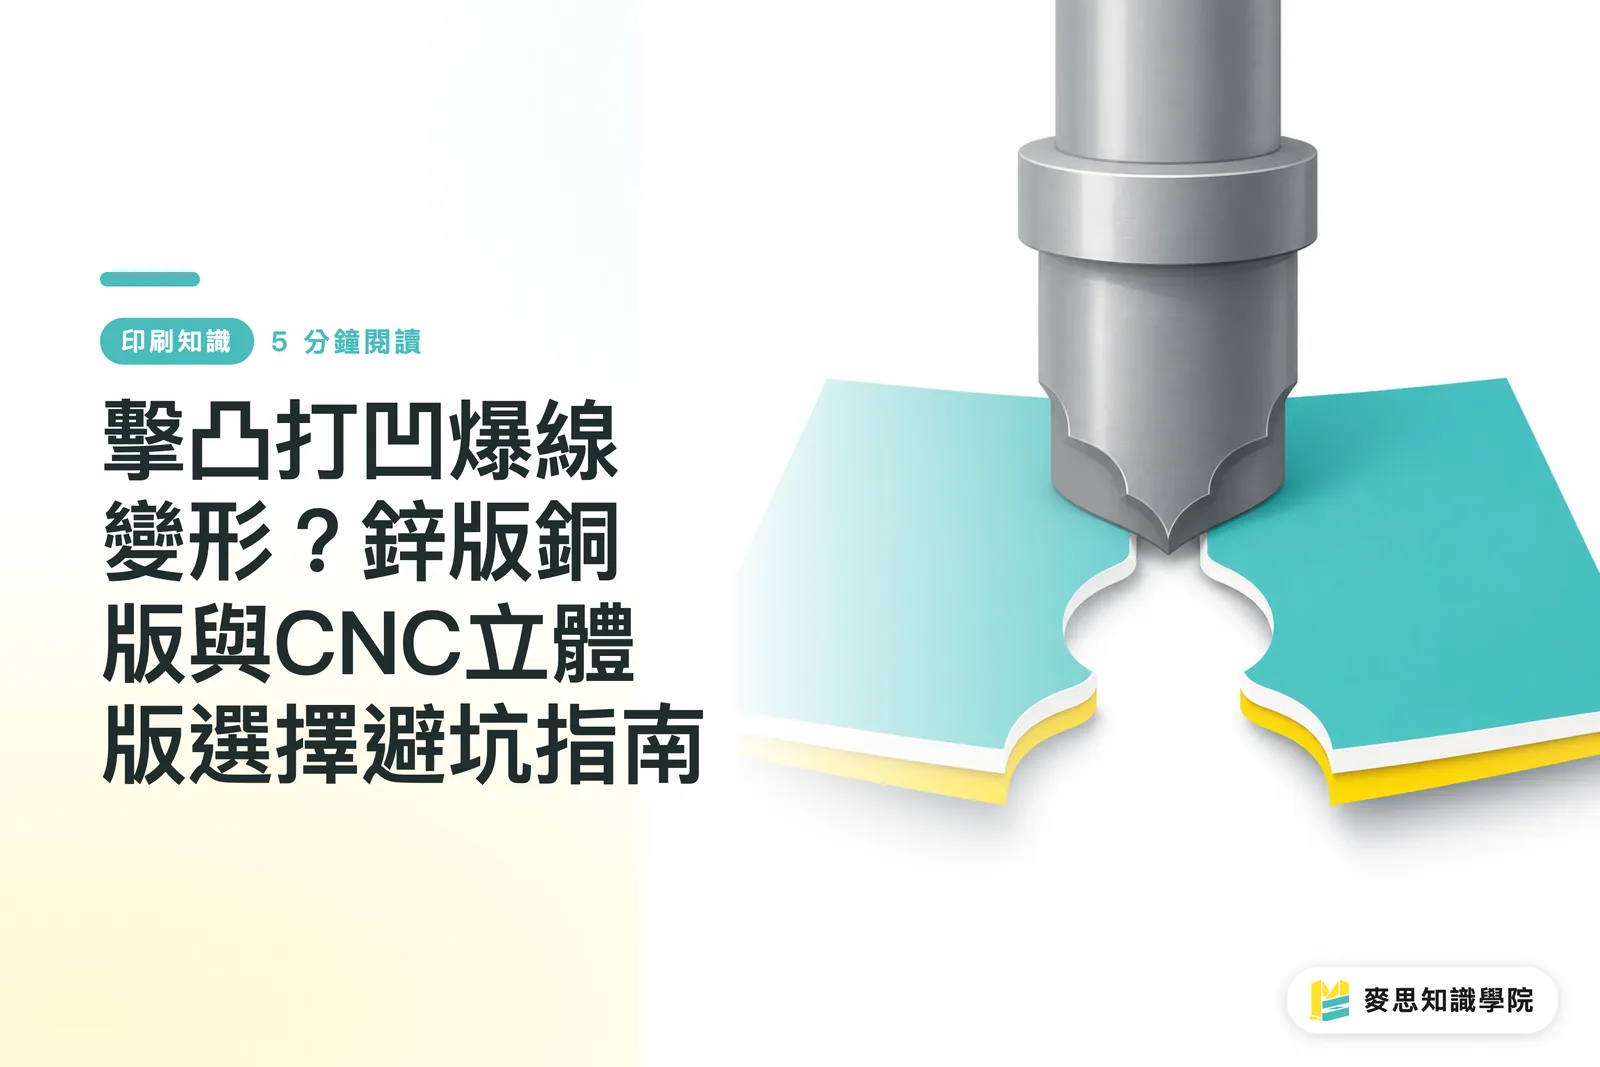
When embossing or debossing leads to cracked paper or tension distortion, the core issue is a mismatch between the metal die structure and the paper fiber stretch capability. Using die materials and structural tweaks recommended by MINDS stops finishing defects right at the source
Embossing and debossing press paper between male and female metal dies, shifting paper fibers physically to create a raised or sunken pattern on the sheet. The final look and structural durability depend heavily on metal engraving precision and paper weight
Over the years on the shop floor, I've seen far too many designers drop off gorgeous artwork only to get their jobs rejected later. It looks full of depth on screen, but once pressed, the edges split or the whole sheet curls up

Why Does a Perfect 3D Design on Screen Crack and Tear on Paper?
A 3D render on screen will never tear, but paper is a living material made of fibers
When metal dies clamp down, paper fibers have to stretch outward. If the design has sharp corners or the emboss height exceeds the paper's stretch limit, the fibers snap instantly. That's what press operators call cracking or die tearing
Hold on a second
When embossing heavy 250g to 350g cotton cardstock or specialty paper, paper grain direction is the first thing to check. When pressure lines run parallel to the fiber direction, tensile strength drops to its lowest, making the paper split right along the lines
A common workaround on the floor is adjusting the die angle relative to the grain during prepress, while keeping emboss bevel angles between 45 and 60 degrees. This creates a sloped buffer zone for paper fibers so the metal die doesn't slice right through the sheet
Zinc, Etched Copper, or CNC 3D: How to Choose Without Getting Burned?
Die material dictates both the texture quality and detail depth of relief stamping. Buyers often pick the wrong die just to save a few bucks upfront, only to end up scrapping the whole job for a total rerun
The three most common die types on the production floor each have clear limits and lifespan expectations:
・Zinc Dies: Made via micro-acid chemical etching, these are cheap and fast to produce. They last for about 1,000 to 3,000 impressions and work best for short runs or single-level flat embossing. Because etched depths cannot be fine-polished, subtle bevels tend to leave tiny burrs
・Etched Copper Dies: Chemically etched on copper plates, these are noticeably harder than zinc and last over 30,000 impressions. Edges stay crisp with low wear, making them ideal for medium-to-large runs of single-level embossing with fine line detail
・CNC 3D Carved Copper Dies: Machined with CNC rotary cutters for three-dimensional carving, male and female dies lock together perfectly. They produce smooth curved surfaces and multi-level gradient textures, with a lifespan exceeding 100,000 impressions. Though die costs run several times higher than zinc, the depth and detail are unmatched
For single-level embossing, zinc or etched copper is plenty. But when your design features multi-layered relief like facial textures or brand crests, a CNC 3D carved copper die is non-negotiable
That's all there is to it

Why Does Large-Area Debossing Warp Paper, and How Do You Stop Back Marks?
Debossing a large area places extreme concentrated pressure on localized sections of the sheet. This packs paper fibers too tightly and shrinks them, throwing off the tension balance of the entire sheet
As the top surface pulls tight under pressure, the sheet edges curl inward on their own, while impression marks show through the back, ruining a double-sided layout
To keep large-area debossing from warping paper or marking the back, operators rely on three practical fixes:
・Die Corner Trimming: At sharp corners or right-angle turns in large artwork, apply 0.3mm to 0.5mm micro-radii to bleed off stress concentrations created during stamping
・Humidity Control: Keep relative humidity in pressrooms and bindery floors steady at 50% RH to 60% RH. This prevents paper from drying out and losing fiber toughness, lowering cracking risks under load
・Resilience Counter Dies: Use slightly flexible resin counter dies or back off female impression depth slightly. This spreads pressure evenly without punching through the back
MINDS (MS) 3-Step Pre-Flight Check: How to Avoid Finishing Pitfalls Before Going to Press
Hitting a premium tactile feel while staying on budget takes more than luck. You need a solid standard operating procedure before send-to-print
Drawing on years of pressroom experience, our team built the MINDS (MS, high-end fully custom commercial printing) 3-Step Pre-Flight Check. Designers and buyers can run through this self-audit before sending jobs off:
・① Die Selection: Pick zinc, etched copper, or CNC 3D copper dies based on total run length and relief levels. Underestimating run life forces costly die swaps mid-run
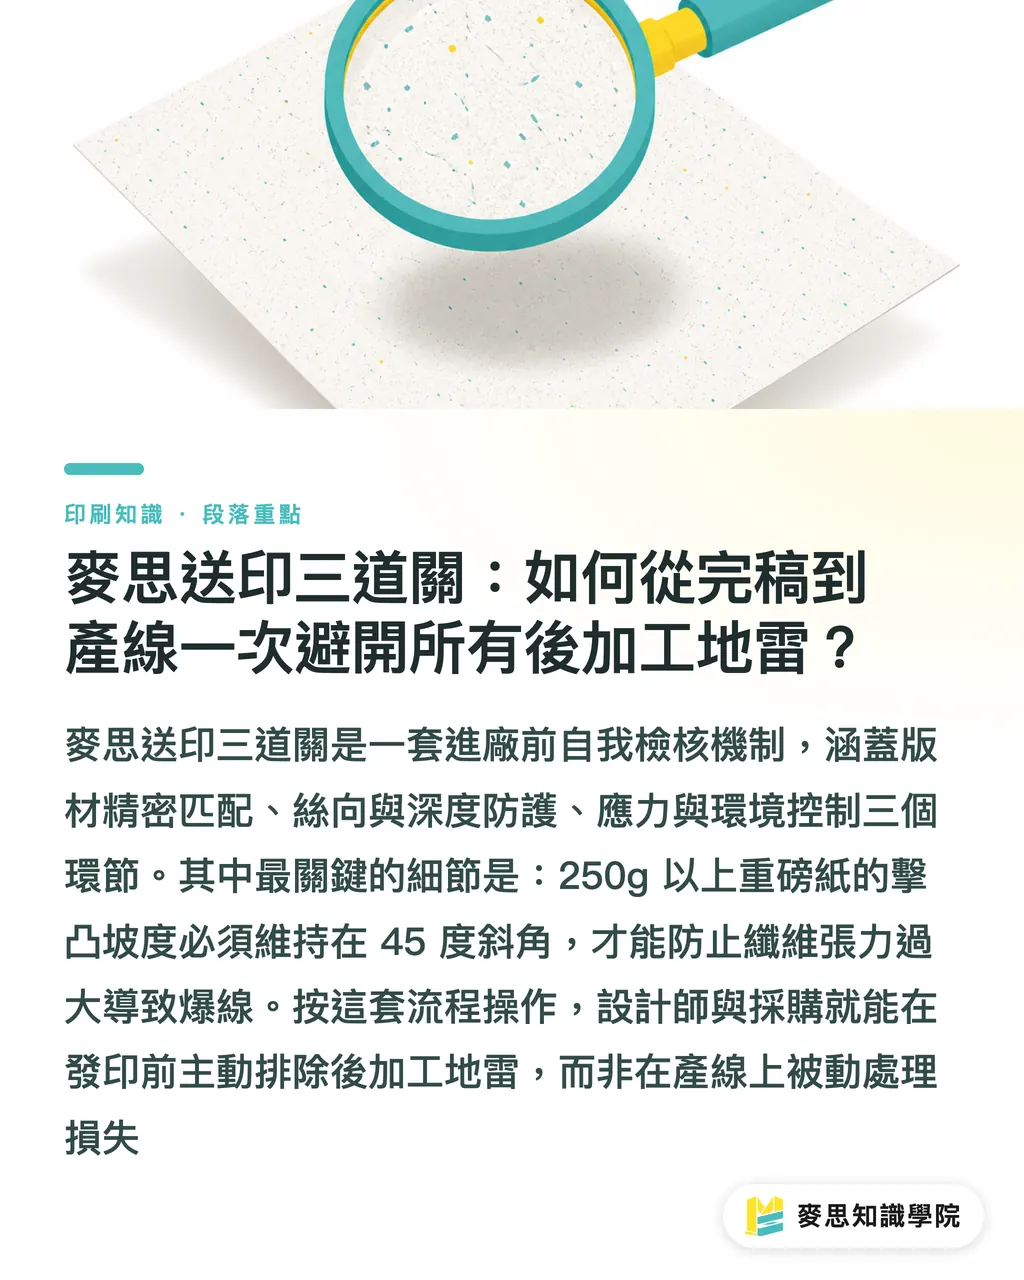
・② Grain Alignment & Relief Slope: Check the angle between paper grain and the stamping line. Keep embossing slopes at 45 degrees for stocks over 250g to prevent fiber tension from cracking the sheet
・③ Stress Relief & Climate Control: Apply a 0.3mm corner radius to large debossed shapes, press under 50% RH to 60% RH conditions, and use resilient counter plates to eliminate backside impressions
If you are planning high-end packaging or commercial print work, reach out to the Mai Strategy Knowledge Academy Advisory Team for expert evaluations on paper stocks and die feasibility
Key Takeaways
・Paper cracking during embossing happens when paper fiber stretch is exceeded. Keep bevel slopes between 45 and 60 degrees during prepress
・Zinc dies fit single-level runs under 3,000 copies. Etched copper suits fine lines over 30,000 impressions, while multi-level curved textures demand CNC 3D carved copper
・Large debossed areas cause paper strain and show-through marks. Prevent them with 0.3mm corner radii and pressroom humidity set between 50% RH and 60% RH
・Running the MINDS (MS) 3-Step Pre-Flight Check before press time reduces job rejection risks across die material, grain direction, and mechanical stress
Further Thoughts
As automated digital prepress tools and AI design aids become standard, artwork complexity keeps surging. Yet physical paper limits remain unchanged. The key to print management going forward lies in turning decades of pressroom experience into structured data. Predicting paper stretch limits and die wear right at the design stage is central to how MINDS connects digital transformation with hands-on print craft
Further Reading
FAQ
- How do you fix paper edges cracking or splitting after embossing or debossing?
- Edge tearing usually happens because bevel angles are too steep or pressure lines run parallel to the paper grain. Tweak the bevel angle to a 45-degree slope in prepress, and tell your press operator to feed paper along the fiber direction
- What is the difference in cost and visual effect between zinc dies and CNC 3D carved copper dies?
- Zinc dies use chemical etching and cost less upfront, making them great for flat single-level embossing under 3,000 impressions. CNC 3D copper dies use computer-controlled milling to shape male and female plates, producing smooth curves and multi-level depth with press life over 100,000 copies, ideal for premium packaging
- How do you prevent business cards or folding cartons from warping after large-area debossing?
- Large debossed areas pull paper surfaces by tightening localized fibers. To avoid curling, round sharp artwork corners with 0.3mm die radii to bleed off stress, and keep bindery room humidity between 50% RH and 60% RH
Related articles




The Print × AI weekly
The print and AI know-how designers, brands and enterprises can use before they commit — one email, every week
MINDS Free Tools
Spine width and imposition calculators — skip the manual math, free in your browser.
MINDS Group
Need actual printing or gifting services?
From premium printing to online ordering and festive gifts — the MINDS Group sister brands take it from here.