

What Do Die-Cutting, Embossing, and Debossing Actually Change?
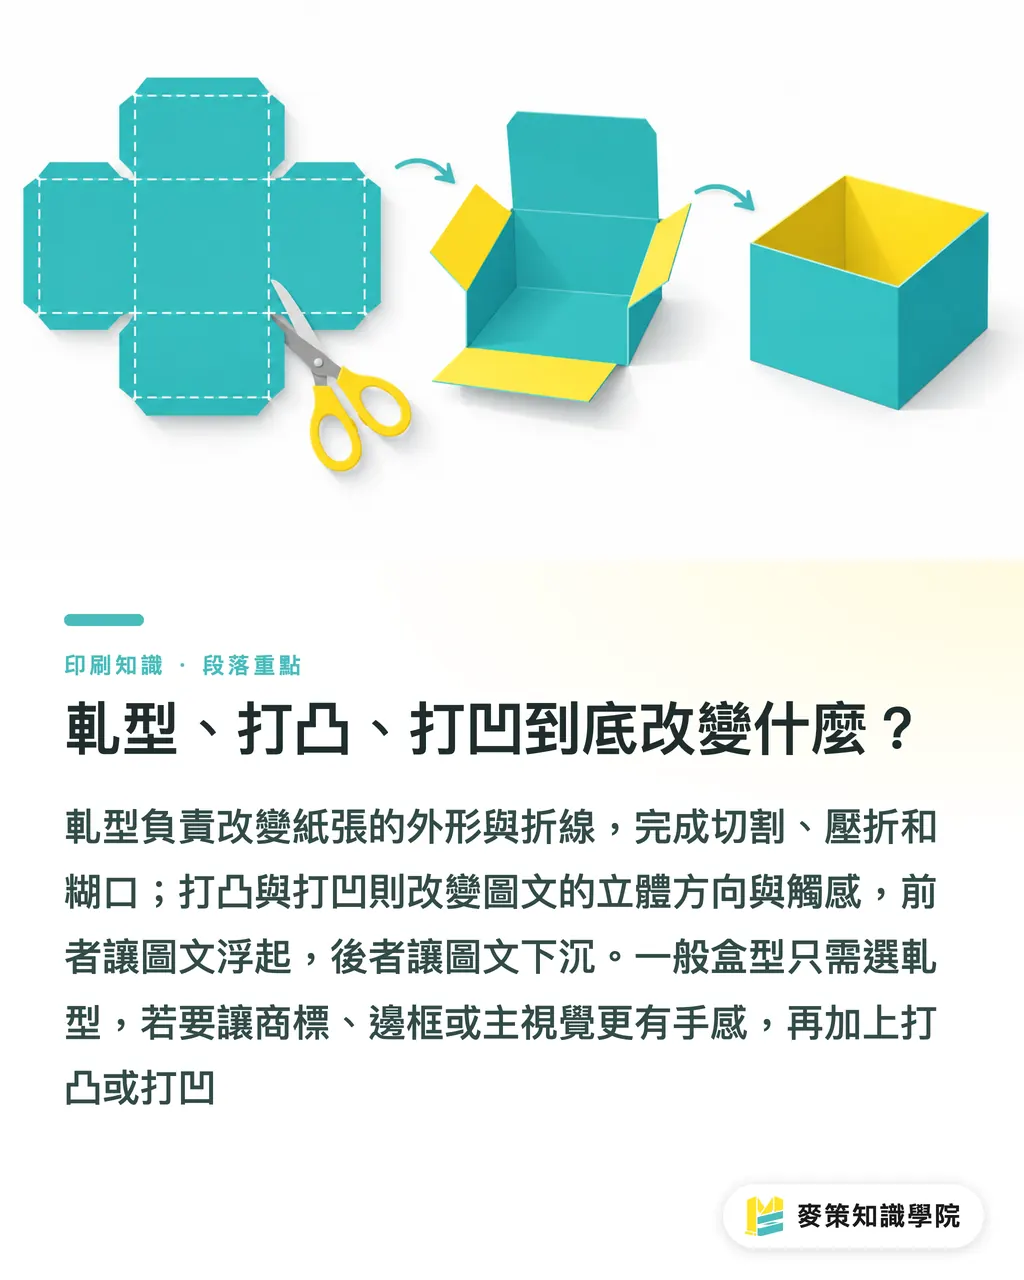
The roles of the three processes are clear: die-cutting changes the paper's outer shape and fold lines, while embossing and debossing change whether graphics and text project or recede, along with their tactile feel. Die-cutting uses a cutting die, a tool that cuts and creases according to the artwork, to create the outline, fold lines, and glue flaps. Embossing uses a male-and-female die pair to push graphics and text up. Debossing presses them into the paper surface. Both processes shift the paper fibers
It's very simple
If the same box dieline only needs to be cut and folded into a box, die-cutting is enough. If you want the logo, border, or key visual to have a tactile feel, add embossing or debossing. On the production line, die-cutting handles cutting and creasing, while embossing handles positioning, die changes, and pressure forming. Both are usually scheduled after printing
・Die-cutting: Handles dimensions, outer contours, fold lines, and assembly positions
・Embossing: Makes graphics and text rise, so the three-dimensional effect is felt first by touch
・Debossing: Makes graphics and text sink, giving the visual a more understated feel
How Should a Dieline Be Marked So the Bleed Doesn't End Up in the Wrong Place?
A dieline should mark the cut lines, fold lines, embossing and debossing, and bleed separately. Do not submit only the outer box outline. Cut lines cut through the paper, fold lines let it bend, and embossing and debossing should have their own processing layer or spot-color marker. Symbols, color swatches, and filenames should be confirmed against the printer's specifications
Bleed should extend outside the printed artwork so the background color runs past the cut line. The embossing or debossing position should stay clear of cut edges, fold lines, and glue flaps. When these four types of information are mixed into the main artwork layer, it becomes difficult to trace errors during proofing
・Cut-line layer: Mark the cutting outline, perforations, and waste areas
・Fold-line layer: Mark mountain folds, valley folds, and fold direction
・Embossing/debossing layer: Mark Emboss or Deboss, the direction, and whether it aligns with the foil stamping
・Bleed layer: Extend continuous imagery beyond the cut line. The dimensions should be confirmed by the printer against the dieline
Before handing over files for a quote, at minimum confirm that the four layers can be toggled independently. What worries me most is seeing a screen that looks beautiful while the embossing is hidden in the main artwork layer, because the designer, dieline, and post-press teams then start guessing what one another meant
How Should Paper Thickness and Finishing Depth Be Matched?
The thinner the paper stock, the less you can rely on deeper embossing to create a three-dimensional effect. The finishing depth must be decided together with paper thickness, paper fibers, and the structure of the box blank. Embossing on stock that is too thin is especially prone to tearing, while debossing can leave pressure marks on the back. This is not something screen shadows can preview. When I work on premium box projects, I first check whether the paper stock can withstand the displacement
Not so fast
On thick and thin paper, the same design will have different relief heights, edge clarity, and marks on the back. Fine type, thin lines, sharp corners, and artwork close to a fold line are more sensitive. Large areas of dense embossing also require attention to deformation across the sheet
・Paper stock: Specify the type and thickness in the quotation, and ask the printer to explain what embossing depth is suitable
・Artwork: First check whether the letterforms, fine details, and edges can hold, then decide whether to add foil stamping on top
・Proofing: Feel the relief on the front while checking the back for cracks, whitening, and pressure marks
Embossing on paper that is too thin will tear it. That usually means the finishing design failed to treat the material as part of the structure. With premium boxes, keeping the box blank intact comes first
How Should the Production Sequence for Embossing and Foil Stamping Be Planned, and How Is Registration Checked?
When embossing is combined with foil stamping, plan the positions for both processes together. When they are done as separate processes, the common approach is to foil-stamp first and emboss afterward. With a combination die, both may be completed in one machine pass. The sequence should be confirmed based on the equipment, paper stock, and proof. Foil stamping transfers metallic foil onto specified graphics and text. Registration means that the foil stamping and embossing land in the same position
The errors from both processes stack up. If the foil shifts slightly, bare paper will show. If the embossing shifts, it may move away from the letterforms. When requesting a quote, ask whether the work will be done in separate processes or with a combination die, who is responsible for registration, and whether the proof includes both processes
・Position check: Foil edges align with the raised or recessed graphics and text
・Surface check: Check the surface for cracked foil, bubbles, missing corners, and problems along the embossing edges
・Batch check: Sample different positions to confirm there is no obvious shift within the same batch
When a brand mark needs both a glossy finish and a three-dimensional tactile feel, this combination is worth doing. If you only want to make the box shape stand out, put the budget into the die-cut structure and paper stock first
How Should You Choose for Premium Boxes, Calendars, and Wine Labels, and How Do You Set the Finishing Budget?
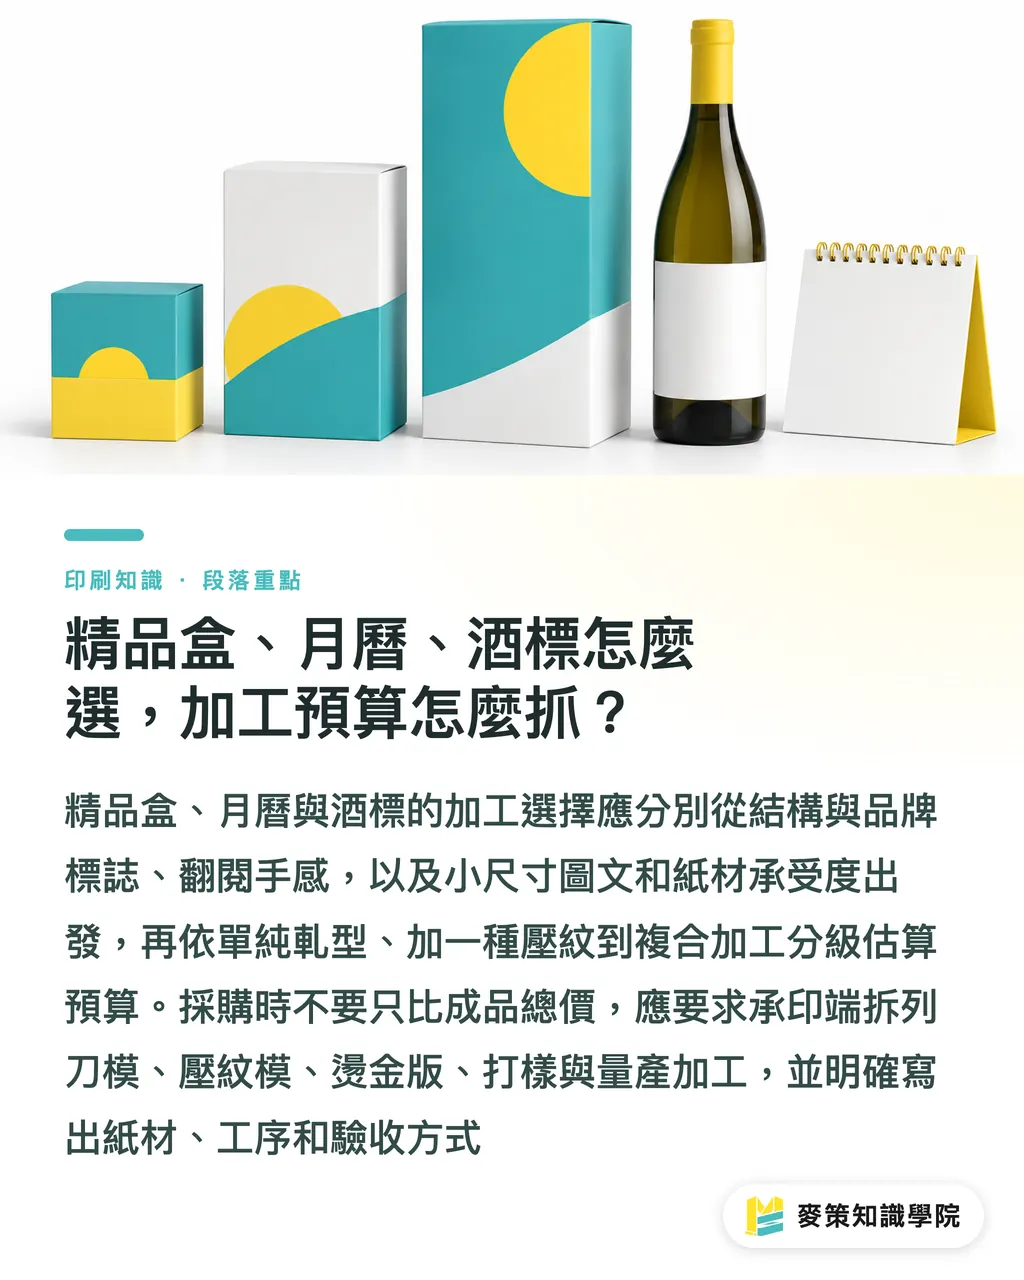
The right choice differs by application: for premium gift boxes, look first at the structure and brand mark; for calendars, look at where people touch the piece while turning pages; for wine labels, start with small-format graphics and text and the paper's ability to withstand the process. You can begin with three rough budget tiers, then price the die-cutting die, embossing die, paper stock, and quantity
・Premium gift boxes: Use die-cutting to confirm the structure first, then choose embossing or debossing for the logo. If adding foil stamping, include registration in the acceptance criteria
・Calendars: Add spot embossing to the cover or month markers only if they need to feel tactile. If all you want is a distinctive shape and a fold-up stand, use die-cutting
・Wine labels: Check paper thickness, fine type, and contours first, then decide on spot embossing, rather than forcing small graphics to work through depth
・Low tier: Die-cutting only; mid tier: Die-cutting plus one type of embossing; high tier: Embossing layered with foil stamping or other combined finishing
This is a pricing framework, not a fixed unit price. Purchasing should not compare only the total finished-product price. Ask for the die-cutting die, embossing die, foil-stamping plate, proofing, and production finishing to be broken out, with the paper stock, process sequence, and acceptance method stated. When handing the specifications to the printer, provide the dieline, paper-stock requirements, and reference sample to MINDS, then compare the cost of each item
Key Takeaways
・Die-cutting handles the box shape and fold lines. Embossing and debossing handle the tactile feel and relief direction of graphics and text
・Paper thickness and embossing depth must be decided together. Embossing on paper that is too thin can easily cause cracking
・With embossing and foil stamping, confirm position, process sequence, and registration before discussing the surface effect
・Finishing choices differ for premium boxes, calendars, and wine labels. You cannot use the same quotation as your only guide
・When comparing quotes, separate the dies, paper stock, proofing, finishing, and acceptance criteria
Further Thoughts
Printing and manufacturing teams can turn the dieline, paper stock, and registration checks into fixed fields. When designers use AI (artificial intelligence) to generate premium-box concepts, they should first ask for manufacturable fold lines and finishing layers, rather than treating a screen-rendered embossing effect as final artwork. SaaS (Software as a Service, software functions delivered over the internet) teams can turn these fields into quotation and proofing records. In practice, use the "Mai Strategy Three-Gate Print Submission Check" to review the artwork, materials, and finished product, then have the Mai Strategy Knowledge Academy Consulting Team proofread the specifications
Further Reading
FAQ
- Can I choose only one of die-cutting, embossing, and debossing?
- Yes. Choose die-cutting when you only need the blank cut and folded into a box. Add embossing or debossing when you want a raised or recessed tactile effect. The three processes are not a bundled package
- Should a premium box use embossing or debossing?
- If you want the brand mark to be felt by hand, consider embossing first. If you want the graphics and text to sink into the paper while keeping the tactile feel understated, choose debossing. If the paper stock is too thin, proof it first
- Which comes first, embossing or foil stamping?
- When done as separate processes, the common approach is foil stamping first, then embossing. A combination die may complete both in one pass. Confirm the actual sequence based on the equipment and paper stock, and during acceptance check whether the foil and embossing are registered
- How should I compare different printers when requesting quotes?
- List the die-cutting die, embossing die, paper thickness, proofing, foil-stamping plate, and registration acceptance criteria separately, and require each item to be shown on the quotation. Do not compare only the total finished-product price
Related articles


The Print × AI weekly
The print and AI know-how designers, brands and enterprises can use before they commit — one email, every week
MINDS Free Tools
Spine width and imposition calculators — skip the manual math, free in your browser.
MINDS Group
Need actual printing or gifting services?
From premium printing to online ordering and festive gifts — the MINDS Group sister brands take it from here.