

Overview
When handing off Canva designs to a print shop, it is not about just throwing files over. It is about organizing what the printer needs to evaluate beforehand. The three checkpoints often used by MINDS (MS) cover three things: ① specification confirmation, ② file export, and ③ division of responsibilities
The most common scenario I see on the floor is when team members finish a flyer, menu, or event standee in Canva, send over a single PDF, and then get hit with back-and-forth questions from the printer about dimensions, bleed, paper stock, brand colors, fonts, and image resolution. It takes two or three rounds just to get queued up
When file handoff is organized, printers guess less, designers revise less, and procurement gets far better control over lead times
What Should You Confirm Before Handing Off Canva Files to a Printer?
The first step in Canva handoff is verifying measurement units. Screen design usually uses px, but print quoting and production rely on mm, cm, or actual finished dimensions
Dimensions matter. An A4 flyer is 210 × 297 mm, standard business card finished size is 90 × 54 mm, and event standees often depend on stand specs and visible display area. All of these affect trimming, imposition, and pricing
Before sending files to a printer, I recommend organizing specs into these 6 items:
・Item Name: e.g., A4 Flyer, Tri-fold Brochure, Menu, Event Standee
・Finished Dimensions: Clearly state in mm or cm, e.g., 210 × 297 mm
・Sides: Single-sided, double-sided, or inside/outside orientation
・Quantity: e.g., 500 sheets, 1,000 sheets, 3 sets of standees
・Paper & Finishing: e.g., Coated Paper, Uncoated Paper, Matte Lamination, Spot UV, Board Mounting
・Lead Time & Application: e.g., In-store Menu, Trade Show Event, Member Direct Mail
I often remind clients that a clean layout on a Canva screen is just a design draft. Print shops need production parameters
Leave out one dimension, and the printer has to ask again. Omit one finishing detail, and the quote might need to be recalculated from scratch
Why Must You Enable Bleed in Canva?
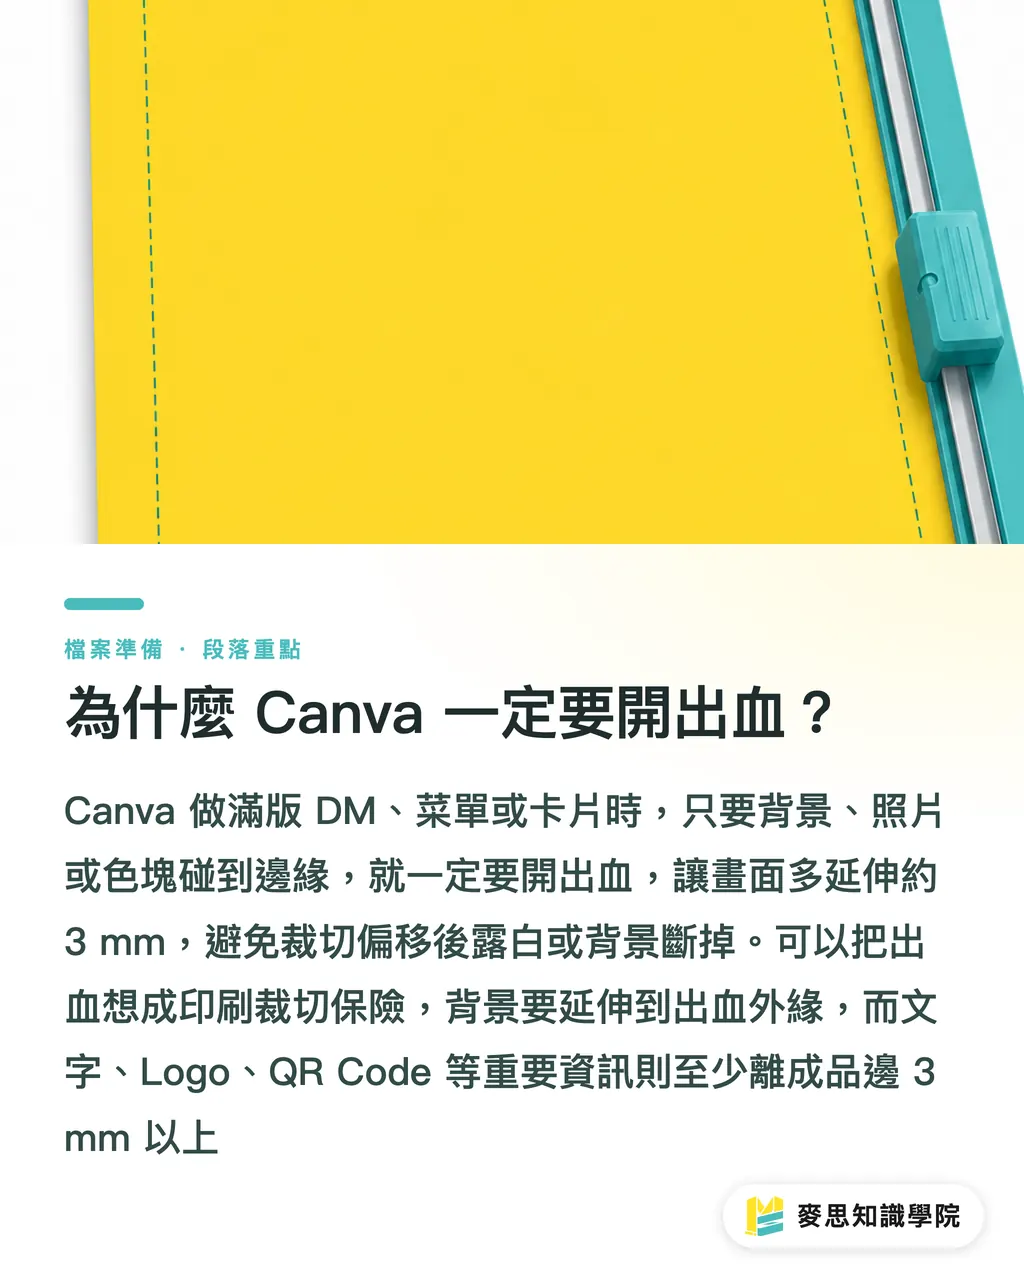
Bleed is the extended area of graphics and text beyond the trim line. In Taiwan print shops, 3 mm is standard to give cutting blades tolerance, preventing white margins or chopped background edges
When making full-bleed flyers, menus, or cards in Canva, whenever background colors, photos, or graphics reach the edge, turn on bleed and extend the background all the way out
I have seen plenty of files with white edges. The issue is not bad design, it is that the background was stopped right on the trim line. If the blade shifts by even 1 mm, the white margin pops out
When checking Canva bleed settings, review these 3 things:
・Confirm Canva bleed setting is turned on before downloading
・Extend backgrounds, color blocks, and photos to the outer bleed edge, do not just align them to the trim edge
・Keep text, logos, and QR codes at least 3 mm away from the trim edge; keeping essential info 5 mm inside is even safer
For non-design teams, think of bleed as trimming insurance
You will not notice that 3 mm when things go right, but you will definitely feel it when things go wrong
How Should You Export PDF Print Settings to Make It a True Print-Ready File?
When downloading from Canva for a print shop, always choose PDF Print, the print-oriented PDF format, rather than PNG, JPG, or Standard PDF meant for screen sharing
The advantage of PDF Print is that its page structure suits prepress checks much better, and images are far less likely to be compressed or layouts shifted during file transfers
When submitting files, I ask clients to provide at least 2 files:
・Print PDF: Select PDF Print, enable crop marks and bleed
・Preview JPG or PNG: Allows the printer to quickly cross-check visual layout and avoid opening a PDF only to realize it is the wrong version
For multi-page menus or catalogs, file naming also needs to be organized:
・Bad examples: final, final2, latest, actual_latest_v2
・Recommended example: A4_menu_20260708_print.pdf
・Recommended example: event_standee_600x1600mm_v03.pdf
Print shops are not afraid of large files; they are afraid of version confusion
On an 8-page menu, if pricing changed on page 3 and an image was swapped on page 6, prepress staff cannot figure out which version is supposed to hit the press without version numbers in the filename
How Should You Note Images, Fonts, and Brand Colors?
Canva handoffs get stuck most often on image resolution, font substitution, and brand colors. These three seem like minor design details, but they directly affect finished quality and liability
For image resolution, look at the original source assets first, do not rely solely on what looks fine on your Canva screen
A social media image looks crisp on a phone, but scaling it up for an A1 standee can blur it out. 300 DPI is standard for close-up print items, while long-distance items like event standees should be judged based on physical size and viewing distance
Pay close attention to fonts as well
Fonts used in Canva might not be editable at the print shop. If a printer tries to fix a price or typo for you, they might run into font licensing issues, missing glyphs, or broken line wraps after substitution
I suggest spelling these out clearly during handoff:
・Image Source: Canva stock, proprietary photos, or brand asset library images
・Image Risks: Highlight scaled-up images and ask the printer to verify sharpness
・Font Handling: Treat the PDF visual layout as final; if text edits are needed, confirm with the client side first
・Brand Color Notes: e.g., Logo Red, Store Green, Member Card Gold, provide CMYK values or physical print samples
・Color Expectations: Canva screen colors reflect RGB viewing; actual printing must be calibrated against paper stock and print method
Especially with brand colors, speak plainly
Do not just say 'make it as red as on screen.' Screen red changes across phones, laptops, and brightness settings, printers cannot use everyone's individual screen as a standard
If your company has brand guidelines, provide CMYK values. If not, supply a past print sample or state clearly: 'Prioritize Logo color; slight adjustments on background color are acceptable.'
Mid-to-high-end fully customized commercial printing, such as MINDS, typically spends more time communicating brand colors and finishing conditions. For standardized, low-volume, price-sensitive flyers or business cards, an online ordering workflow like MINDS is more suitable
How to Divide Revision Responsibilities to Stop Endlessly Going Back and Forth?
Before submitting a Canva file to a printer, clarify who can edit, what can be edited, and where revisions stop
Many projects get stalled not by printing technology, but by the phrase 'Could the print shop just quickly fix this for us?'
I break revision ownership into 4 categories:
・Client Responsibility: Text content, pricing, phone numbers, QR codes, brand color approval
・Designer Responsibility: Layout proportions, image cropping, tracking/kerning, visual consistency
・Printer Responsibility: Bleed checks, resolution alerts, imposition, production feasibility recommendations
・Joint Confirmation: Paper stock, finishing, acceptable color variation range, final PDF version
If a print shop handles file edits, clarify upfront whether they are editing the PDF, modifying the original Canva file, or asking the client to edit in Canva and re-export the PDF
This makes a huge difference
Editing text in a PDF can mess up the layout, while editing the original Canva file involves account permissions and font licensing. If both sides do not clarify this first, everyone ends up thinking their part is done
I suggest including this short blurb directly in your handoff email:
・The attached PDF Print file serves as the primary master file for printing
・If issues with bleed, resolution, fonts, or brand colors are found, please reply to confirm before proceeding; do not edit directly
・Text, pricing, and QR codes must be verified by us before going to print
・The printer may provide paper and finishing suggestions, but final specs must be confirmed in writing by us
These four lines seem simple, but they eliminate a ton of miscommunications on the floor
Key Takeaways
・Sending Canva files to print does not end with clicking download, dimensions, bleed, PDF settings, images, fonts, and brand colors must all be communicated clearly
・Bleed is typically 3 mm, serving as cutting tolerance, not a decorative design element
・PDF Print with crop marks and bleed is the baseline file format for delivering Canva files to printers
・Do not use 'looks like the screen' as a brand color benchmark, provide CMYK values, past samples, or a defined acceptable tolerance
・Spell out revision responsibilities upfront, every time a printer guesses less, your delivery schedule risks far less
Further Considerations
Looking from the perspective of print manufacturing, design, AI implementation, and SaaS, the most valuable addition to the Canva handoff process is a standardized handoff format, not adding yet another button. Companies can organize dimensions, quantity, paper stock, lead time, PDF version, bleed, image risks, brand colors, and revision ownership into fixed fields. Designers export based on these fields, procurement requests quotes based on them, and print shops inspect against them. When evaluating these workflows, the consulting team at Mai Strategy Knowledge Academy typically helps enterprises organize a flyer, a menu, and a standee case study into standard handoff templates first. Then, they connect these templates to internal forms or SaaS workflows, giving AI tools clean data to process instead of starting from scratch guessing through a vague email every time
FAQ
- Can files created in Canva be sent directly to a print shop?
- Yes, but downloading as PDF Print with crop marks and bleed enabled is recommended, along with a summary of dimensions, quantity, paper stock, brand colors, and revision ownership. Sending only a Canva link or standard image file usually forces the printer to ask follow-up questions about specs
- How many mm of bleed should be set in Canva?
- Standard print work in Taiwan typically uses 3 mm bleed. Full-bleed backgrounds, photos, and color blocks must all extend into the bleed area. Keep text, logos, and QR codes at least 3 mm from the trim edge, with 5 mm being safer for critical information
- Will there still be color variation when downloading PDF Print from Canva?
- Color variation can still occur because designing in Canva relies mostly on on-screen viewing experiences, whereas physical printing is influenced by CMYK conversion, paper stock, print methods, and finishing processes. For brand colors, supply CMYK values, past samples, or an acceptable range, do not rely strictly on screen colors as your benchmark
- Can the print shop edit my Canva file for me?
- It can be discussed, but you should clarify upfront whether they are editing the PDF, modifying the original Canva file, or having your team make the edits in Canva and re-exporting the PDF. Content details like text, pricing, and QR codes should be verified by the client side before going to press
- What should I pay special attention to when creating an event standee in Canva?
- For event standees, confirm the actual finished dimensions and stand specifications first, then re-check image resolution after scaling up. An image that looks sharp on a phone screen will not necessarily stay sharp when enlarged onto a 600 × 1600 mm standee
Related articles

The Print × AI weekly
The print and AI know-how designers, brands and enterprises can use before they commit — one email, every week
MINDS Free Tools
Imposition calculator and preflight file check — free prepress tools, right in your browser.
MINDS Group
Need actual printing or gifting services?
From premium printing to online ordering and festive gifts — the MINDS Group sister brands take it from here.