
Why Do You Need That 3mm Margin for Print? Understanding Bleed and Safe Area
This is the complaint I run into most often on the production floor: a customer brings in a file they laid out themselves, and the result either has a ring of white around the edge or important text gets cut in half
To solve this, we first need to understand the two make-or-break lines in a print shop: bleed and safe area
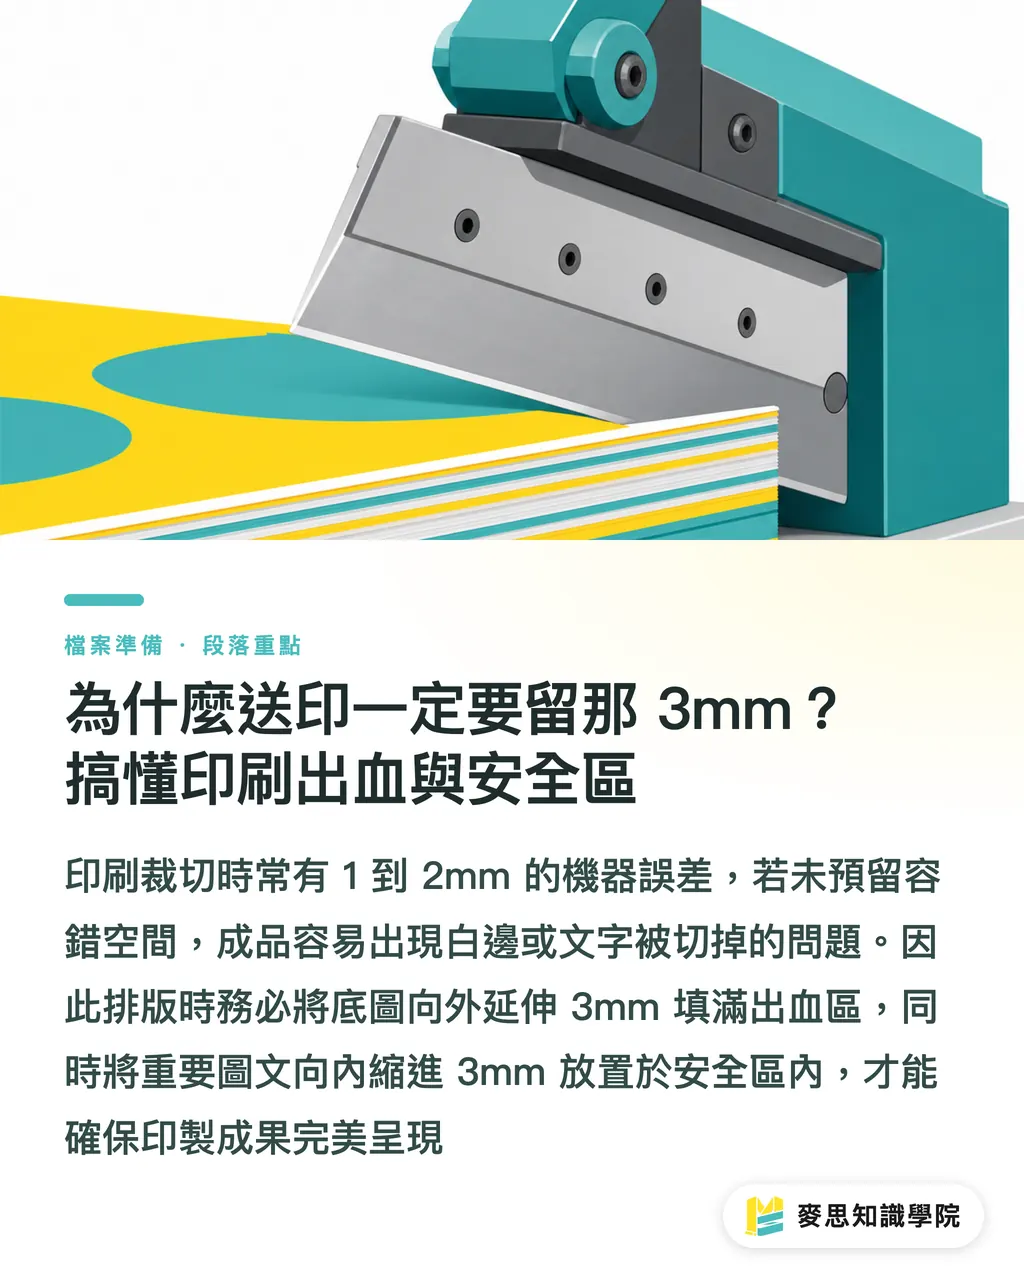
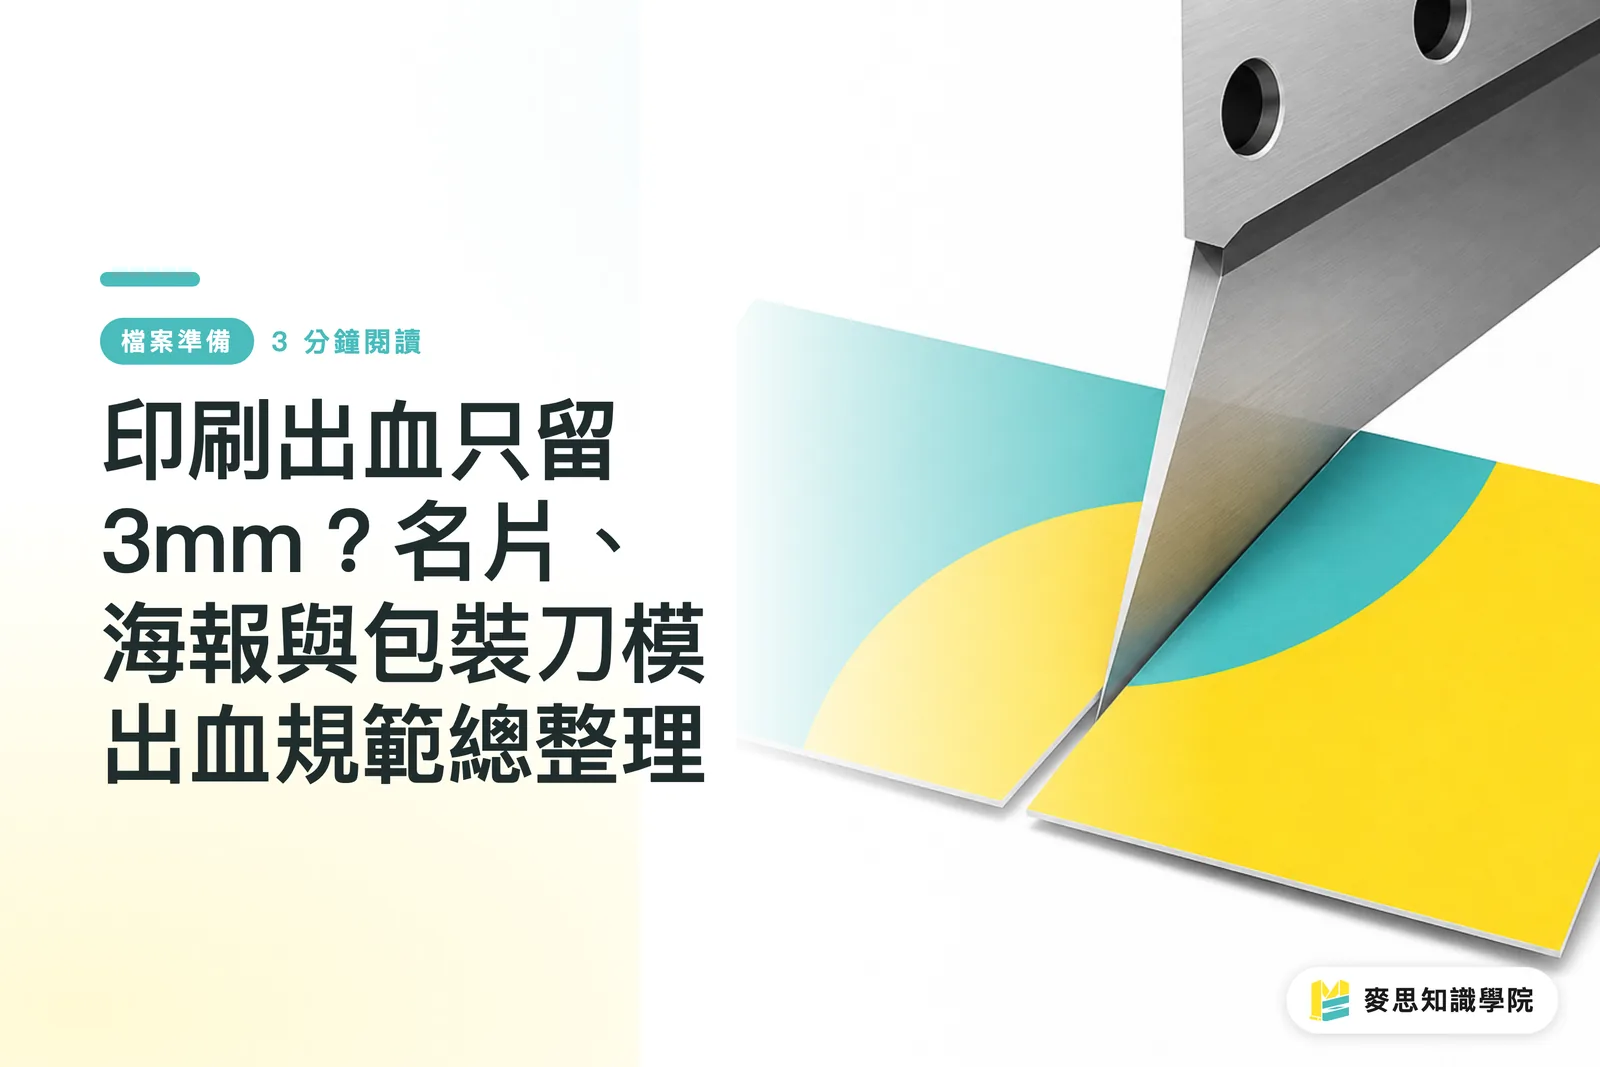
・Bleed area: the tolerance zone for the cutting blade. In Taiwan commercial printing, such as business cards and posters, the standard is to reserve 3mm on each side, so the finished artwork size equals the final product size plus 3mm on the top, bottom, left, and right
・Machine tolerance: when a print shop's paper cutter is actually operating, it usually has a physical mechanical tolerance of 1 to 2mm
・Safe area: to prevent cutting drift from trimming into key content, all important text and logos must be moved at least 3mm inward from the trim line
If the background image does not extend outward to fully cover that extra 3mm bleed area, even a 1mm shift from the blade will expose the paper's original color along the finished edge
On the other hand, if text is laid out right against the edge and does not stay inside the safe area, you are basically waiting for a corner of the type to be sliced off
How Do You Set Bleed in Canva? Practical Options for Paid and Free Versions
Many small and medium-sized business customers use office software for layout, but those tools do not have bleed settings built in, which often leads to costly reprints
Canva is a little better, but it depends on which version you are using
・Canva Pro paid version: this is the easiest solution. After finishing your design, click Download, choose PDF Print as the format, then check Crop marks and bleed. The system will automatically add bleed and trim marks for you
・Free version workaround: the free version does not have a native bleed option, so you need to enlarge the canvas size when you first create the file
・Manual size calculation: add 6mm to both the width and height, meaning top and bottom each:
・3, left and right each
・3, then manually extend the background image or background color all the way to the outer edge
・Use guides: pull guides onto the canvas to mark the true finished-product boundary and the inward safe area. When laying out the design, keep in mind that the outer 3mm at the edge will be cut off in the end
Why Do Canva Colors Shift in Print? Breaking Down the RGB Color Trap
"Why doesn't it look as bright as it did on screen?" is probably the question print sales reps dread the most
Canva is convenient, but it has one serious limitation for traditional printing: its color space is built entirely around RGB
・Color mode difference: screens emit light using RGB, while physical printing uses CMYK ink mixing. Canva still does not support true CMYK output or Pantone spot-color settings
・Danger zone: if you use very vivid colors in Canva, such as bright blue, bright green, or fluorescent tones, the gap will be largest when printed as a physical product. They usually become dull and muted
Given this built-in limitation, my advice to customers is very direct: always confirm with the print shop before sending the job, or simply spend a little extra to request a digital proof first
Seeing the actual color on paper before deciding whether to run a large quantity is the safest way to avoid a color disaster
What Else Should You Check Before Printing? A Print Consultant's Final Checklist
Once the file is done, do not rush to hit send. When I review customer files at MINDS Printing, I always run through this production-proofing checklist first
If you check through this list once, you can catch more than 80% of the basic mistakes that would otherwise cost you money on reprints
・Confirm bleed size: check whether the final artwork size has truly added 3mm of bleed on the top, bottom, left, and right
・Check the safe area: make sure all text and logos that cannot be cut off have properly moved at least 3mm inside the trim line
・Image resolution: for raster images placed in Canva, make sure the original image is at least 300dpi. If it is too low, it will print like a mosaic
・Fonts and format: when exporting, convert text to outlines where possible or confirm that fonts are embedded. Always export as PDF, and never send a JPG directly to print

Key Takeaways
・The standard bleed for Taiwan commercial printing is 3mm on each side, which absorbs the paper cutter's 1 to 2mm mechanical tolerance
・Canva's free version requires enlarging the canvas by 6mm to create bleed manually, while the paid version lets you check the option directly when exporting the PDF
・Canva's bright RGB colors will inevitably shift when converted to CMYK printing. For high-risk projects, a digital proof is strongly recommended
・The final export file should be PDF only. Text must stay inside the safe area, and images must have 300dpi resolution
Further Thoughts
The rise of online design tools lets anyone produce artwork, but there is still a real manufacturing gap between "able to lay out a design" and "ready for print."
For designers and small to medium-sized businesses, understanding these prepress rules is not about accommodating the print shop. It is about taking control of the final product quality
Using the flexibility of digital tools while respecting the physical limits of print is the way to bring a design into the real world without problems
If you are still unsure about your file specifications, MINDS Printing's integrated service can provide professional prepress checks for you, so these tedious technical details no longer become obstacles when sending files to print
FAQ
- Why does my printed poster have a white border around the edge?
- Because the file was not set up with bleed. When the paper cutter has a 1 to 2mm mechanical tolerance, it can cut into the paper's original white area
- Can the free version of Canva directly export a PDF with bleed?
- No. In the free version, you need to manually add 6mm to both the width and height when creating the canvas, then extend the background color to the edge as a workaround
- Why does the bright blue I see in Canva look gray when printed?
- Canva displays color using RGB screen color, while physical printing uses CMYK ink. Bright blue falls outside the CMYK color gamut, so color shift is unavoidable
- Can I send a JPG image file directly to the print shop for printing?
- It is strongly recommended that you do not. JPG files are prone to compression artifacts and blurry font edges. For print, you should always export as PDF
Related articles

MINDS Group
Need actual printing or gifting services?
From premium printing to online ordering and festive gifts — the MINDS Group sister brands take it from here.