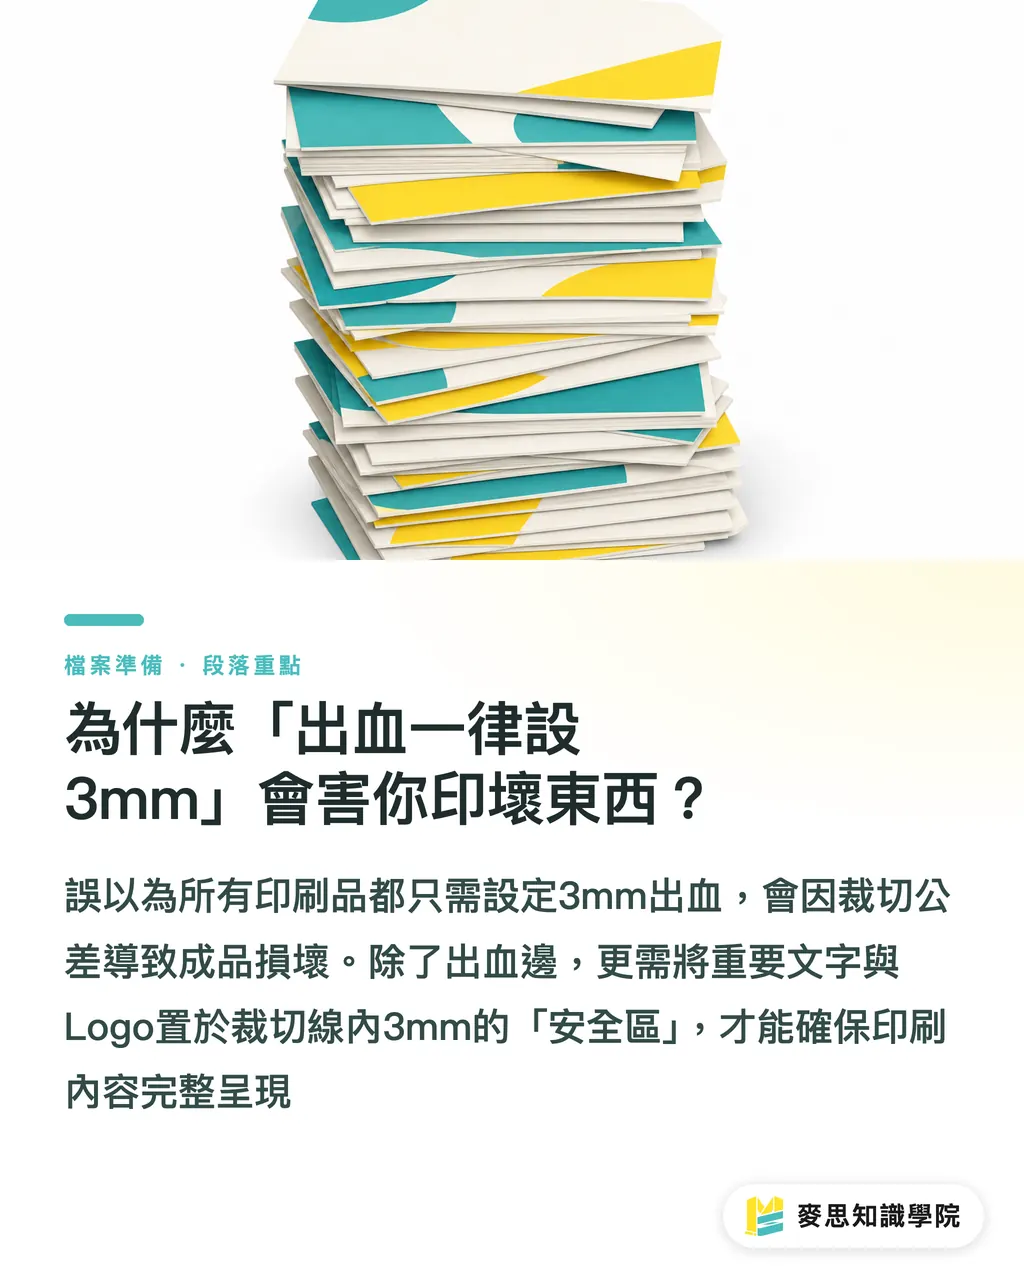
Why "Setting a 3mm Bleed for Everything" Could Ruin Your Prints
Since I started in this industry, the stack of misprinted business cards I've seen could probably tower over the Taipei 101 building
The standard size for business cards in Taiwan is 90x54mm. It's like a brand's first handshake, where every detail matters
Beginners often assume that dragging the background 3mm outward covers all print needs. While this is true for business cards, it can be a disaster for posters or packaging
Cutting blades always have physical tolerances. Bleed is the sacrificial margin reserved specifically to absorb these inaccuracies
Beyond bleed, you must also understand the concept of a "Safe Zone."
Important text and logos must be at least 3mm away from the trim line to avoid the tragedy of having contact information half-cut off by the blade
Bleed Specification Checklist for Common Printed Materials in Taiwan
Different product categories require different processing methods, meaning the logic for bleed varies significantly
I've compiled a consultant-level practical checklist for situations most common on the production line. I recommend comparing your files against this before submitting them for output
・Business cards and standard leaflets: Leave 3mm on all four sides. For a 90x54mm card, the working area including bleed should be set to 96x60mm
・Saddle-stitched booklets: Leave 3mm on the three outer sides. However, the binding edge (the spine) must absolutely have 0mm bleed
・Hardcover book covers: This is more complex. Besides calculating the spine thickness, you need an extra 15 to 20mm of wrap-around margin on all four sides for the board covering
・Large-format posters: Usually reserved for 5 to 10mm, as the cutting tolerance of large-format machines is higher; some manufacturers may even require more
・Packaging dielines: This is where mistakes occur most often. The bleed must extend outward following the shape of the dieline frame; you absolutely cannot just draw a large rectangular color block
Canva vs. Illustrator: Differences in Bleed Logic Between Software
In recent years, I've seen more clients using Canva, but I often receive PDF files with completely incorrect dimensions
The logic in Illustrator is to set the artboard to the finished size first, then add the 3mm bleed via the document setup to overlay the red trim lines
However, cloud-based tools like Canva often simply increase the canvas size (e.g., setting it directly to 96x60mm)
If you don't grasp the underlying logic of both, it's easy to omit bleed during export or incorrectly define the safe zone
The safest and most effective way to find design templates is to request official dielines directly from your partner printing house
This ensures that your software settings are perfectly aligned with the printing factory's machinery from the very beginning
How to Check Files for Potential Pitfalls Before Sending to Print?
Don't rely too much on how things look on your screen; standardize your checking process
After opening the file, the first step is to confirm whether the total area—finished size plus bleed—is correct
Next, check whether background color blocks or images actually extend and fully cover the 3mm bleed range
Finally, use guidelines to pull in a 3mm safe zone and check each piece of text and logo to ensure nothing exceeds the boundary
As long as you ensure these three checkpoints are implemented, you can significantly reduce the chances of your file being rejected by the print shop

Key Takeaways
・The standard bleed for business cards and leaflets is 3mm, but the safe zone should also be pulled 3mm inward to avoid the cutting blade
・The binding edge of saddle-stitched booklets requires no bleed, while hardcovers require 15 to 20mm of wrap-around margin
・Bleed for packaging designs must follow the dieline contour; do not be lazy by using a rectangular color block
・When finalizing in Canva, be sure to confirm whether the exported PDF correctly includes crop marks and the bleed area
・The most reliable approach before submitting for output is to directly use the official dielines provided by the printer
Extended Reflection
In recent years, we have seen more and more SaaS and AI tools attempting to lower the barrier to entry for graphic design, but printing remains a process of converting virtual pixels into physical matter
Physical cutting tolerances, paper thickness, and binding limitations cannot yet be fully eliminated by algorithms
Whether you are an independent designer or a corporate purchaser, establishing the correct prepress file logic and utilizing physical print houses with integrated experience—like MINDS Printing—is the only way to truly ensure great design lands perfectly in the physical world
Further Reading
・Resources: Do different print products have different bleed settings? A complete guide to bleed sizes for business cards, posters, and packaging
FAQ
- For a 90x54mm business card, what dimensions should I set when creating a new file in Illustrator?
- Set the artboard to 90x54mm and enter 3mm in the "Bleed" settings. The software will automatically generate a red bleed line around the artboard
- Why do my posters still have white edges after printing despite having a 3mm bleed?
- The cutting tolerance of large-format printing machines is higher than that of small-format printing; it is usually recommended to leave 5 to 10mm of bleed for posters to be safe
- Can I simply draw a large rectangle to fill the background as the bleed for packaging boxes?
- No. When the packaging factory performs die-cutting, it is easy to cut out unexpected color blocks. The bleed must extend outward along the actual outline of the dieline by at least 3mm
- Are the bleed settings the same for the inner pages and the cover of design manuals or catalogs?
- No. For example, the binding edge of inner pages for saddle-stitched booklets cannot have a bleed, whereas if the cover is a hardcover, you need to reserve an additional 15 to 20mm of wrap-around space