

Overview
Here is a scenario many corporate marketers know all too well. The anniversary sale flyer looks sharp in Canva, the boss loves it, your team loves it, you export the file and email it to the printer. The next day, the sales rep replies: 'There's no bleed, text is too close to the trim line, and the colors will shift. Do you want to redo this?'
The issue usually is not the design itself, but the handoff. Canva is built for screens by default. It hides the prepress decisions print shops need to make, and users without a design background do not know what is missing. That is the fundamental gap between Canva and pro tools: Canva relies on templates and low barriers to entry, making it quick to learn, but it lacks the granular control over color modes and output precision found in production-grade tools like Illustrator [1]
So the real question is this: what production details do you need to add to a corporate Canva file before sending it to the printer? Here is the breakdown, following the exact sequence print shops use on the floor
What Is the First Thing to Verify Before Sending Canva Files to Print?
Start with measurement units and bleed. Get these two wrong, and everything else is wasted effort. When creating a design in Canva, you can choose pixels (px), millimeters (mm), or centimeters (cm). Non-designers often default to px out of habit, only to find that an A4 flyer exports at the physical size of a business card. For print, always build your canvas to the exact finished trim size using mm. That is the universal language of prepress imposition
Bleed is the second trap. Commercial printing involves printing on large sheets and trimming them down. Mechanical cutters always have slight variations of a fraction of a millimeter. Any background color or edge-to-edge photo must extend past the trim line. The industry standard is 3 mm on all sides. In Canva's export settings, there is a checkbox for 'Crop marks and bleed', which is turned off by default. Leaving this unchecked is where most projects fail. Without bleed, any minor trim misalignment leaves an unsightly white edge
The rule of thumb: does any background color or image touch the edge of the page? If yes, bleed is mandatory. That is my practical baseline
How Should You Export Your PDF to Prevent Rejection by the Print Shop?
Select 'PDF Print' during export, never standard PDF, PNG, or JPG. In Canva's download menu, 'PDF Print' is the only format prepared for physical production. It exports at higher resolution and preserves trim and bleed data. Files meant for digital sharing are rendered at screen resolution, which blurs as soon as you scale up
Color is the biggest hidden cost here. Screens operate in RGB while commercial presses use CMYK, and their color gamuts are completely different. Vivid royal blues and neon greens that pop on your monitor often drop in saturation and look muddy in print. This is an inherent limitation of screen-first tools like Canva, which do not offer the granular color output controls found in dedicated prepress software [1]. Canva Pro allows CMYK export under PDF Print, while the free tier is restricted to RGB. Check with your printer beforehand to confirm which color mode they prefer. For critical brand assets like a specific logo blue, provide the exact color swatch or Pantone code rather than relying on on-screen previews
Another overlooked factor is transparency. Canva lets you export transparent PNGs, but when a job requires white ink underprinting or special finishes, the press operator needs explicit instructions on handling transparent areas. Otherwise, the software might fill them with white or create unintended overprints. If your file contains transparent elements, tell your printer upfront
What Can Go Wrong with Fonts and Images During Production?
The biggest risk with typography is font substitution. What looks clean on your screen can be replaced by a default system font on the prepress workstation. Canva's PDF font embedding is not always consistent, and if proprietary or specialty fonts fail to embed properly, the layout reflows and breaks. The safest approach is to send the PDF to the printer for an initial preflight check to verify type rendering. In traditional workflows, designers convert headlines to outlines, but Canva does not offer a direct outline function. That remains a clear friction point when integrating Canva into professional prepress pipelines
Images come with two distinct challenges. First is resolution. If assets from Canva's library or user uploads are low-res, stretching them across a full page causes pixelation and blur. Print demands a much higher pixel density than digital displays; crisp on screen does not mean sharp on paper. Second is licensing. Canva Pro graphics, fonts, and stock photos have distinct license terms. Commercial runs, high-volume printing, and retail merchandise may carry different legal permissions. Corporate procurement teams must be careful: using premium stock from a personal or free account to run a 10,000-copy catalog run creates genuine legal liability, not just an aesthetic issue
How Do You Lock Down the Final Print Version in a Collaborative Workflow?
Assign a single handoff owner who handles the export and submits the file. Everyone else should leave comments rather than directly editing the print candidate. Real-time collaboration in Canva is convenient, but the downside is clear: anyone can edit, old versions get overwritten, and a file you thought was locked might have had its dimensions tweaked or images swapped by a teammate
In practice, keep a working copy and a print-ready master separate. Once a design is approved, duplicate the project, give it an unmistakable name (such as 'Anniversary_Flyer_PRINT_0716_LOCKED'), and lock it against further edits. Any minor tweaks should happen in the working copy, then get copied over to the print master before re-exporting. Always include the date and version number in the filename so the print shop has clear reference if multiple files get sent. This protocol comes from seeing countless handoff errors in the field. Canva will not enforce this for you; it requires team discipline
When Should You Abandon Canva and Have a Designer Rebuild the Artwork in Illustrator?
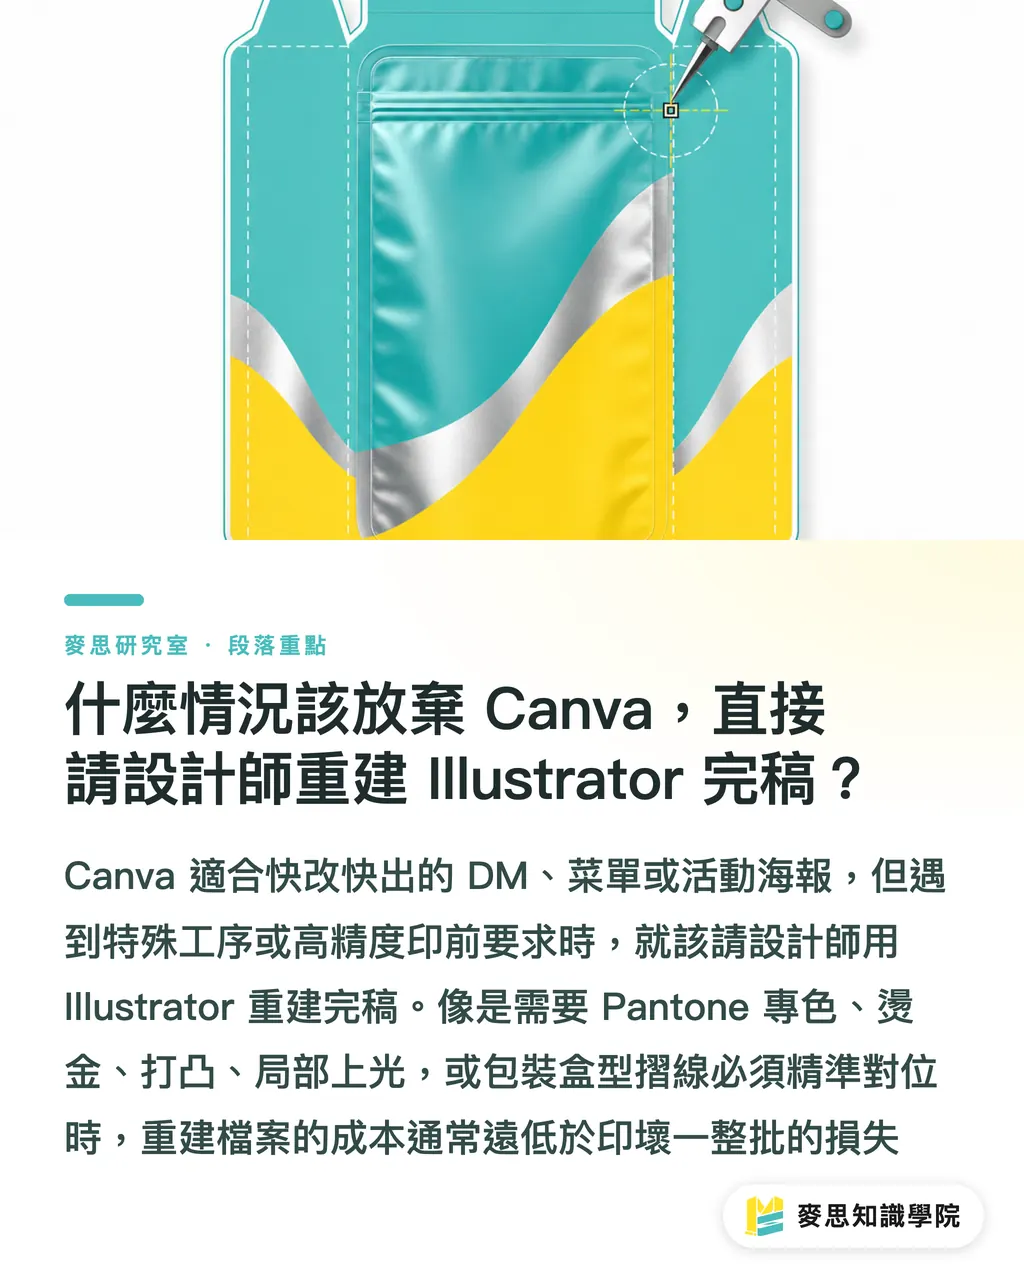
When a print job involves specialty finishes or tight structural tolerances, stop trying to force Canva to do the job. Hire a designer to rebuild the production art in Illustrator. Canva shines for time-sensitive, informational print jobs like flyers, menus, event standees, and internal posters where fast turnarounds matter. But its design trade-offs show up quickly in prepress: fine-tuned color profiles, output control, and precise vector geometry are the territory of production tools like Illustrator [1]
I recommend rebuilding files in professional software whenever you encounter these scenarios: spot colors (Pantone), foil stamping, embossing, spot UV coating; packaging dielines and folding carton templates requiring exact registration; large solid backgrounds with strict brand color consistency; or assets that will be reprinted over years where building a proper master file pays off. In these cases, rebuilding the file costs far less than scrapping an entire print run
Let us be clear on the boundaries. If your project is a standard event flyer, the run is a few hundred copies, and minor color shifts are acceptable, following the handoff checklist above makes Canva more than capable. You do not need to pay extra prepress fees just for the sake of being 'pro'. Tools are not inherently better or worse, only misapplied
Key Takeaways
・Lock down two settings before export: set units to mm, and check 'Crop marks and bleed' to add 3 mm bleed. Bleed is mandatory whenever background elements touch the page edge
・Always export using 'PDF Print'. Canva Pro supports CMYK output, while the free tier is RGB only. Confirm the required color mode with your printer and provide color codes for brand assets
・Watch out for font substitutions, low image resolution, and licensing gaps. Have the printer preflight fonts, and verify commercial usage rights before running large print quantities
・For team collaboration, designate one person to handle exports, separate the working file from the print master, and use dated version numbers in filenames to protect the final draft
・For specialty finishes (Pantone, foil, embossing, precise dielines) or brand assets with strict color tolerances, have a designer rebuild production-ready art in Illustrator
Industry Implications
The democratization of design tools dropped layout barriers to near zero without bundling in prepress knowledge, shifting the operational bottleneck from design creation to file handoff. For commercial printers, this means a rising share of submissions from non-designers, driving up preflight and customer support overhead. Print shops that turn prepress specs into self-serve onboarding will cut the most friction. For professional designers, value no longer lies in basic layout, but in mastering the technical prepress, color management, and finishing specifications that Canva cannot handle. For SaaS and AI developers, the real opportunity is building automated preflight checks before export to catch missing bleed, unconverted RGB colors, un-embedded fonts, and low-res imagery. Shifting production checks left into the software is the missing link to turning Canva from a design tool into an end-to-end print delivery pipeline, and it remains an open gap in the market
References
[1] Emgirinata L., Al Abtad Purma M., Amir Husen M. (2024). Comparative Analysis: Adobe Illustrator vs. Canva for Graphic Design Projects. Secure And Knowledge-Intelligent Research in Cybersecurity And Multimedia (SAKIRA). DOI: 10.36679/s4kira.v2i2.20
FAQ
- Can I use the free version of Canva for print submissions?
- Yes, for basic print jobs. However, the free version only exports PDFs in RGB rather than CMYK, which risks visible color shifts on color-sensitive jobs. Always verify acceptable color modes with your printer before submitting files
- Is bleed always required when sending Canva files to print?
- Yes, whenever background colors or images reach the edge of the page. The industry standard is 3 mm per side, enabled by checking 'Crop marks and bleed' in the download settings. Without bleed, slight trimming misalignments will reveal white edges
- Which PDF format should I select when exporting from Canva?
- Choose 'PDF Print'. It is the only high-resolution format built for physical printing. Standard PDF, PNG, or JPG files are rendered at screen resolution, which blur when scaled and lack trim and bleed data
- When should I switch from Canva to Illustrator for production art?
- Rebuild your files in Illustrator when a project requires Pantone spot colors, foil stamping, embossing, precise dieline registration, strict brand color matching, or recurring long-term print runs. This prevents costly errors and scrapped batches
- How do I prevent sending the wrong version when collaborating in Canva?
- Designate one person to handle exports and submissions. Separate the working file from the print master, lock the master against further edits, and label filenames with clear dates and version numbers so the printer has a single source of truth
Related articles

The Print × AI weekly
The print and AI know-how designers, brands and enterprises can use before they commit — one email, every week
MINDS Free Tools
Imposition calculator and preflight file check — free prepress tools, right in your browser.
MINDS Group
Need actual printing or gifting services?
From premium printing to online ordering and festive gifts — the MINDS Group sister brands take it from here.