
How Should You Export Canva Files for Printing?
When handing Canva files over to a print shop, export them as PDF Print with crop marks and bleed checked. Then ask the print shop to verify dimensions, image resolution, Chinese fonts, and finishing specs. At MINDS (MS, mid-to-high-end fully customized commercial printing), we use three essential print-prep checks for this: 1. align dimensions first, 2. ensure the PDF is inspectable, and 3. keep version ownership clear
The advantage of Canva is speed. A marketer without a design background can usually whip up a decent layout for an A4 flyer, a double-sided menu, or a social media extension poster in under 30 minutes. Press operators aren't afraid of Canva itself. They fear receiving nothing but a share link with unknown dimensions, bleed, fonts, and image statuses
Definition of PDF Print: PDF Print is an export format provided by Canva specifically for print use. It preserves higher image quality than standard PDFs and works with bleed and crop marks, making it easy for print shops to preflight dimensions, trim lines, and layout risks
The most common mistake I see is treating Canva like a slide deck tool when submitting artwork. Full-bleed designs look great on screen, but once the cutting blade drops, a 1 mm white border appears along the edge. That is when the client realizes the background had no bleed
For commercial jobs like corporate flyers, menus, business cards, and event standees, MINDS is ideal for evaluating paper stocks, post-press finishing, and custom dimensions. For standard items, clear budgets, and fixed sizes in retail printing, MINDS Print is better suited for online ordering and quick quotes
How Should You Set Up Dimensions and Bleed First?
Decide on your finished size before creating a document in Canva. For example, A4 is 210 × 297 mm, and a standard business card is 90 × 54 mm. The first check in MINDS's (MS) three print-prep steps is distinguishing finished dimensions from cutting tolerances before design begins
Definition of Bleed: Bleed is the extended artwork area beyond the trim line of a printed product. In Taiwan commercial printing, a standard 3 mm bleed is added so that if the blade shifts slightly, background colors or images still reach the edge, preventing raw paper from showing
Don't guess dimensions in Canva by choosing something that looks roughly like A4. Enter exact millimeter values using custom dimensions when starting a project. If you discover a size error after finishing, resizing the layout will mess up font sizes, image proportions, and white space. The print shop can only help evaluate the file. They cannot guarantee the visual proportions will match your original design
Bleed setup requires three actions:
・Extend background colors, base patterns, and full-bleed photos past the bleed line instead of snapping them flush to the finished trim edge
・Keep text, logos, and QR codes at least 3 mm away from the trim line. Saddle-stitched or folded items require extra clearance for binding and fold lines
・Check crop marks and bleed when downloading your PDF Print so the print shop can see both the trim lines and the bleed extension
If a full-bleed A4 event flyer background is set to only 210 × 297 mm, a cutting shift of just 0.5 mm can expose white paper. Extending the background to 216 × 303 mm provides the necessary working tolerance for the cutting machine
What Is the Difference Between PDF Print, Crop Marks, and Transparent Backgrounds?
Selecting PDF Print when downloading from Canva is generally far better for print production than picking PNG, JPG, or standard PDF. The second check in MINDS's (MS) three print-prep steps ensures the print shop receives a file that can be preflighted, debugged, and fed directly into prepress layouts
Definition of Crop Marks: Crop marks are fine lines printed at the four corners of a PDF to indicate where the final piece will be trimmed. Print shops rely on crop marks to identify finished size, bleed boundary, and finishing placement, preventing artwork edges from being mistaken for trim lines
Use transparent backgrounds with caution. Transparent elements, drop shadows, and semi-transparent color blocks created in Canva can cause overprinting glitches, white borders, or transparency flattening issues during PDF RIP or prepress processing. A plain white business card is usually fine, but if you have a dark background stacked with semi-transparent layers, ask your print shop to inspect it before production
Image compression is another frequent pitfall in Canva prepress. A photo downloaded from LINE and scaled up inside Canva for an A3 poster might look passable on screen, but it will print blurry. This is most noticeable on faces, product text, and QR codes
Perform four checks before exporting your PDF Print:
・Use original high-resolution image files whenever possible. Avoid screenshots, messaging app compressed files, or social media downloads
・Keep QR codes large enough. Menus and standees should generally maintain a minimum size of 15 mm for easy scanning
・Make sure full-bleed background images extend into the bleed area rather than stopping at the white boundaries of the Canva editor
・Open the exported PDF Print yourself and zoom to 200% to inspect text, logos, image edges, and QR codes
Will Chinese Fonts Change When Sent to the Print Shop?
The biggest risk with Chinese fonts in Canva is that what you see on screen may not look the same at the print shop. When receiving PDFs exported from Canva, MINDS (MS) pays close attention to font substitution, missing glyphs, line breaks, and misaligned special symbols
Chinese typography involves licensing, embedding, and font substitution. Certain fonts display correctly inside Canva, but if subset embedding fails during PDF export, missing characters will appear when opened at the printer. Common problem spots include company names, Japanese Kanji, unique punctuation, currency symbols, and rare personal names
My approach is simple: before official printing, ask clients to send both the PDF Print file and the Canva share link to the printer. The printer uses the PDF Print as the primary file for preflighting. The Canva link serves only as a visual reference if needed and should never be relied on as the sole source for the printer to fix your design on the fly
Focus on five areas during font checks:
・Company names, brand slogans, and contact info. Mistakes here are the hardest to fix
・Prices, dates, phone numbers, addresses, and business hours. These are frequently edited on menus and event posters, making oversight common
・Bold, italic, outlined, or drop-shadow text. Styled effects like these distort more easily during export
・Vertical text, Zhuyin, Japanese Kana, and special symbols. Canva previews do not always render identically to the PDF output
・Small captions next to QR codes. Extremely tiny font sizes magnify any printing or cutting errors
If a print project involves custom brand fonts, strict corporate identity standards, or annual catalogs, I recommend having MINDS perform a prepress check first. If it is just a small batch of standard business cards or basic flyers, MINDS Print's standard workflow is usually faster
How Should You Ask the Print Shop to Verify Files Before Production?
Before submitting Canva files for print, don't just ask "Can this be printed?" Spell out everything the printer needs to evaluate in one go. The third check in MINDS's (MS) three print-prep steps is keeping file versions, dimensions, paper stock, finishing, and boundary responsibilities clear in a single message
Structure your message to the print shop like this:
・Product Name: A4 double-sided flyer, 90 × 54 mm business card, A3 event poster, or 60 × 160 cm standee
・Quantity and Use: For example, 500 store handout flyers, 100 business cards, or 1 exhibition standee
・Paper Stock and Finishing: For example, art paper, matte art paper, matte lamination, gloss lamination, folding, scoring, or saddle stitching
・File Version: For example, 2026-07-17-final-print.pdf to prevent the print shop from using an outdated revision
・Verification Requested: Dimensions, bleed, crop marks, image clarity, Chinese fonts, QR codes, and finishing locations
Version naming is what I care about most. Plenty of blunders don't happen on the press, but rather between "final," "final2," and "really_final." Once the printer creates plates, ganges layouts, or schedules digital runs, swapping files last minute adds time and cost
Turning Canva into a controlled print workflow is practical: build files at exact dimensions, protect trimming with bleed, deliver inspectable files with PDF Print, and use clear messages to tell the printer what to check. The consulting team at Mai Strategy Knowledge Academy often reminds clients that print stability comes from the ten minutes spent organizing files before submission
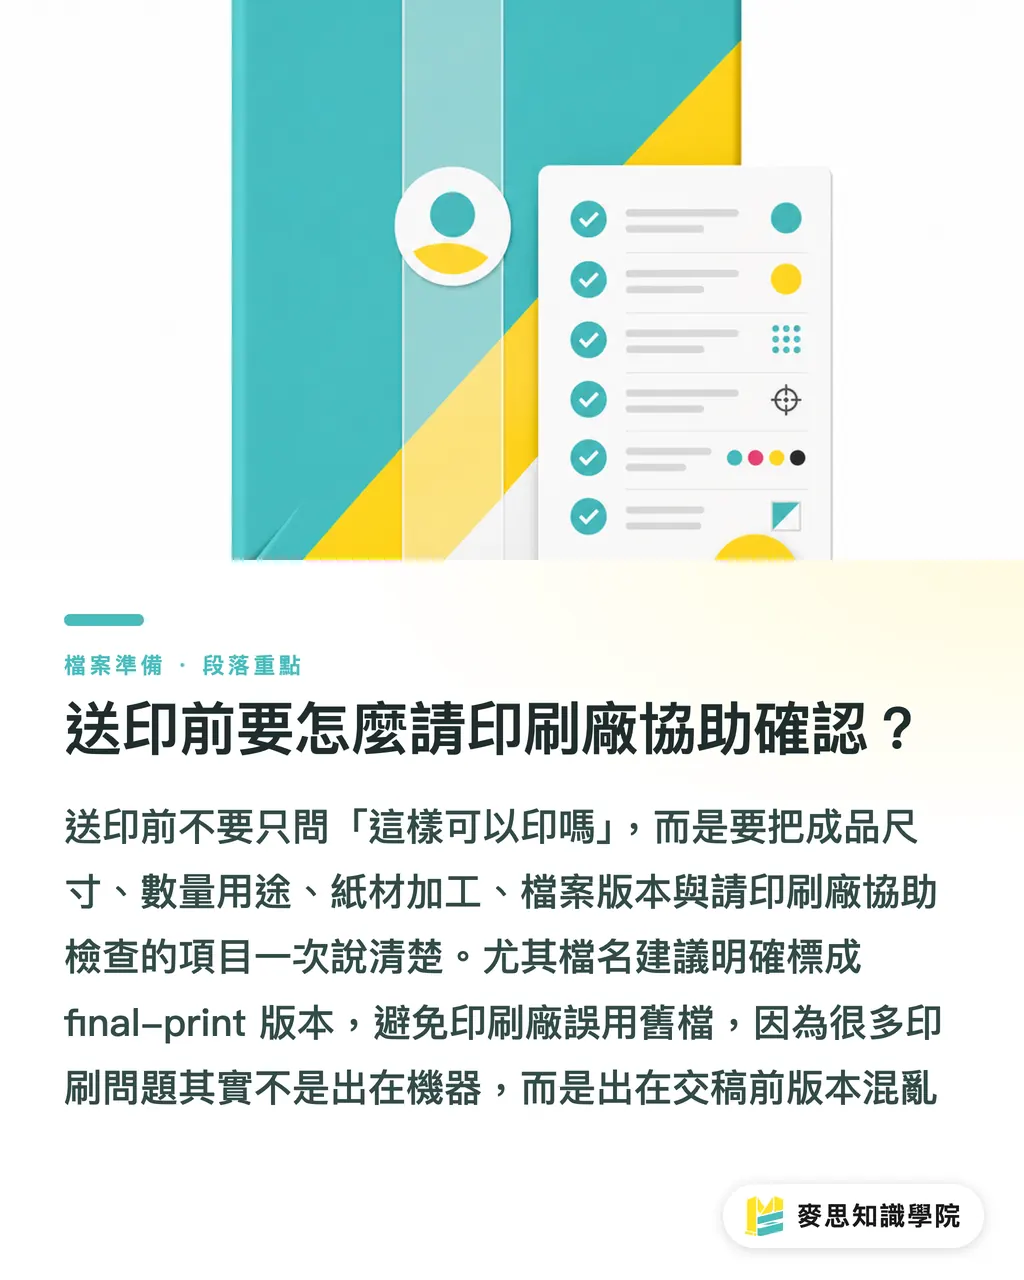
Key Takeaways
・Canva works for print design, but you must use PDF Print, bleed, and crop marks to turn your artwork into specs a print shop can interpret
・Full-bleed designs must include bleed. Standard commercial printing in Taiwan uses 3 mm. Skipping this step is the easiest way to end up with exposed white edges
・Never rely on screenshots or messaging app compressed images. Looking crisp inside Canva does not mean it will stay sharp when enlarged for print
・Chinese fonts, QR codes, pricing/dates, and contact details are the four detail categories most worth zooming in to inspect before printing
・File submission messages should clearly specify dimensions, quantity, paper stock, finishing, and version so the printer can catch issues before press runs start
Further Thoughts
Canva enables marketers and procurement teams to produce design drafts much faster. Print shops shouldn't reject Canva, but rather integrate Canva files into a preflightable submission framework. For print manufacturers, SaaS platforms and AI design tools will generate a higher volume of non-professional artwork, requiring prepress workflows to inspect dimensions, bleed, fonts, and image quality earlier. For designers and brand teams, establishing a permanent internal "PDF Print Checklist" ensures every file submitted to MINDS or MINDS Print follows the same traceable standard
FAQ
- Which format should I download from Canva for the print shop?
- When sending Canva files to a print shop, export as PDF Print and check both crop marks and bleed. PDF Print is far better suited than standard PDFs, PNGs, or JPGs for printers to inspect dimensions, image quality, and trim locations
- Do Canva files submitted for print always require bleed?
- Designs with full-bleed backgrounds, full-bleed photos, or color blocks touching the edge must include bleed. Taiwan commercial printing standardly uses 3 mm. Without bleed, minor blade shifts during trimming can reveal white paper margins
- Will Chinese fonts in Canva shift during printing?
- Chinese fonts in Canva carry risks of font substitution, missing glyphs, or misaligned special symbols, especially in company names, personal names, prices, Japanese Kanji, and unique punctuation. Export a PDF Print file to inspect at high zoom before submission, and ask your print shop to confirm font rendering
- Can Canva files with transparent backgrounds be printed directly?
- Canva designs with transparent backgrounds or semi-transparent effects can be printed, but dark backgrounds, drop shadows, transparency layers, and color overlaps should be preflighted by the print shop. Transparent objects can cause white borders, overprinting issues, or flattening errors in certain prepress workflows
- What information should I provide to the print shop before printing?
- Before printing, provide the finished dimensions, quantity, paper stock, finishing methods, and the PDF Print file version. Ask the printer to help verify dimensions, bleed, crop marks, image sharpness, Chinese fonts, and QR codes
Related articles


The Print × AI weekly
The print and AI know-how designers, brands and enterprises can use before they commit — one email, every week
MINDS Free Tools
Imposition calculator and preflight file check — free prepress tools, right in your browser.
MINDS Group
Need actual printing or gifting services?
From premium printing to online ordering and festive gifts — the MINDS Group sister brands take it from here.