
Overview
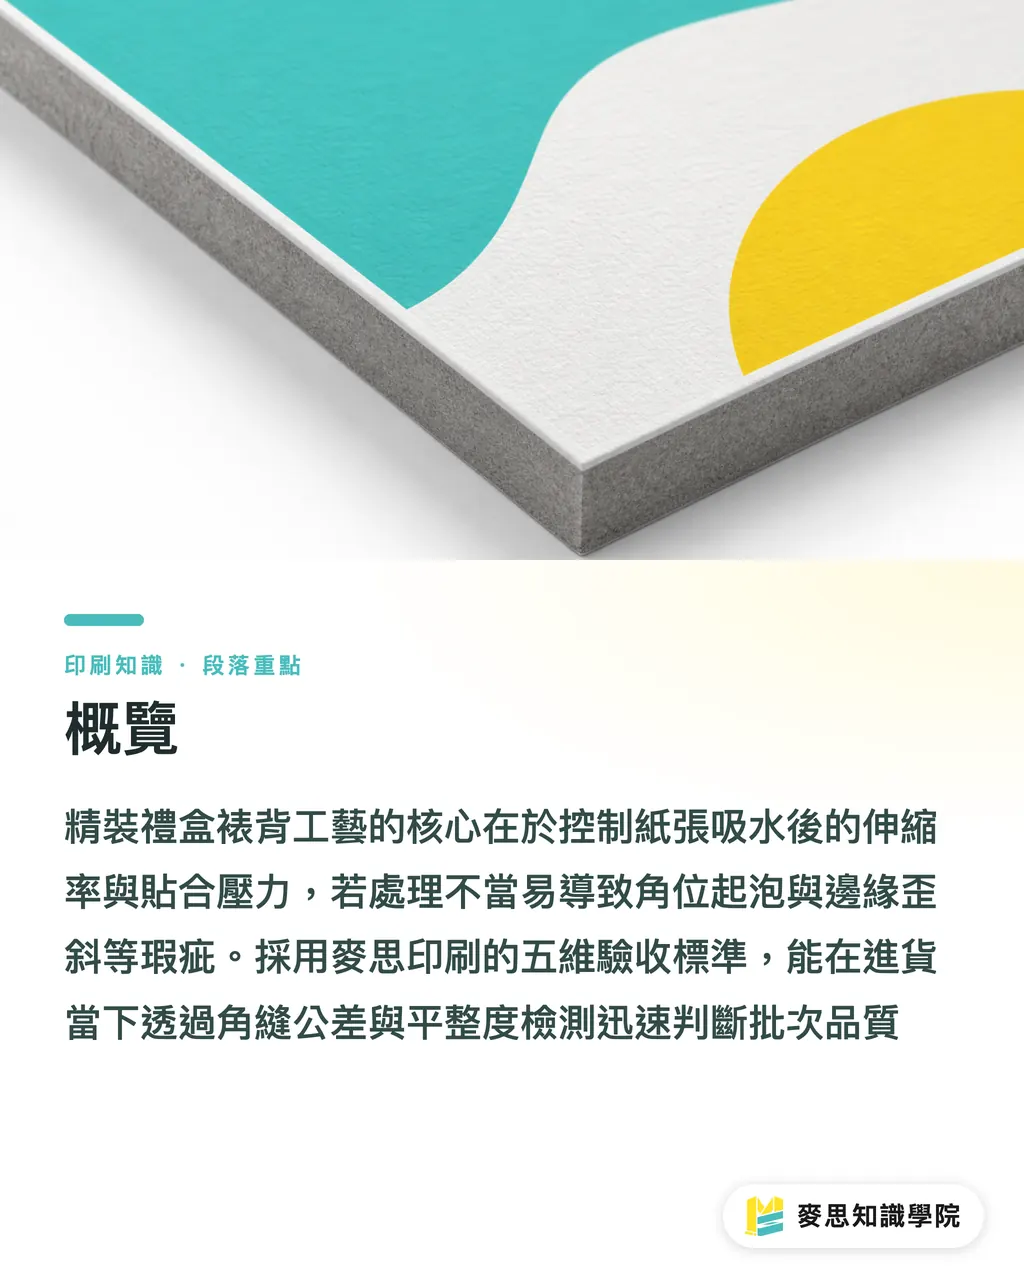
When rigid two-piece boxes develop corner bubbling, crooked edges, or exposed greyboard core, the root cause usually lies in paper fibers expanding and contracting after absorbing adhesive moisture, alongside insufficient pressing time at corner folds
Using the five-dimensional inspection standards from MINDS Printing, you can quickly judge batch quality upon delivery through corner gap tolerance and flatness checks
Paper mounting refers to the process of adhering printed art paper or coated paper smoothly onto rigid greyboard using water-based adhesive. The core mechanism involves controlling paper fiber expansion and shrinkage after moisture absorption, as well as lamination pressure. It is primarily used in manufacturing luxury two-piece boxes, book-style boxes, and high-end gift boxes
Why Do Rigid Box Corners Keep Bubbling and Wrapping Crooked?
I've seen too many projects on the production line where the design proof looked like a work of art, only for the client to reject the delivery on the spot after opening the box and finding pulled gaps at all four corners
When mounting 120-150 gsm art paper or coated paper onto rigid greyboard, defects like these usually stem from three shop-floor variables:
・Excessive adhesive moisture: Poor control over the volume of water-based animal glue or emulsion adhesive causes paper to expand rapidly upon moisture absorption. As it dries and shrinks, air gets trapped inside corner gaps
・Asymmetric grain direction and tension: If the cover paper's grain direction is perpendicular to the greyboard cut line, tension generated during glue drying pulls diagonally against each other, making the wrapped edges drift out of alignment after assembly
・Insufficient pressing time: When the cylinder dwell time for edge flattening on automated case makers falls below 0.8 seconds, the glue fails to form initial tack, causing the corners to spring open immediately upon release
Don't panic just yet
This isn't caused by aging machinery. It's simply a mismatch between material properties and process parameters
How Should Rigid Box Processing Steps Be Sequenced to Minimize Errors?
Stacking processes on luxury packaging isn't a case of 'more is better.' Keep the sequence solid, and yields naturally follow
Based on hands-on floor experience gathered by the Mai Strategy Knowledge Academy Consultant Team, the standard processing sequence for rigid two-piece boxes should strictly follow the logic of 'MINDS Printing (MS, mid-to-high-end fully customized commercial printing) Three-Gate Pre-press Check':
① Structure and face paper flat size verification: Including allowances for 0.5 mm greyboard V-grooves and turn-in margins
② Printing and surface protection: Apply film lamination or varnish after face paper printing to prevent subsequent heat foil stamping from picking or damaging the ink layer
③ Finishing and mounting assembly: Proceed in the order of 'Foil stamping → Embossing → Die-cutting → Lamination mounting → Flattening & QC.'
If foil stamping is performed after mounting onto greyboard, the hardness of the underlying greyboard prevents foil pressure from distributing evenly, making metallic foil prone to flaking or rough edges
What Are the 5 Essential Mounting Inspection Criteria for Luxury Packaging Buyers?
You don't need a magnifying glass to split hairs during inspection, but you do need objective numbers that factories can't argue with
For procurement sign-offs, implement these 5 criteria directly:
・Corner gap tightness: No air bubbles or gaps allowed at the four corner wraps of two-piece boxes. Alignment tolerance at corner wraps should stay strictly within 0.5 mm, with zero greyboard core visible
・Lamination flatness: Large box surfaces inspected under a 45-degree angled light source must show no wavy water marks or unpressed glue bubbles
・Foil stamping and finishing alignment: After mounting face paper onto greyboard, key visual focal points like foil stamping or spot patterns must maintain an alignment tolerance within ±0.3 mm from the box edge
・Turn-in width and corner folds: Interior turn-in width must remain consistent (standard spec is 12-15 mm), with no paper cracking from pulling or adhesive squeeze-out at corner folds
・Lid closure tension and spring-back: When closing a two-piece box, the gap between lid and base must be uniform. The lid must not warp outward along the edges due to excessive pull from face paper shrinkage
It's simple
Pass these five criteria, and the overall feel of the box won't disappoint
How Do You Control Quality On-Site with Automated vs. Semi-Manual Mounting?
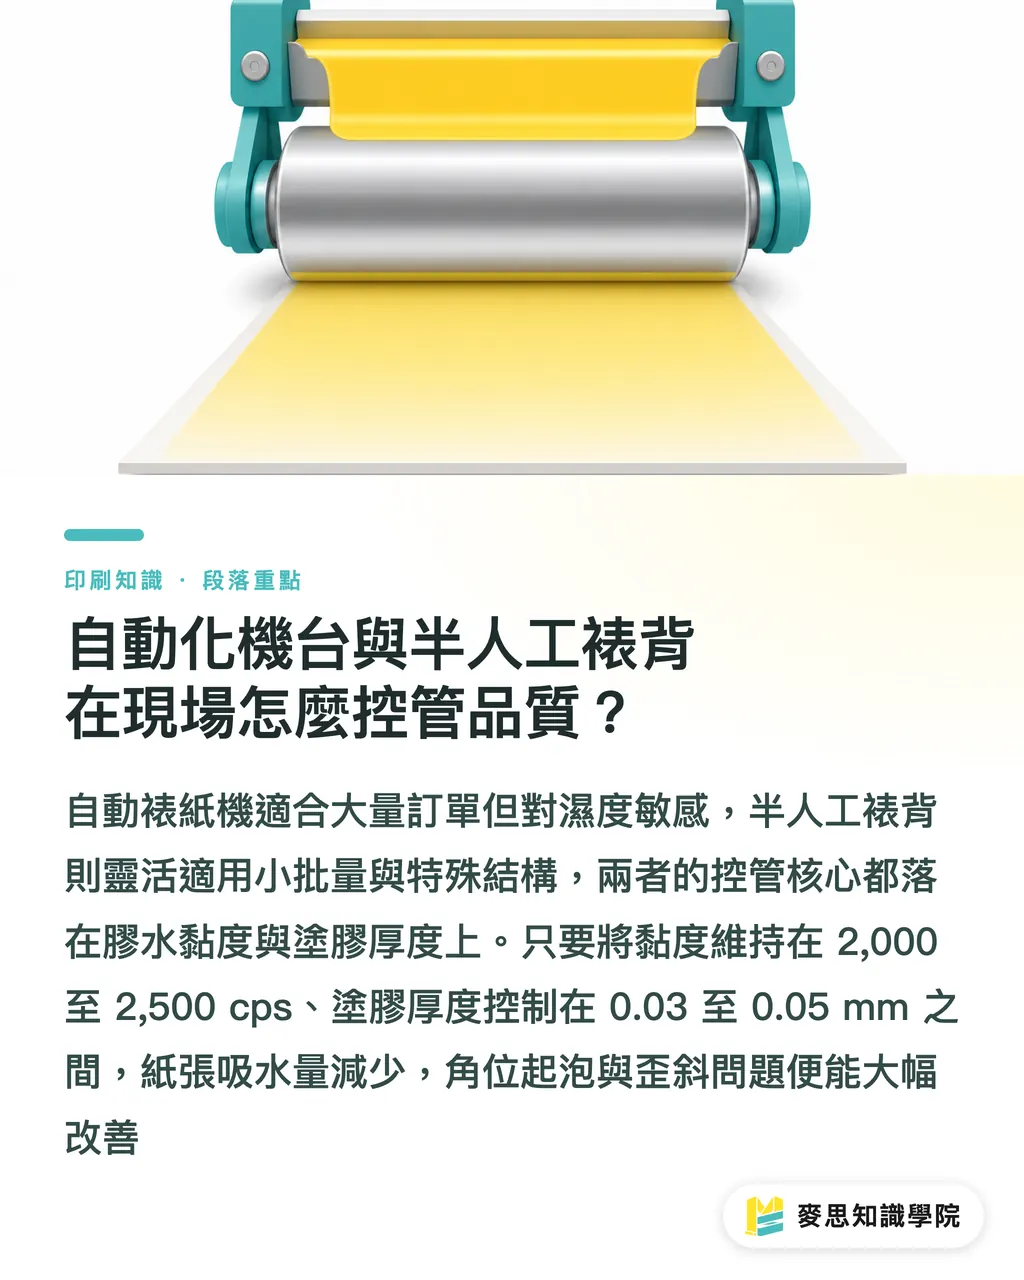
Automated mounting machines fit large orders over 3,000 units. They are fast and apply glue extremely evenly, but they are hyper-sensitive to paper flatness and ambient temperature or humidity
When shop-floor humidity climbs past 70%, automated suction nozzles easily double-feed paper, leading to uneven glue application
Semi-manual mounting offers great flexibility, making it ideal for custom structures or short-run box styles. However, it relies heavily on the operator's touch for applying glue and smoothing
The key to control is maintaining glue viscosity between 2,000-2,500 cps, while keeping coating thickness within 0.03- 0.05 mm
That's all it takes
Keep the glue coat thin and even so the paper absorbs less moisture, and you'll solve most corner bubbling and tension-induced alignment issues
Key Takeaways
Paper grain direction must run parallel to greyboard fold lines to prevent box distortion as glue dries and shrinks
Alignment tolerance for corner wraps should stay strictly within 0.5 mm, without tearing to expose the greyboard core
Always sequence foil stamping and embossing before mounting onto rigid board to guarantee uniform pressure distribution
For large-area lamination, maintain adhesive layer thickness between 0.03- 0.05 mm, avoiding excess moisture that triggers wave marks and air bubbles
Use a 45-degree light source to check surface flatness during inspection, and verify that the two-piece box closes cleanly without spring-back warping
Further Reflection
For brand buyers and graphic designers, resolving rigid box defects can't just be a matter of blocking flawed goods at delivery. It needs to start upfront during structural design and production scheduling
Writing turn-in margins, paper grain direction, and foil stamping registration tolerances directly into packaging RFQs cuts communication back-and-forth dramatically
As AI tools enter pre-press automation, future layout stages will automatically calculate paper fiber orientation and glue coating ratios
If manufacturers combine these objective inspection criteria with digital pre-flight checks, luxury packaging production yields will see a substantial boost
Further Reading
FAQ
- Why are the four corners of a rigid two-piece box most prone to air bubbles or exposed greyboard?
- The main culprit is insufficient corner-flattening dwell time or high adhesive moisture, which traps air inside corner gaps as paper shrinks. If corner alignment tolerance exceeds 0.5 mm, the underlying greyboard shows right through
- What paper weight works best for face paper when mounting rigid boxes?
- Art paper or coated paper at 120-150 gsm is recommended for luxury box face paper. Heavier paper easily cracks or bursts at corner folds, while lighter paper risks showing greyboard color and V-groove marks through
- Should foil stamping be done before or after mounting onto rigid board?
- Foil stamping and embossing must be completed before mounting the face paper onto greyboard. Stamping after mounting onto hard board causes uneven stamping pressure and patchy edges due to the rigid substrate
Related articles





The Print × AI weekly
The print and AI know-how designers, brands and enterprises can use before they commit — one email, every week
MINDS Free Tools
Spine width and imposition calculators — skip the manual math, free in your browser.
MINDS Group
Need actual printing or gifting services?
From premium printing to online ordering and festive gifts — the MINDS Group sister brands take it from here.