

Overview
The typical finishing sequence for a premium box runs: structure confirmation → substrate lamination → printing → laminating → foil stamping → embossing → die-cutting → forming → inspection. When I review premium packaging projects at MINDS Printing, I use what I call the MINDS Printing (MS) three gates before sending a job to press to pin down three things: end use and load-bearing, opening method and display face, and which finishing step the brand wants its hero visual to ride on
A premium box doesn't get more premium just because you stack foil, matte film, spot UV, and embossing on top of each other. On the shop floor, things go wrong when one step changes the paper surface and the next step still runs at the original position, pressure, and temperature. A foil registration drift of 0.5 mm looks fine from a distance and looks obvious the moment someone picks up the box
Premium box finishing sequence: the order of operations from structural design and substrate selection through printing, surface treatment, foil stamping/embossing, die-cutting, and forming/inspection, used to control registration, adhesion, crease quality, yield, and lead time
Why can't you change the sequence on the fly for a premium box?
The worst state for a premium box is a packed design file with an undecided structure. Before asking for a quote, a brand needs to lock down at least five things: end use, load-bearing, opening method, display face, and brand priority. If those five aren't set, every finishing decision after that is guesswork, and the quote drifts further from reality with every revision
The most common case I run into: a brand commits to foil stamping and embossing early, then changes the opening direction later. The Logo that used to sit on the front panel ends up on the side. The foil die, embossing die, and cutting die all need to be re-aligned. A premium box isn't a flat poster, every open, lift, and fold changes which face the viewer sees
Here's how the MINDS Printing (MS) three gates actually work:
・Gate 1, structure: Lock the box style, load-bearing, opening method, and crease positions. No structure, no front face
・Gate 2, printing: Lock primary colors, specialty paper, lamination, and surface adhesion so ink, film, and foil don't fight each other
・Gate 3, finished product: Fold the box and look at the front, the sides, the opening moment, and the shelf angle. Don't judge it from the flat die layout
If the brand is still at the quoting stage, I'd suggest bringing the flat die, substrate direction, and main finishing order to a team like MINDS Printing that handles mid-to-high-end fully custom commercial printing. Quoting isn't asking 'how much for this box', it's pulling out the variables that will make the price run away
What's a stable standard workflow?
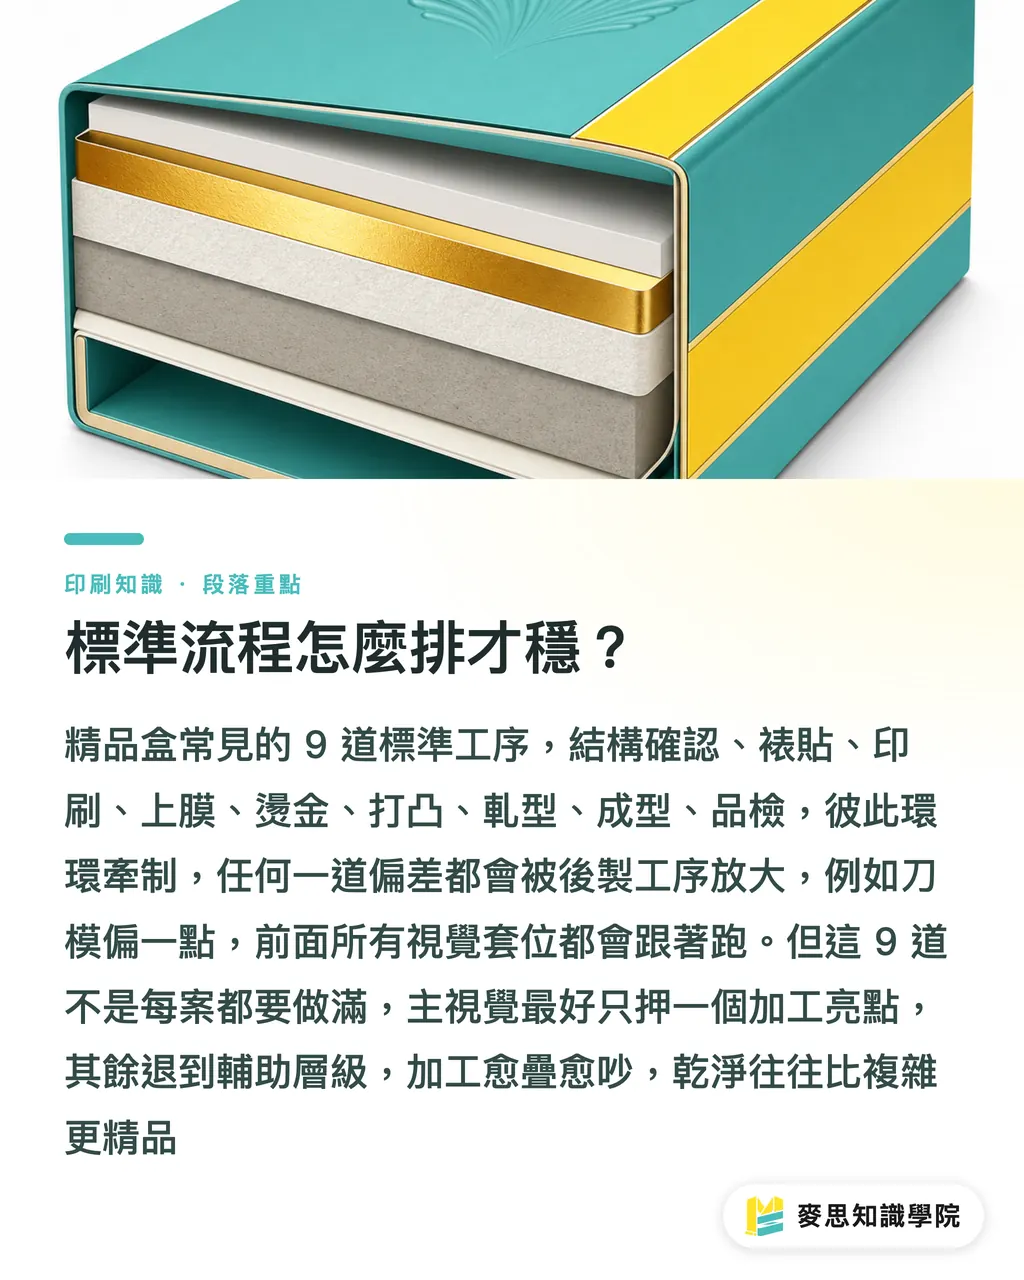
A typical premium box runs through 9 steps: structure confirmation, substrate lamination, printing, laminating, foil stamping, embossing, die-cutting, forming, and inspection. This isn't a fixed rule, but most paper box projects can't escape these 9 checkpoints
・Structure confirmation: Lock the box style, cutting die, crease lines, glue flap, and opening method. Drawer boxes, telescopic boxes, and book-style boxes carry load in very different directions
・Substrate lamination: Match gray board, coated paper, or specialty paper and the lamination layer first. Paper thickness affects crease depth and how tightly the box forms
・Printing: Handle CMYK, spot color, or special colors in the right order. Large dark solid areas tend to amplify whatever the finishing steps do wrong
・Laminating: Matte film, gloss film, or scratch-resistant film changes surface friction and foil adhesion. Not every film plays nicely with every foil
・Foil stamping: Image forms through heat, pressure, and foil adhesion. Fine lines, knockout type, and full-area foil each carry different risks
・Embossing: A male/female die pair pushes the paper surface into relief. Position needs to avoid crease lines, glue flaps, and cuts too close to the edge
・Die-cutting: The die cuts the outer shape and scores the folds. A slight drift in the die line pulls every visual above it off-register
・Forming: Gluing, edge wrapping, pressing, and assembly. The hand feel of a premium box usually gets decided here
・Inspection: Check registration, scratches, glue bleed, exposed white, warping, broken scores, and opening resistance. This step can't just look at the front
Slow down. Not every job needs all 9 steps
Some premium boxes only need printing, laminating, die-cutting, and forming. Clean beats complex. Some fragrance, skincare, and 3C accessory boxes do need foil plus embossing, but the hero visual should still ride on one focal finishing move, with everything else stepping back to a supporting role. Too many finishing layers make the design noisy and the production line miserable
What's the difference between foil, embossing, and laminating order?
Laminating usually goes before foil stamping, because the film protects the printed surface and stabilizes the box's tactile feel. But film affects foil adhesion, especially matte film, scratch-resistant film, and soft-touch film. When the foil won't take, the shop floor answer isn't just 'push harder.' Too much pressure dents the paper or smears the edge
Foil stamping vs. embossing order depends on how much the artwork overlaps. The common approach is foil first, then emboss, so the raised area carries the metallic reflection. If you emboss first and foil second, the stamping plate can't sit flat against the surface, and fine lines plus small type chip more easily. If the Logo is under 6 pt, the strokes are too thin, or the foil lands near a crease line, I usually tell the client to change the design
Registration: the alignment relationship between graphics across different steps. When printing, foil stamping, embossing, and die-cutting overlap, the offset has to be controlled to avoid exposed white, ghosting, or pressure landing on a crease
Premium box registration has 4 relationships to watch:
・Print-to-foil: If the foil edge sits on top of a dark graphic, any offset gets amplified
・Foil-to-emboss: When the foil and the relief don't line up, the misalignment is visible to the touch
・Print-to-die: Graphics too close to the cut line tend to expose white after die-cutting
・Emboss-to-crease: If the embossing die presses on a crease line, the box can crack or fold messily after forming
When the design team wants 'solid black ground, matte film, foil-stamped and embossed Logo,' I look at the Logo size, paper toughness, and the box's fold direction first. That combo is doable, but it shouldn't be a last-minute add-on question, because the dies, pressure settings, and testing time all shift with it
What conditions need to be locked before the design file goes to print?
Before a premium box design goes to print, at least 6 conditions need to be locked: box dimensions, substrate thickness, main display face, finishing positions, bleed and safe margin, and sample confirmation method. Leave any of those open and every later revision pulls the cutting die, the plates, or the forming test with it
・Box dimensions: Length, width, and height need to be reviewed with the actual contents. Product plus inner padding usually takes up more space than the brand team imagines
・Substrate thickness: Gray board caliper, lamination caliper, and crease depth need to be calculated together. Thicker paper isn't just a bigger die
・Main display face: On the shelf, in hand, or at the moment of opening, the face that actually gets seen might not be the center of the design file
・Finishing positions: Foil stamping, embossing, and spot UV need to stay off crease lines, glue flaps, cut edges, and high-friction zones
・Bleed and safe margin: Graphics too close to the edge raise the odds of exposed white after die-cutting. Dark solids make it worse
・Sample confirmation method: Paper swatch, white sample, digital proof, and final press proof are different things. The white sample checks structure; the final proof is what shows color and finishing feel
Most cost blowouts don't come from the printer suddenly charging more. They come from the project 'finishing one step before changing the last one.' Cutting die already cut, then the box style changes. Foil die already made, then the Logo changes. Film already specified, then someone adds spot UV. Each round eats into the lead time. If a premium box has more than 3 finishing steps, I treat sampling as required cost, not a line item to cut
If the brand side is still pulling specs together, the Mai Strategy Knowledge Academy consulting team is a good fit to help turn end use, substrate, structure, and finishing logic into a quoteable spec. Once the spec is clear, the printer can lay the workflow out as a real process instead of guessing alongside the project
How can AI and SaaS help sequence a premium box?
In premium box projects, the most valuable place for AI and SaaS isn't replacing the craftsperson's judgment. It's getting the information cleaned up earlier. If box style, substrate, finishing, lead time, and risk points are scattered across messages, PDFs, quotes, and phone calls, anyone missing one version will probably trigger one round of rework
I'd put digital tools in 4 checkpoints:
・Spec convergence: Have sales, design, and procurement confirm end use, load-bearing, box style, display face, and finishing quantity against the same set of fields
・Risk flagging: When the design puts foil near a crease line or embossing on a glue flap area, the system should flag it before production
・Version control: Cutting dies, print files, foil dies, and embossing dies need clear version numbers. No more relying on filenames like 'final_final_v3'
・Inspection feedback: Log registration drift, scratches, glue bleed, and cracking back into the project. Next round of quoting and scheduling gets more accurate
Print manufacturing wants fewer miscommunications. Design wants fewer reworks. The SaaS team's job is to catch the 'process dependency', which step affects the next one. The premium box finishing sequence is actually a strong candidate for productization: it has a defined flow, conditional logic, and a long list of repeatable mistakes worth prompting for. Done well, the floor craftsperson doesn't feel commanded, they just stop receiving fuzzy files

Key takeaways
・Lock structure first in the premium box finishing sequence, then surface finishing, then forming and inspection
・Whether foil, embossing, and laminating can stack depends on registration, adhesion, pressure, and paper toughness
・Putting one finishing focal point on the hero visual usually reads more premium than packing in four finishing options
・Lock end use, load-bearing, opening method, display face, and brand priority before quoting. That's how cost stays under control
・AI and SaaS are best at managing specs, versions, and risk flags. They shouldn't pretend to know the craftsperson's hand feel
Further thinking
To land a premium box project, the next step is concrete: the print manufacturing side breaks the 9-step workflow into checkpoints, the design side puts finishing positions on their own layer, the brand side locks 5 commercial conditions before quoting, and AI/SaaS teams turn 'which step affects which' into reminder rules. My read is direct: competition in premium boxes won't come from good-looking visuals alone. It will come from whoever can put design, process, lead time, and yield on the same table and talk them through clearly
FAQ
- What's the typical finishing sequence for a premium box?
- The typical sequence is structure confirmation, substrate lamination, printing, laminating, foil stamping, embossing, die-cutting, forming, and inspection. The actual order shifts based on substrate, film, foil area, and box style
- Can a premium box have both foil stamping and embossing?
- Yes, but confirm registration, artwork size, paper thickness, and crease position first. The common approach is foil first, then emboss, so the foil and relief land in the same place
- What should be ready before quoting a premium box?
- Before quoting, lock end use, load-bearing, opening method, display face, and the brand's hero visual. These five conditions directly affect substrate, cutting die, finishing sequence, and lead time
- Why shouldn't a premium box be revised mid-run?
- Every step in a premium box affects the next one. Changing the die pulls the print file with it. Changing the film affects foil adhesion. Changing the Logo may force new plates. Mid-run revisions are the fastest way to lose control of cost and lead time
- How far can AI or SaaS help with premium box production?
- AI and SaaS work well for organizing specs, controlling versions, flagging finishing risks, and accumulating inspection feedback. The actual pressure, paper behavior, and forming feel still need to be judged from physical samples on the print side
Related articles



The Print × AI weekly
The print and AI know-how designers, brands and enterprises can use before they commit — one email, every week
MINDS Free Tools
Spine width and imposition calculators — skip the manual math, free in your browser.
MINDS Group
Need actual printing or gifting services?
From premium printing to online ordering and festive gifts — the MINDS Group sister brands take it from here.