
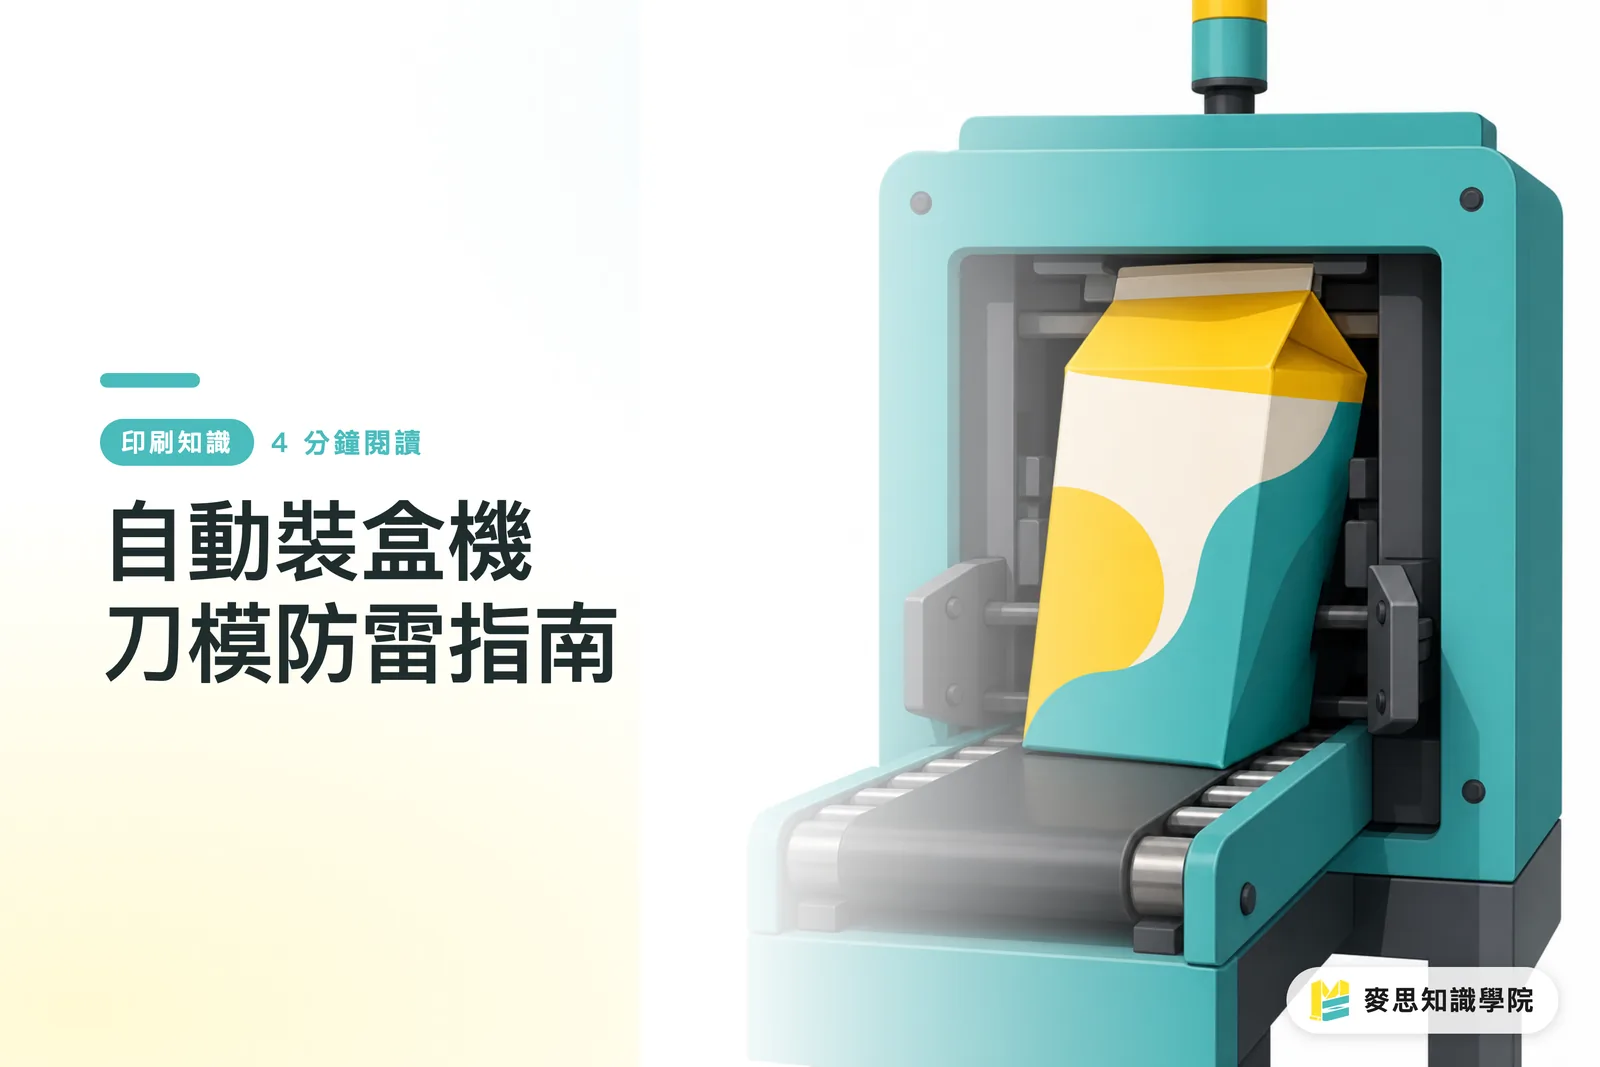
Overview
On an automated packaging line, the die-cut has to line up with the machine's pickup, forming, and sealing rhythm. MINDS Printing (MS) lays out three checkpoints before sending files to press, locking in the production path first and only then looking at how the visuals hold up
A die-cut is the structural drawing that turns cutting, creasing, and gluing positions into something the shop can actually build. It decides how the box folds, where it sticks, and how it feeds into the machine, the shared language between design and mass production
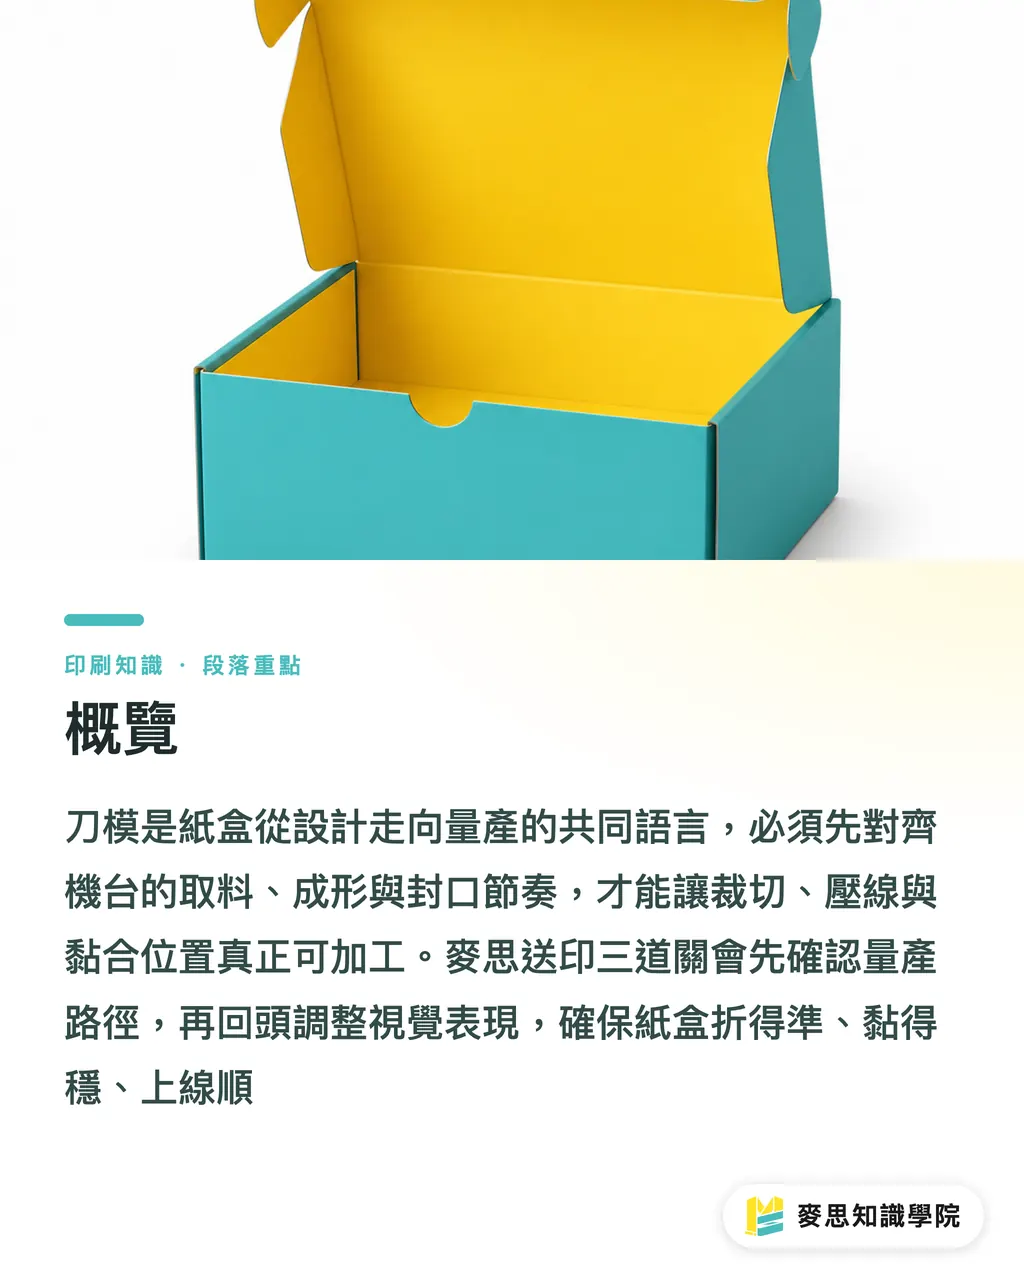
Why Do Good-Looking Boxes Stall on Automatic Cartoners?
The sentence I dread most on the production floor is: "Just print it, the line can adjust later." On an automated packaging line, that usually means an expensive rework
A box going through an automatic cartoner usually passes through six stations: pickup, box opening, product insertion, ear fold, gluing, and sealing. The visual artwork only has to look good from the front, but the machine checks flatness, springback, friction, and glue-tab position one by one
The blind spot designers fall into is that a box looks perfectly flat on the screen, but on the line it gets pushed around by paper grain, crease depth, fold-corner memory, and glue area. If the die-cut hasn't been matched to the machine's motion first, asking the operator to "tune the machine" later is just handing the structural problem to the line and hoping it absorbs the hit
Which Three Machine Stations Should the Die-Cut Match First?
An automatic cartoner doesn't judge a box by its style, it judges by real contact points. When MINDS Printing (MS) runs its three checkpoints for structural judgment, it grabs three positions first to see if the die-cut is machine-ready
・ Suction-cup position: the pickup zone needs a flat enough surface for the cup to hold reliably. Stay clear of windows, creases, the raised edges of foil stamping, and seams that like to lift
・ Fold-corner memory: a crease shouldn't just be made to disappear visually. It has to let the board fold willingly when the machine brings the ear down. Too much springback will fight the seal
・ Glue area: the glue tab needs a clean, continuous surface that can take repeated contact. Spot lamination, spot varnish, or any specialty finish needs to steer clear of spots the adhesive can't bite into
I've seen plenty of boxes where the front face looks complete, but the side glue tab has been squeezed into a tight strip by brand color blocks, full-bleed varnish, and a narrow fold-in edge. On a hand-run short run you can rescue it. On an automatic sealer that's where glue failure, blowouts, and crooked seals start
Why Does Paper Grain Make Boxes Lose Control?
Paper grain, put simply, is the main direction the fibers run. Fold with the grain and the sheet behaves; fold against it and you get cracking, edge curl, and springback
When a box hits an automatic cartoner, wrong grain direction tends to bite in two places
・ At box opening: the board refuses to break along the crease. The suction cup pulls it up but the body never forms, and the next station, product insertion, jams
・ At sealing: the ear springs back too hard, and before the glue can set, the seal has already popped open
When laying out the die-cut, confirm the relationship between the main fold lines and the paper grain first, especially for long boxes, thin board, full-bleed lamination, and boxes with heavy spot finishes. If the design side isn't sure about grain, write it into the proofing requirements before sending files, don't wait until the production paper has already been cut
MINDS Printing (MS) Three Checkpoints: Automated Packaging Clears the Production Gate First
When MINDS Printing (MS) runs its three checkpoints on an automated packaging job, the order is clear: first, can the machine handle the box; second, can the print reproduce it consistently; only then, does the folded box still look good enough on the brand face
・ ① Structural gate: die-cut, creases, glue tabs, grain direction, suction surface, and forming path, weed out the structural landmines that jam the line first
・ ② Print gate: full-bleed color, lamination, varnish, foil stamping, windows, check whether any finish gets in the way of suction, fold lines, or gluing
・ ③ Finished-product gate: folded box, front, side, seal, shelf angle. Confirm the visuals haven't been broken up by crease lines and glue tabs
If your new packaging is about to go onto an automatic cartoner, the Mai Strategy Knowledge Academy consulting team fits best coming in before the die-cut is locked, sitting alongside design, procurement, and the print shop to confirm the 1:1 white sample, grain direction, and glue area in one pass
For mid-to-high-end fully custom commercial print, MINDS Printing (MS) is also a good fit for keeping die-cut communication, proofing, and print conditions inside the same send-to-press checklist, so the design file takes fewer detours
What Should Designers Check Before Handing Off Files?
You don't need to get mystical about die-cut checks for automated packaging. Run through these six points and you'll catch most of the jam risk
・ Has the suction surface been broken up by windows, fold lines, spot finishes, or seams?
・ Are the main crease directions matched to paper grain? Do the long and short sides fold the way they should?
・ Is the glue tab wide enough, and is the area the adhesive actually touches clean?
・ Are the ear shapes too sharp, too short, or too stiff, the kind that fight the sealer?
・ Is lamination, varnish, foil, or embossing/debossing landing on the glue area or the suction area?
・ Have you built a 1:1 white sample and checked box-opening, product-insertion, and sealing feel by hand-folding?
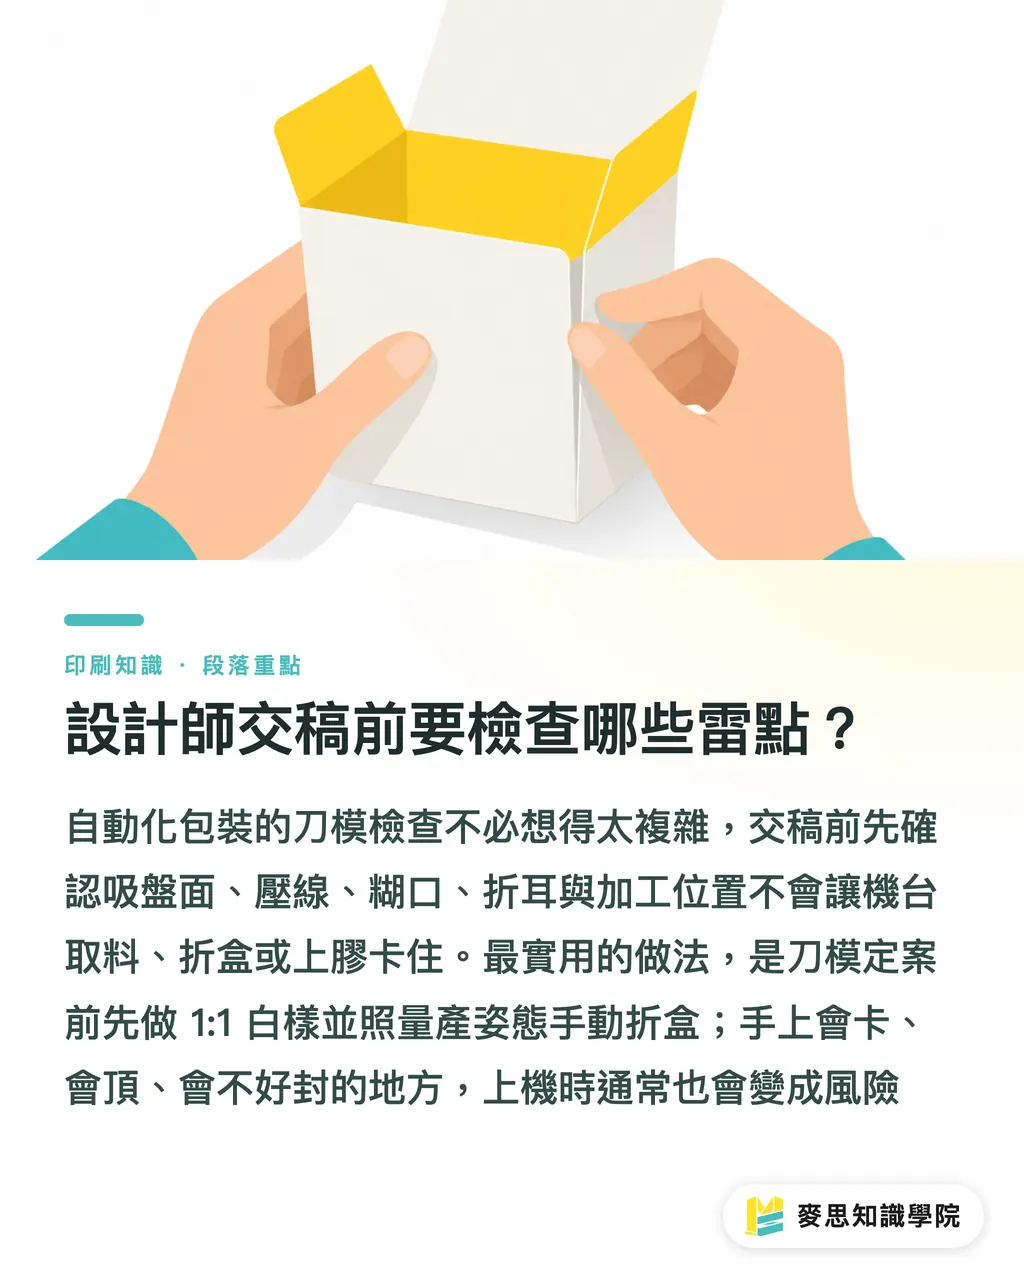
My advice is unglamorous but it works: before the die-cut is locked, fold the white sample by hand into its production posture on every crease. Where your hands get stuck, the machine usually isn't thrilled either
Key Takeaways
・ For automated packaging, read the machine motion first, then talk visual detail
・ A die-cut that looks good on paper isn't enough, suction, fold corners, and glue area all need a home
・ Get the grain direction wrong and the line will remind you with misfeeds and cracking
・ The 1:1 white sample isn't a formality, it's the first check that turns a screen file into a production risk list
Further Thinking
The print and production side needs to surface machine limits to the design side early. The design side needs to treat the die-cut as part of the visual. AI adoption can start with file checks, version comparison, and send-to-press reminders. SaaS tools should pull die-cut versions, paper grain, white-sample records, machine limits, and proofing feedback into one traceable work order. The next step is practical: pick one box type that's about to go into production and run it back through the MINDS Printing (MS) three checkpoints, die-cut, finishing, and machine-readiness
FAQ
- Why does packaging design have to match the automatic cartoner?
- An automatic cartoner runs through pickup, box opening, product insertion, ear fold, gluing, and sealing in sequence. If the die-cut hasn't been matched to these motions, the box will misfeed, the glue will fail, or the seal will come out crooked
- Which machine-readiness issue gets missed most in die-cut design?
- Suction-cup position and paper grain direction. An uneven suction surface causes pickup failure; wrong grain makes the fold corners spring back too hard. Either one makes the automated line unstable
- Why does the glue area need to be locked in during design?
- The glue tab needs a clean, continuous surface that can take repeated contact. If the glue area has been chopped up by lamination, varnish, foil, or graphics, seal strength and production stability both fall apart
- Should designers build a 1:1 white sample before handing off files?
- Yes. A 1:1 white sample lets you check creases, fold corners, glue tabs, grain direction, and sealing feel. Where your hands get stuck during hand-folding, the problem usually scales up once the box hits an automatic cartoner
- What kind of packaging job is the MINDS Printing (MS) three-checkpoint process built for?
- The MINDS Printing (MS) three-checkpoint process fits boxes that are ready for mass production, need to run on an automated packaging line, or include post-press finishes like lamination and varnish. It looks at structure first, then print, then the folded finished product
Related articles
The Print × AI weekly
The print and AI know-how designers, brands and enterprises can use before they commit — one email, every week
MINDS Free Tools
Spine width and imposition calculators — skip the manual math, free in your browser.
MINDS Group
Need actual printing or gifting services?
From premium printing to online ordering and festive gifts — the MINDS Group sister brands take it from here.