
Overview
A business card is a company's or a person's miniature brand statement, but this small card is often where nightmares begin for designers and print buyers alike. Wrong dimensions, critical information that gets trimmed off, colors that print completely wrong, any one of these problems costs real time and money
From years of troubleshooting on both the production floor and the client side, the vast majority of issues come down to unfamiliarity with the most basic print specifications. This guide breaks it all down in plain language, covering everything you need to know from design to final file
What's the Most Common Business Card Size in Taiwan
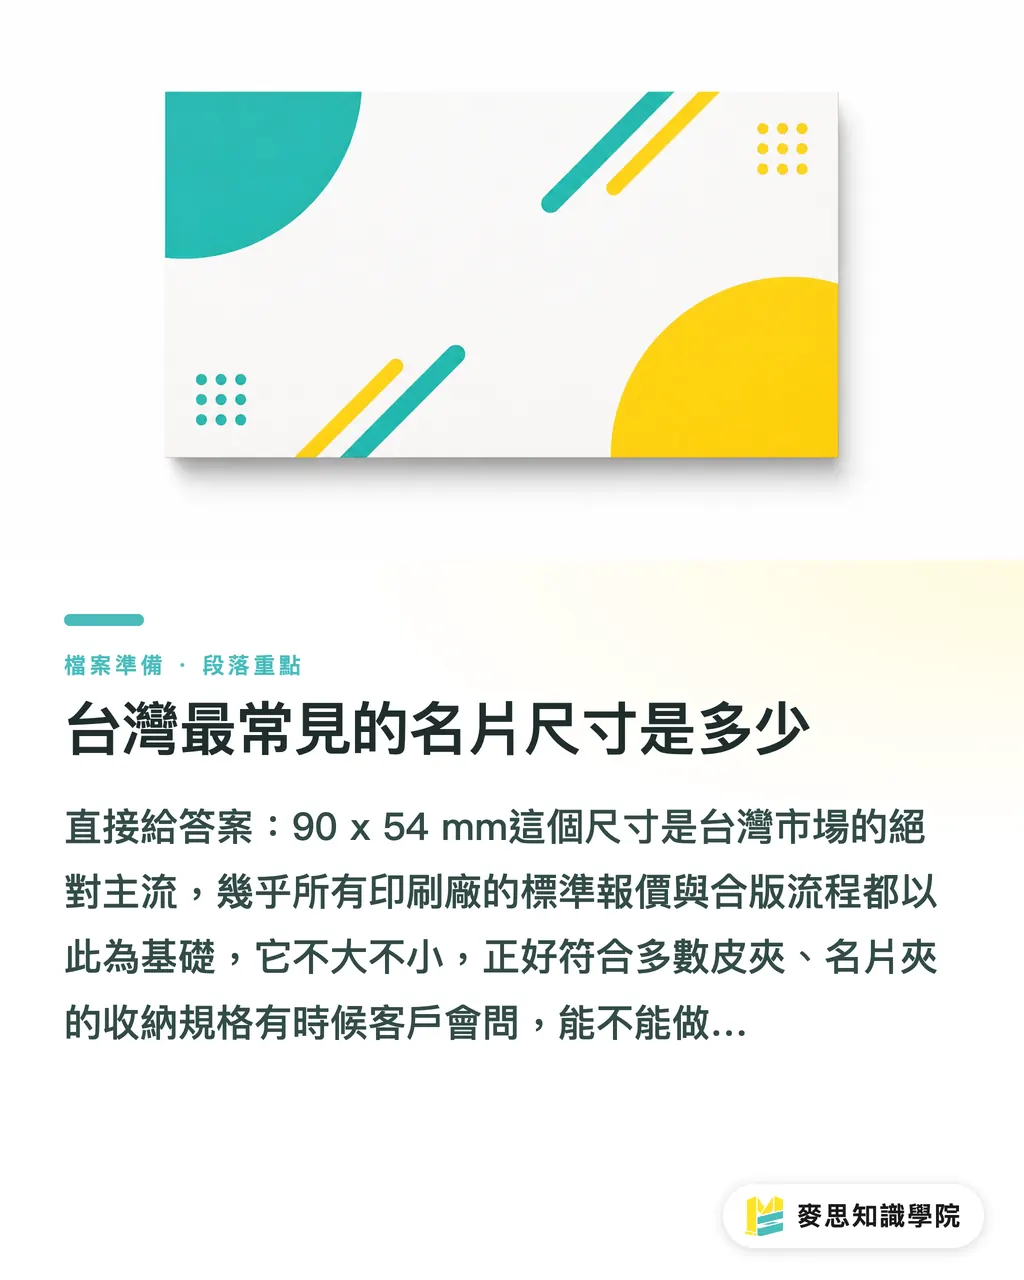
Straight answer: 90 x 54 mm
This is the dominant standard in the Taiwan market. Nearly every print shop's standard pricing and gang-run workflow is built around this size. It fits neatly into most wallets and cardholders
Clients sometimes ask about slimmer or smaller sizes common in Europe, the US, or Japan, like 85 x 55 mm or 91 x 55 mm. The answer is yes, but expect to pay more
Non-standard sizes typically can't be slotted into automated gang runs, which means custom plating or special pricing. Unless you need tens of thousands of cards or your brand really demands that specific ratio, I'd suggest sticking with 90 x 54 mm and putting the budget toward better paper stock or finishing instead
What Is Bleed, and Why Does Every File Need It
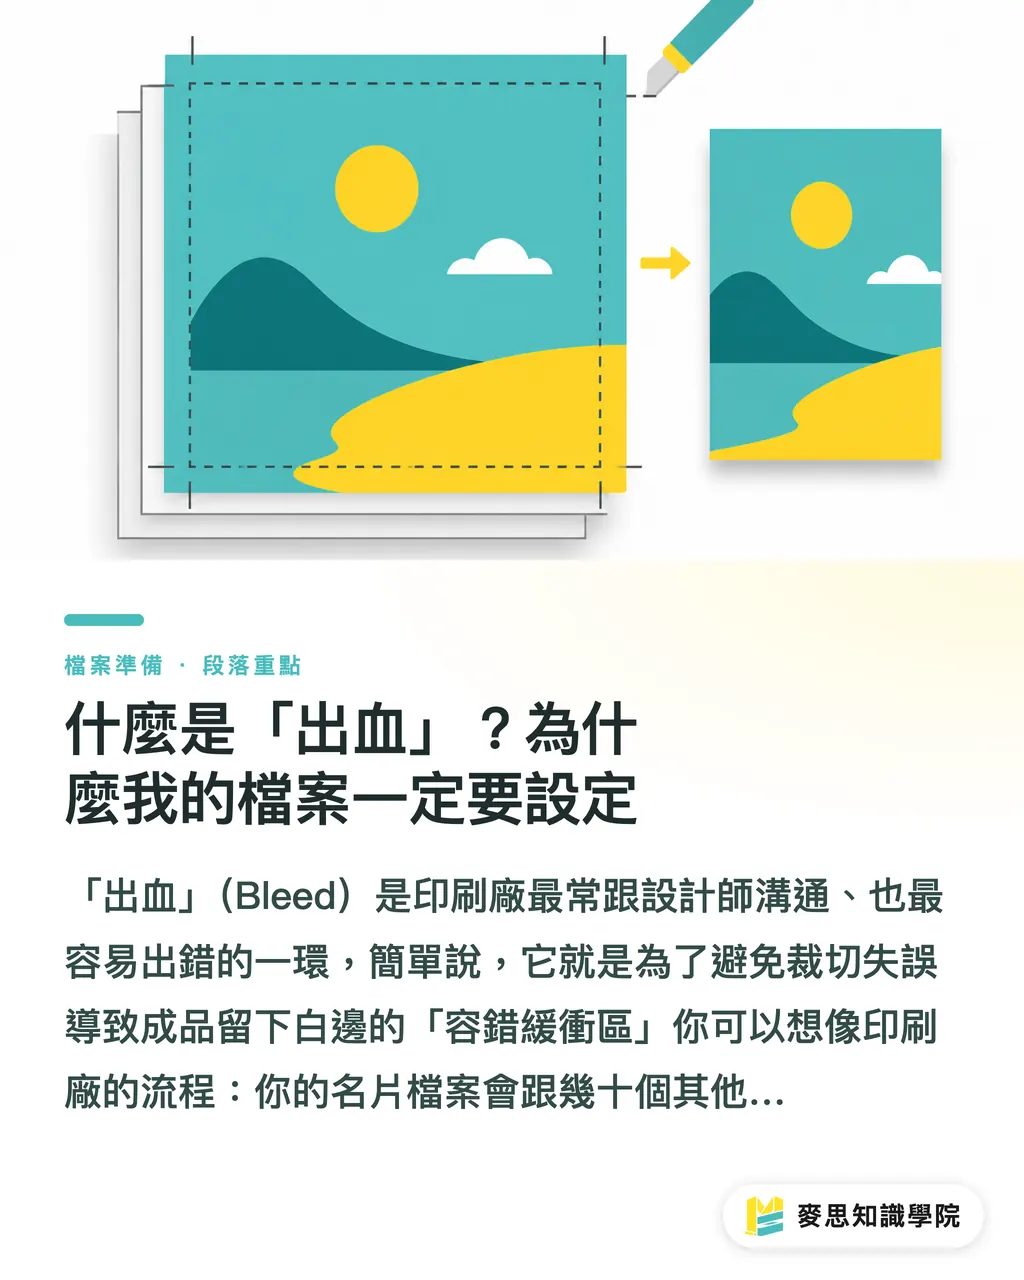
"Bleed" is the single topic print shops bring up most with designers, and the one that causes the most mistakes. Simply put, it's a buffer zone that prevents white edges from appearing on the finished piece when the cut is slightly off
Think about how a print shop works: your business card file gets laid out alongside dozens of other people's files on one large sheet, printed all at once, then cut apart by an industrial cutter. Even with precise machinery, in a high-throughput cutting process there can be a physical margin of error of 0.5 to 1 mm
・If your design has a white background: no problem, a millimeter off won't be noticeable
・If your design has a background color, images, or elements that extend to the edge: without bleed, a 1 mm shift in the cut leaves a very obvious white strip along the edge of your card
That's why professional prepress setup always extends the design content beyond the trim edge. That extended area is the bleed. The standard recommendation is 3 mm on all four sides
So for a business card with a finished size of 90 x 54 mm, your design document must be 96 x 60 mm (3 mm added on each side). That extra 6 mm is the bleed zone that gets cut away, it ensures the edge of your finished card looks clean even with minor cutting variation
Beyond Bleed: What Is the Safe Zone
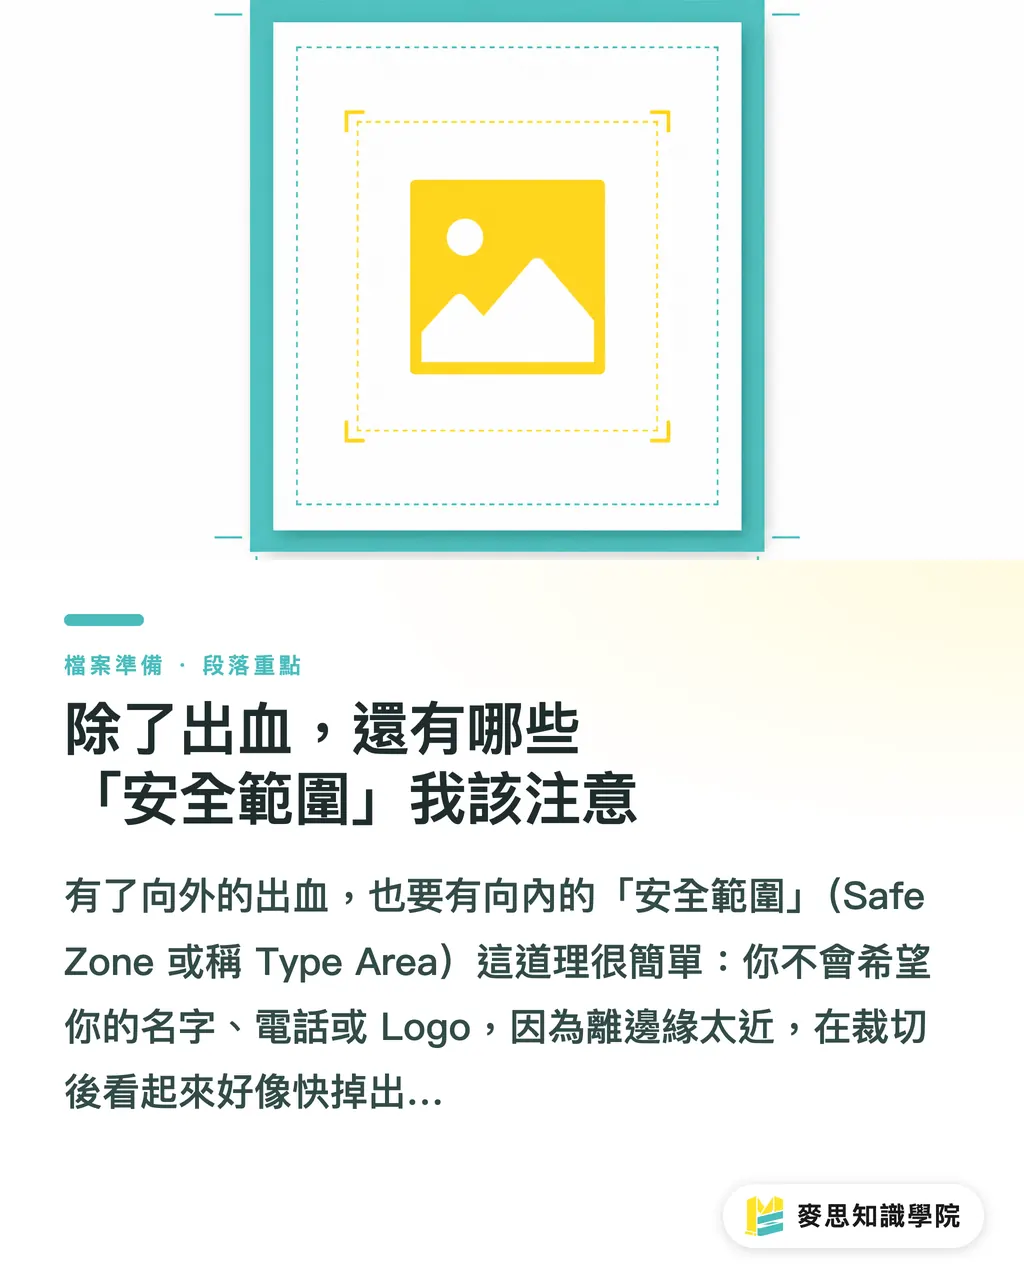
If bleed extends outward, the Safe Zone (also called the Type Area) works in the opposite direction
The logic is simple: you don't want your name, phone number, or logo sitting so close to the edge that it looks like it's about to fall off the card after trimming, or actually gets clipped
My practical recommendation: all critical text, logos, and graphics that need to appear in full should stay at least 3 to 5 mm inside the finished trim edge
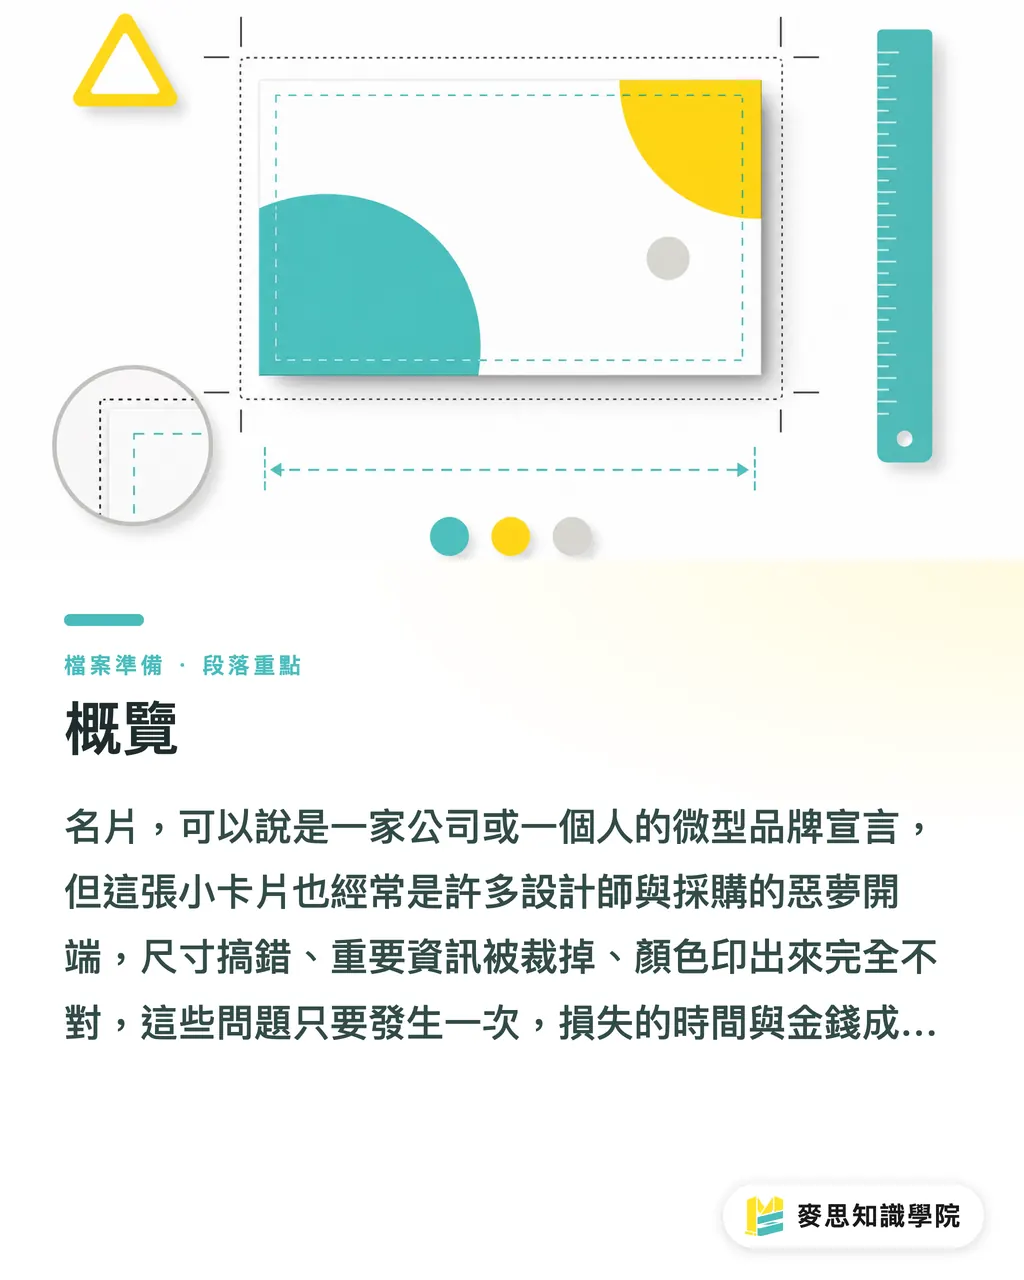
Here's a quick summary of the three key zones:
・Bleed Area: the 3 mm outside the trim line, which gets cut away
・Trim Line: the final finished size of the card (90 x 54 mm)
・Safe Zone: the area 3 to 5 mm inside the trim line, keep all critical content in here
Get this "3 mm out, 3 mm in" principle down and you'll sidestep around 80% of trimming disasters
File Format and Color Mode: Get These Wrong and You're in Trouble
This is the final bridge between screen-side creativity and the reality of the printing press
Color mode: use CMYK, not RGB
・RGB (Red, Green, Blue): the color model used by screens, phones, and TVs. These are light-emitting devices with a wider color gamut, so colors look vivid and saturated
・CMYK (Cyan, Magenta, Yellow, Black): the color model used by printing inks. Colors are produced through reflected light, so the gamut is narrower than RGB
Many designers work in RGB mode, get attached to a brilliant neon green or electric blue on screen, send the file to print, and watch it come out as a dull olive or dark navy. That's not the printer's fault, it's the inevitable result of gamut conversion between the two color models
The safest approach: set your document to CMYK from the moment you open a new file. What you see on screen will then be a much closer match to what comes off the press
File format and resolution: PDF is king, 300 DPI is non-negotiable
・File format: Ai, PSD, and INDD files can all be printed, but I always recommend clients submit a PDF with embedded fonts. It's the most stable, least error-prone format, and guarantees your fonts, images, and layout arrive exactly as intended
・Resolution: all images and raster elements must be set to 300 DPI (dots per inch). Anything lower and you'll see visible blurring or jagged edges on the finished piece, which takes a direct hit at your brand's perceived quality
Key Takeaways
・The standard business card size in Taiwan is 90x54mm; your design file including bleed should be set to 96x60mm
・Bleed is essential for full-bleed designs to avoid white edges after trimming, allow at least 3 mm on each side
・Keep all critical text and graphics at least 3 to 5 mm inside the trim edge to avoid getting cut off
・Set your design file's color mode to CMYK and resolution to at least 300 DPI to minimize color shift and blurring
・For the final print file, strongly recommended to submit as a PDF with all resources embedded
Going Further
For designers, knowing these prepress specifications isn't just technical basics, it's professional credibility. It makes working with printers smoother, cuts down on back-and-forth revisions, and puts you in a position to protect the quality of your clients' brand from the very first touchpoint
For small business owners and procurement staff, understanding these details helps you evaluate design files and quotes more accurately, and avoid extra charges or delays caused by non-compliant files. What a small business card says about a company reflects how seriously that company takes the details
Platforms like MINDS that offer integrated services earn their value by systematizing these processes, providing templates with pre-set bleed guides, online preview tools that automatically flag safe zone issues, and basic checks on color mode and resolution at file upload. Technology helps close the information gap between the design side and the production side, so good design can actually reach print in one piece
FAQ
- How much bleed should I set for a business card file?
- Industry standard is 3 mm of bleed on all four sides. For a 90x54mm card, your design document should be 96x60mm
- Why do the printed colors look different from what I see on screen?
- Screens use the RGB light-based color model, while printing uses CMYK ink. The two work on different principles and have different color gamuts, so some shift from screen to paper is unavoidable. Designing directly in CMYK keeps the difference to a minimum
- Can I use files made in Canva or a mobile app to print business cards?
- Yes, but make sure you download in 'PDF (for print)' format with 'crop marks and bleed' selected, and confirm the color mode is CMYK for the best print results
- What DPI does my business card artwork need to be?
- All placed images and raster elements should be set to 300 DPI. Below that, the printed piece may look blurry or show jagged edges, which hurts the overall quality
Related articles



The Print × AI weekly
The print and AI know-how designers, brands and enterprises can use before they commit — one email, every week
MINDS Free Tools
Imposition calculator and preflight file check — free prepress tools, right in your browser.
MINDS Group
Need actual printing or gifting services?
From premium printing to online ordering and festive gifts — the MINDS Group sister brands take it from here.