
Overview
Many novice print buyers often mistake the perfect layout on screen for the final printed result. In reality, every sheet of paper has thickness, and binding will ruthlessly eat away at your design. For precise pre-press file setup, I always recommend applying the 'MINDS Printing Three-Gate Check': define the trim margin, calculate the creep, and reserve the gutter zone. This workflow will help you fundamentally avoid the tragedy of critical information being sliced off or swallowed by the spine
Creep: The physical phenomenon where inner sheets of paper protrude outward due to the cumulative thickness of outer sheets when folded and bound. The higher the page count and the thicker the paper, the more pronounced the protrusion, causing the margins of inner pages to shrink significantly after trimming
Why Are the Inner Pages of Saddle-Stitched Booklets Always Prone to Getting Trimmed?
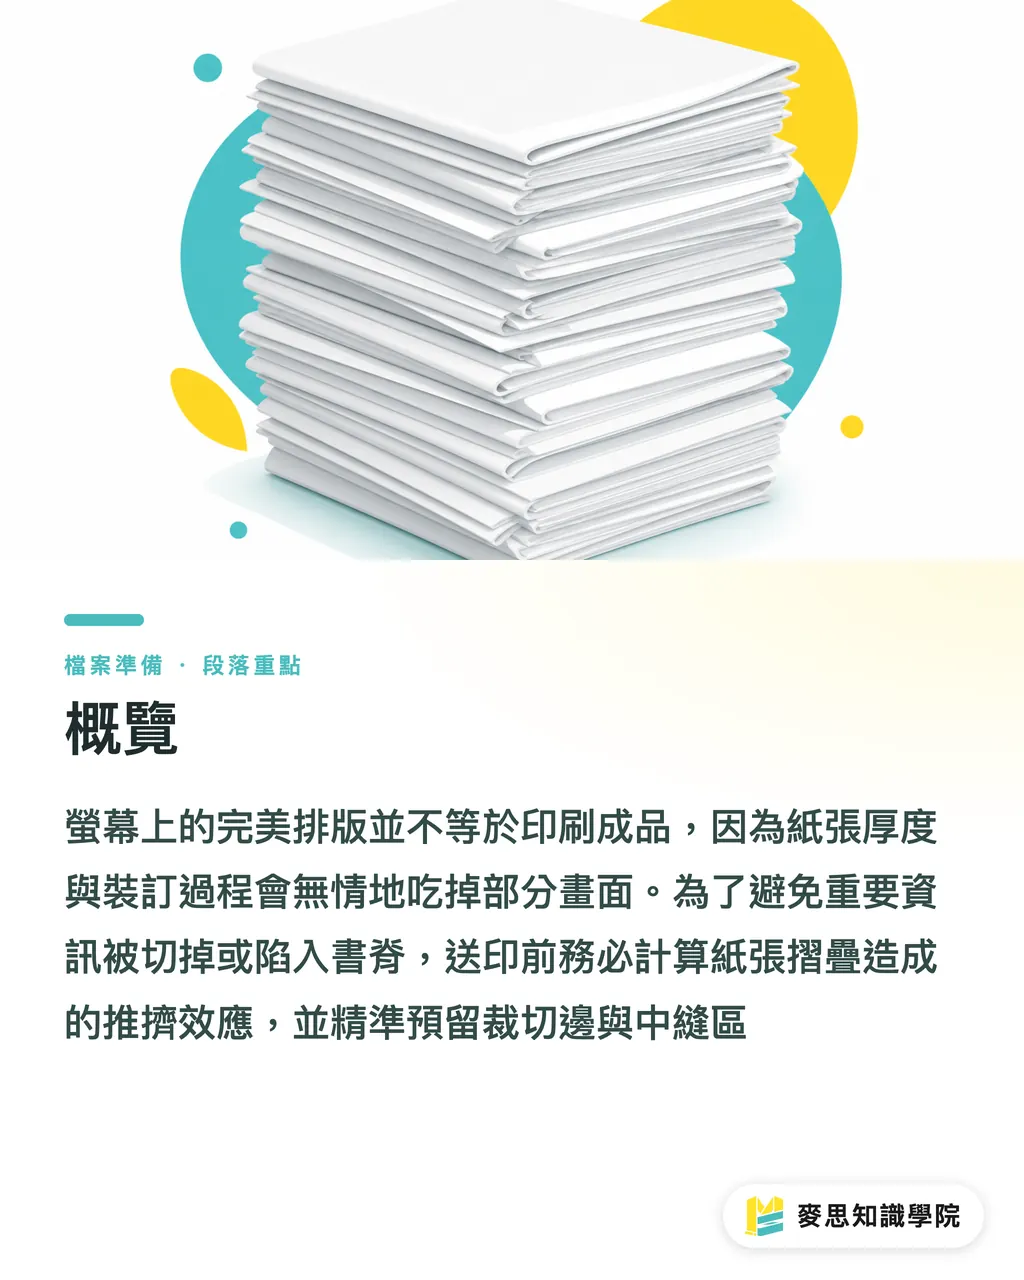
Saddle stitching stacks all sheets together, folds them in half, and staples them down the spine. In the catalog projects I have handled over the past month or two, I often saw designers use 150 gsm art paper for a 64-page saddle-stitched booklet, only for the page numbers on the innermost sheets to get sliced in half by the trimmer
Stacked sheets possess physical thickness. When folded, the innermost sheet is pushed furthest outward by the outer sheets. During post-press edge trimming, a single straight cut inevitably shaves off more of the inner sheets than the outer ones. This is known as the creep effect
To calculate this offset, you can multiply the sheet thickness by half the total number of sheets. For example, if the thickness of a single sheet is 0.1mm, a 64-page booklet equals 32 sheets, half of which is 16 sheets. The innermost page will push outward by approximately 1.6mm. If your safe distance is only the standard 3mm, the design near the inner page edges is in a very risky position
How Many Millimeters of Your Visuals Will a Perfect Bound Gutter Actually Eat?
If you opt for perfect binding, the situation is completely different. Perfect binding stacks individual sheets together and glues them along the spine. Consequently, the book cannot lay 180 degrees completely flat, leaving a concave curve in the center. I have seen far too many double-page spreads of panoramic photos where the subject's face falls exactly in the center, turning the printed result into a tragic puzzle from hell
Generally, the opening angle of traditional perfect binding is limited to about 130 degrees. For a 150-page catalog, the gutter will eat up roughly 5mm of the visuals on both the left and right pages. Therefore, when setting safety margins for the binding edge, we strongly recommend leaving a margin of at least 10 to 15 mm on both sides. To ensure double-page spreads align seamlessly, you can build in a tiny amount of overlap in the center seam. It is far better to have a slight overlap than to have crucial content swallowed by the spine gutter
How Do Page Count and Paper Thickness Influence Our File Preparation Decisions?
Before sending files to print, clarify your project specifications to determine which calculation to use. Thin catalogs of 8 to 48 pages look sleek with saddle stitching, but you must factor paper thickness creep into your outer trim margin. If you are ordering standard short-run printing, you can place your order directly online via MYS (MyPrint), where the system will guide you through basic bleed and size configurations
Books thicker than 64 pages usually require perfect binding or thread sewing. In this case, your defensive focus shifts from the 'trim edge' to the inner 'binding edge'. The heavier the paper weight, the harder the book is to open after perfect binding, and the more the gutter eats into the layout. When dealing with heavy paper of 150 gsm or more, it is safest to set the safety margin of the binding edge directly to 15mm
How Should Small and Medium Agencies Adapt and Implement This in Their Design Workflow?
Don't wait until the design is finished to make changes. The very first step when a designer opens a new file in InDesign should be to ask the print shop about the binding method and paper thickness. Draw layout guides during typesetting to maintain awareness of physical boundaries:
・Saddle stitching: Calculate the creep of the innermost page and increase the safety margin for the outer trim edge by moving it inward
・Perfect binding: Increase the safety margin of the inner binding edge, and make sure key visuals in double-page spreads strictly avoid the dead center
・Dummy proofing: For projects with extremely strict alignment requirements, spend a little extra to have the consulting team at MINDS Printing (MS) create a blank dummy book. Leaf through it to see if any text gets swallowed
This is a principle I've stuck to over my years of managing production procurement. Layout on a screen is ideal, but binding on the production line is reality. Integrate the mechanical physical limits into your design logic to ensure a truly hassle-free print submission

Key Takeaways
・The Achilles' heel of saddle stitching lies in the trim edges; the thicker the paper and the higher the page count, the more the inner pages push out and get sliced off
・The blind spot of perfect binding is the binding edge; the gutter cannot be flattened and will eat into your visuals. Text and graphics should stay at least 15mm away from the spine
・The seam of a double-page spread is always a high-risk area; faces and brand logos must strictly avoid the absolute center of the layout
Further Thoughts
Pre-flight error-proofing for files is a major pain point that SaaS systems and e-commerce printers can capitalize on. Embedding calculation logic for paper thickness, page count, and binding methods directly into the online ordering platform's auto-checking engine, generating precise margin warnings the moment a user uploads a file, is the true industry upgrade that will save designers time
FAQ
- Why does the center of my double-page spread design look misaligned when printed?
- Because perfect binding cannot lie completely flat, creating a concave gutter where the spine is glued. We strongly recommend keeping the focus of your spread layout away from the absolute center, or reserving some overlapping tolerance space during file preparation
- How much safety margin should I actually leave for saddle stitching?
- In addition to the standard 3mm bleed, you must add the amount of creep caused by the paper thickness. The more pages and the thicker the paper, the farther your text and graphics on the outer edges need to be from the border
- How do I determine how many millimeters of creep a book will have?
- Multiply the thickness of a single sheet of paper by half the total page-count sheets. Adding this value to your outer safety margin during pre-press layout will ensure your inner page design clears the trimmer safely
Related articles




The Print × AI weekly
The print and AI know-how designers, brands and enterprises can use before they commit — one email, every week
MINDS Free Tools
Imposition calculator and preflight file check — free prepress tools, right in your browser.
MINDS Group
Need actual printing or gifting services?
From premium printing to online ordering and festive gifts — the MINDS Group sister brands take it from here.