
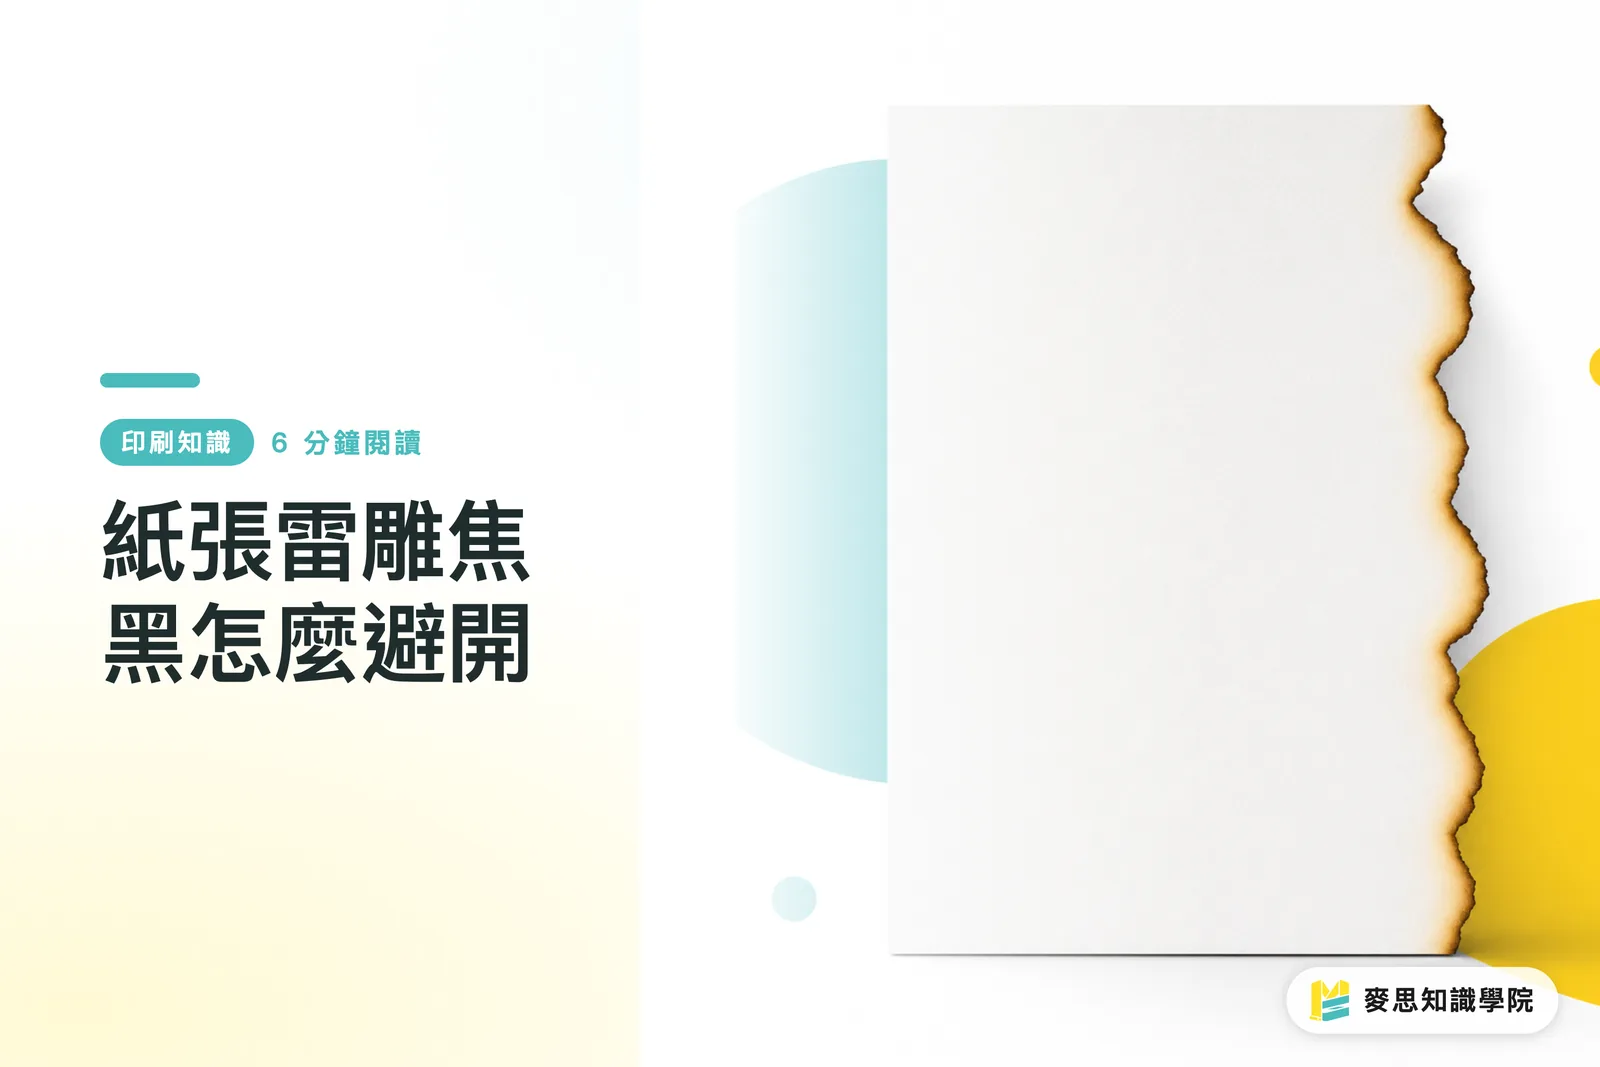
Why Does Paper Laser Engraving Turn Black?
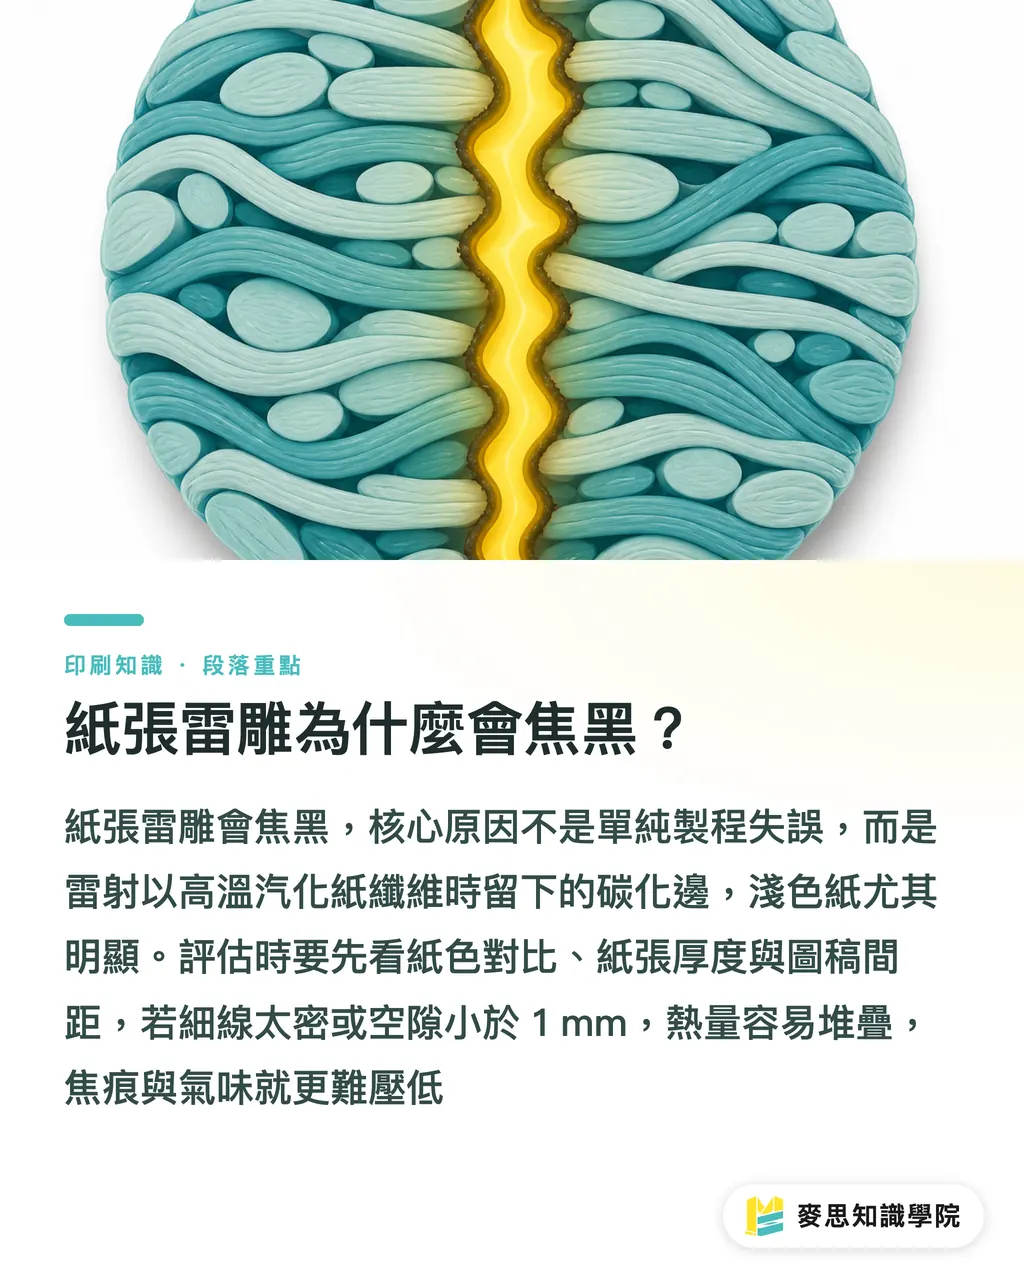
Char on laser-engraved paper isn't a simple process error, it's the carbonized edge left after the laser burns through paper fiber at high heat. When MINDS (MS) evaluates these jobs, we run them through MINDS's three-check submission criteria: ① paper color contrast, ② thickness vs. heat, ③ artwork spacing
Paper laser engraving is defined as using a laser to cut, perforate, or score patterns into paper stock, heat vaporizes the fiber to form lines. Common applications include invitation cards, packaging hangtags, paper sleeves, card decoration, and high-end brand collateral
Burn edge is defined as the brown or black carbonization mark left when paper fiber takes heat, it appears along cut edges, where fine lines intersect, and wherever the laser has made repeated passes. It shows most clearly on light-colored paper
On the production floor, the most common misconception I see is clients picturing a laser like a craft knife, assuming it cuts clean and walks away
A laser isn't a knife. It opens a path through paper using heat, so the thicker the stock, the denser the paths, the longer the laser dwells in one spot, the harder it gets to keep burn and smell in check
For a run of 100 high-end invitation cards, laser engraving can achieve delicate cutouts that conventional die-cutting simply can't
But if the piece is a large full-surface paper cut, especially with lines packed so tight that every gap falls under 1 mm, laser engraving becomes a test of how much heat you can keep from stacking up
Light Paper vs. Dark Paper: Which Shows Burn Marks Less?
Light paper isn't off-limits for laser engraving, but white card, cream, and pale pink stocks put the brown burn edge on full display
Dark paper, black card, deep gray, and navy are more forgiving, the carbonized edge sits close to the paper color, so the visual gap is much smaller
When choosing paper, start with three criteria: paper color, fiber density, and surface coating
・Paper color: White and light stocks work for small-area engraving, where the burn edge becomes a thin shadow. Black card and dark stocks suit large cutouts, the burn mark doesn't fight for attention
・Fiber: Loose, thick stocks, recycled paper, and cotton paper have natural texture, but burned edges tend to fray. Dense, tight stocks cut cleaner, though thicker gauges still show burn
・Surface: Coated or specialty-surface stocks need testing first, heat can cause discoloration, gloss spots, or unexpected odor differences
Thickness has a direct impact too
The same cut line takes less heat to clear on thin stock. Thick stock needs more energy or a slower pass, deeper burn follows naturally
I usually remind designers: when paper gets thicker, open up the pattern details to match, don't force a delicate lace design through thick card
For mid-to-high-end fully custom commercial print jobs, ask MINDS to run proofs on two or three paper options during the sampling stage
The same laser artwork on white card, dark art paper, and thick card, the right answer usually shows itself immediately
How to Set Up Artwork Lines So They Don't Burn Into a Mess
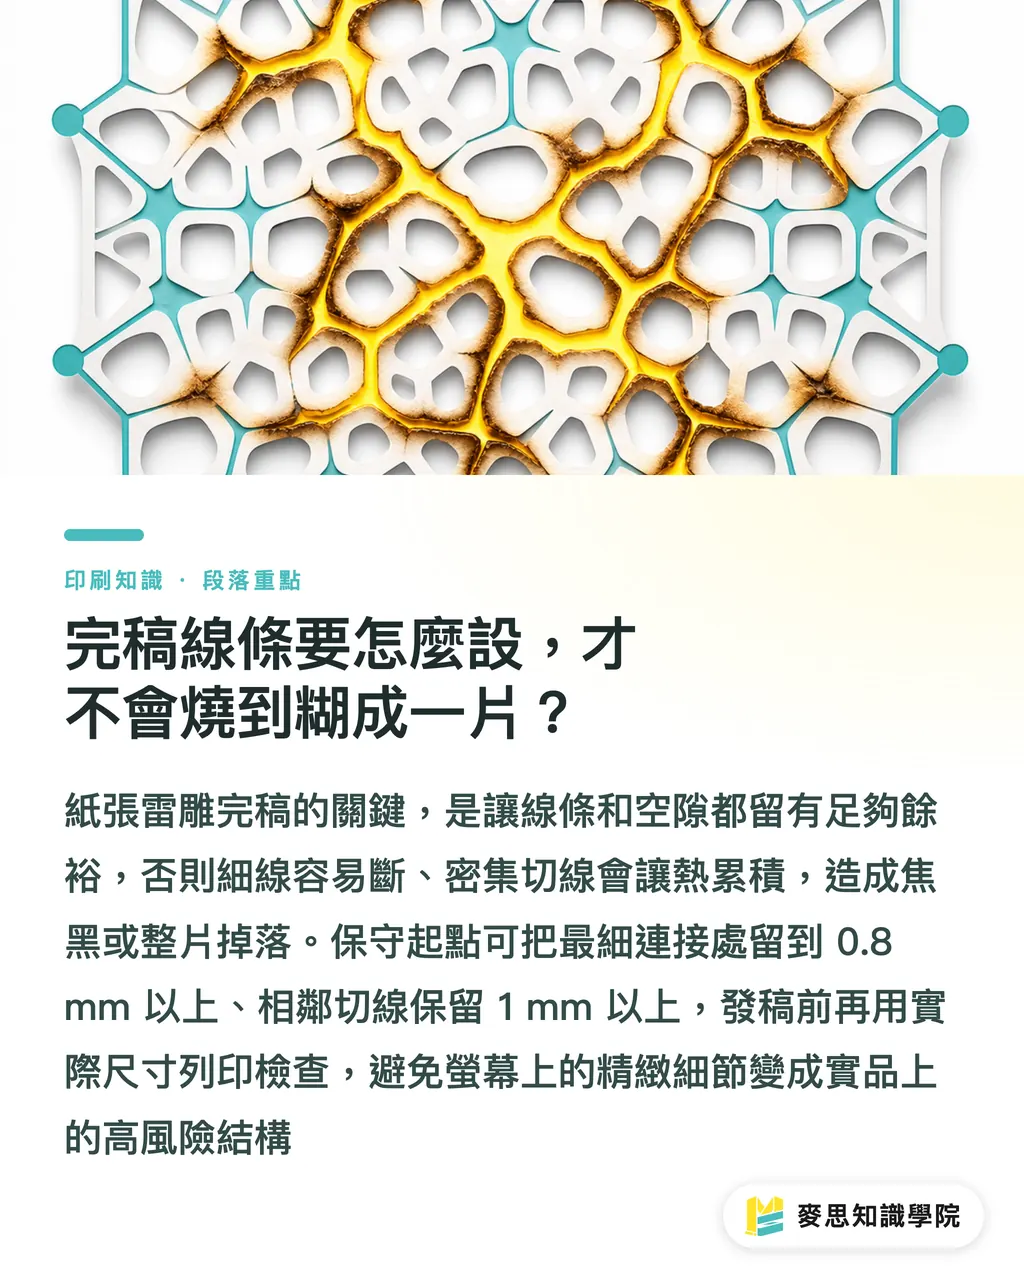
The two things that kill a laser-engraved paper job at the artwork stage: lines too thin, holes too tight
When lines can't hold, the paper tears. When gaps sit too close, heat bleeds between them, details either char or drop out entirely
A safe starting point for artwork setup, run these past your vendor before finalizing:
・Minimum bridge width: aim for 0.8 mm or wider; specialty or thick stocks may need more
・Adjacent cut line spacing: aim for 1 mm or more to stop two hot lines from scorching the fiber between them
・Small text cutouts: Chinese characters have complex strokes, below 8 pt, be very careful. Better to print the text and keep laser engraving for accents only
・Sharp-corner shapes: acute angles concentrate heat, round off the points on florals, leaf tips, and geometric corners
・Duplicate paths: never run the same line twice, a repeated path deepens the burn edge
When sending files, keep cut lines, score lines, and print layers separate, don't flatten everything into one image
Vector artwork must be clean: check for closed paths, and delete stray fragments before sending
A clear layer structure lets the laser shop tell which lines need to cut through and which only need to score
One low-tech move I always suggest before locking down artwork: scale the file to actual size and print it on A4 paper. Look at it once
That 0.5 mm pattern that looks delicate on screen often has just one word written all over it at real size: trouble
The Client Wants It Perfectly Clean, How Do Designers Handle That Conversation?
Set the limits up front with laser engraving jobs, and you avoid the disappointment later
I keep expectation-setting to three sentences. Designers can drop these straight into a proposal or proofing note:
・Laser-engraved paper will have natural burn edges, more visible on light stock, less on dark
・There may be a faint burning smell after engraving; ventilation and time usually reduce it, but don't promise it disappears entirely
・Fine lines, dense patterns, and small text cutouts all need a physical proof, a screen rendering is not enough before production
Three plain sentences. They prevent a lot of arguments
If a client opens with 'zero burn marks, zero smell, edges as white as a knife cut,' laser engraving is the wrong process, don't force it
Redirect to die-cutting, foil stamping, spot UV, embossing, or print techniques that simulate a cutout feel
When the Mai Strategy Knowledge Academy consulting team reviews these jobs, we talk about effect and risk together, not one without the other
A beautiful laser-cut paper piece isn't just about dialing down the power, it's about getting paper color, line width, pattern density, and finishing sequence all working in the same direction
What High-End Design Applications Suit Paper Laser Engraving?
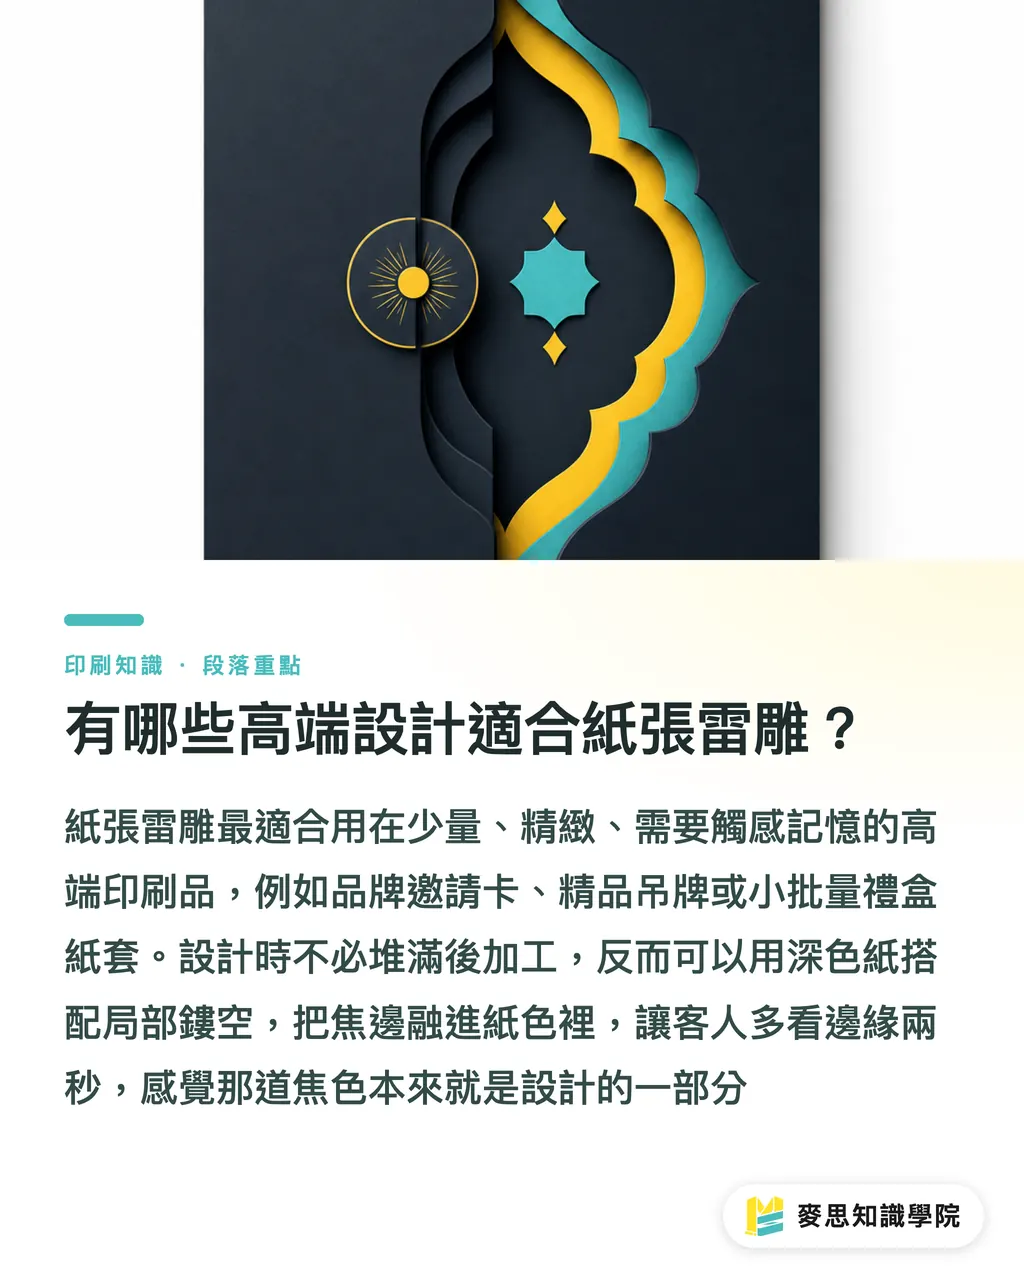
Paper laser engraving is best for print pieces that are short-run, refined, and leave a tactile memory
Think 200-piece brand invitation cards, luxury packaging hangtags, small-batch gift box sleeves, design expo badges, pieces that justify the process cost for detail, and where proofing rounds are accepted
Four combinations I'd actually recommend:
・Dark paper + partial cutouts: the burn edge disappears into the paper color; light and shadow through the holes become the story
・Light thick card + small-area engraving: keep the burn edge inside the decorative zone, away from the main visual and large border areas
・Laser engraving + foil stamping: engraving handles detail and depth, foil handles brand identity, don't crowd both onto the same thin line
・Laser engraving + embossing: let embossing carry the main dimension; use laser only for visual openings. The paper takes far less heat punishment this way
High-end print isn't about stacking every finishing process on top of each other
The best laser-engraved paper piece makes the recipient linger on the edge for an extra two seconds, and feel that the burn line was always meant to be there
Key Takeaways
・Burn edges in paper laser engraving can't be eliminated, paper color, thickness, and artwork density are your tools for keeping them acceptable
・Light paper amplifies burn marks; dark paper absorbs them. Paper choice determines success before machine settings ever come into play
・Laser artwork hates thin lines, tight spacing, and duplicate paths. 0.8 mm bridges and 1 mm gaps are a reasonable starting point for discussion
・When a client demands zero burn, redirect to die-cutting, foil stamping, embossing, or spot UV, don't treat laser engraving as a catch-all process
・Paper laser engraving suits high-end short-run pieces. The goal is turning the burn edge into texture, not pretending it isn't there
Further Thinking
For print manufacturers, move proofing earlier in the process, let clients see at least one physical sample before committing to a production run. For designers, treat line width, spacing, paper color, and thickness as a single system at the artwork stage, not a post-rejection patch job. For SaaS and AI application teams, build 'material, thickness, minimum line width, minimum spacing, proof required?' as upload checklist fields, clients see the risks before they submit, and fully custom services like MINDS can turn creative concepts into producible specs faster
FAQ
- Can burn marks in paper laser engraving be completely avoided?
- Complete avoidance is not realistic, the laser cuts paper fiber with heat, and that leaves a carbonized edge. Designers can reduce how visible the burn is by choosing darker paper, opening up spacing, and keeping fine detail to a minimum
- Can white paper be laser-cut?
- White paper can be laser-cut, but the burn edge will show more than on black card or dark stock. It works for small decorative areas, partial cutouts, or designs that can accept a brown edge
- How wide should artwork lines be for safe laser engraving?
- Start with 0.8 mm or more for bridges, 1 mm or more between adjacent cut lines, and avoid text cutouts below 8 pt. Final specs depend on the stock, thickness, and equipment, confirm through proofing
- Is a burning smell after laser engraving normal?
- A faint burning smell is normal, paper fiber vaporizes and carbonizes when it takes heat. Ventilation and time will reduce it, but don't promise a client the smell will be gone entirely
- What print pieces suit paper laser engraving?
- Paper laser engraving suits brand invitation cards, luxury packaging hangtags, paper sleeves, design expo cards, and short-run high-end collateral, anything designed to make cutouts, light play, and paper texture part of the experience
Related articles
The Print × AI weekly
The print and AI know-how designers, brands and enterprises can use before they commit — one email, every week
MINDS Free Tools
Spine width and imposition calculators — skip the manual math, free in your browser.
MINDS Group
Need actual printing or gifting services?
From premium printing to online ordering and festive gifts — the MINDS Group sister brands take it from here.