
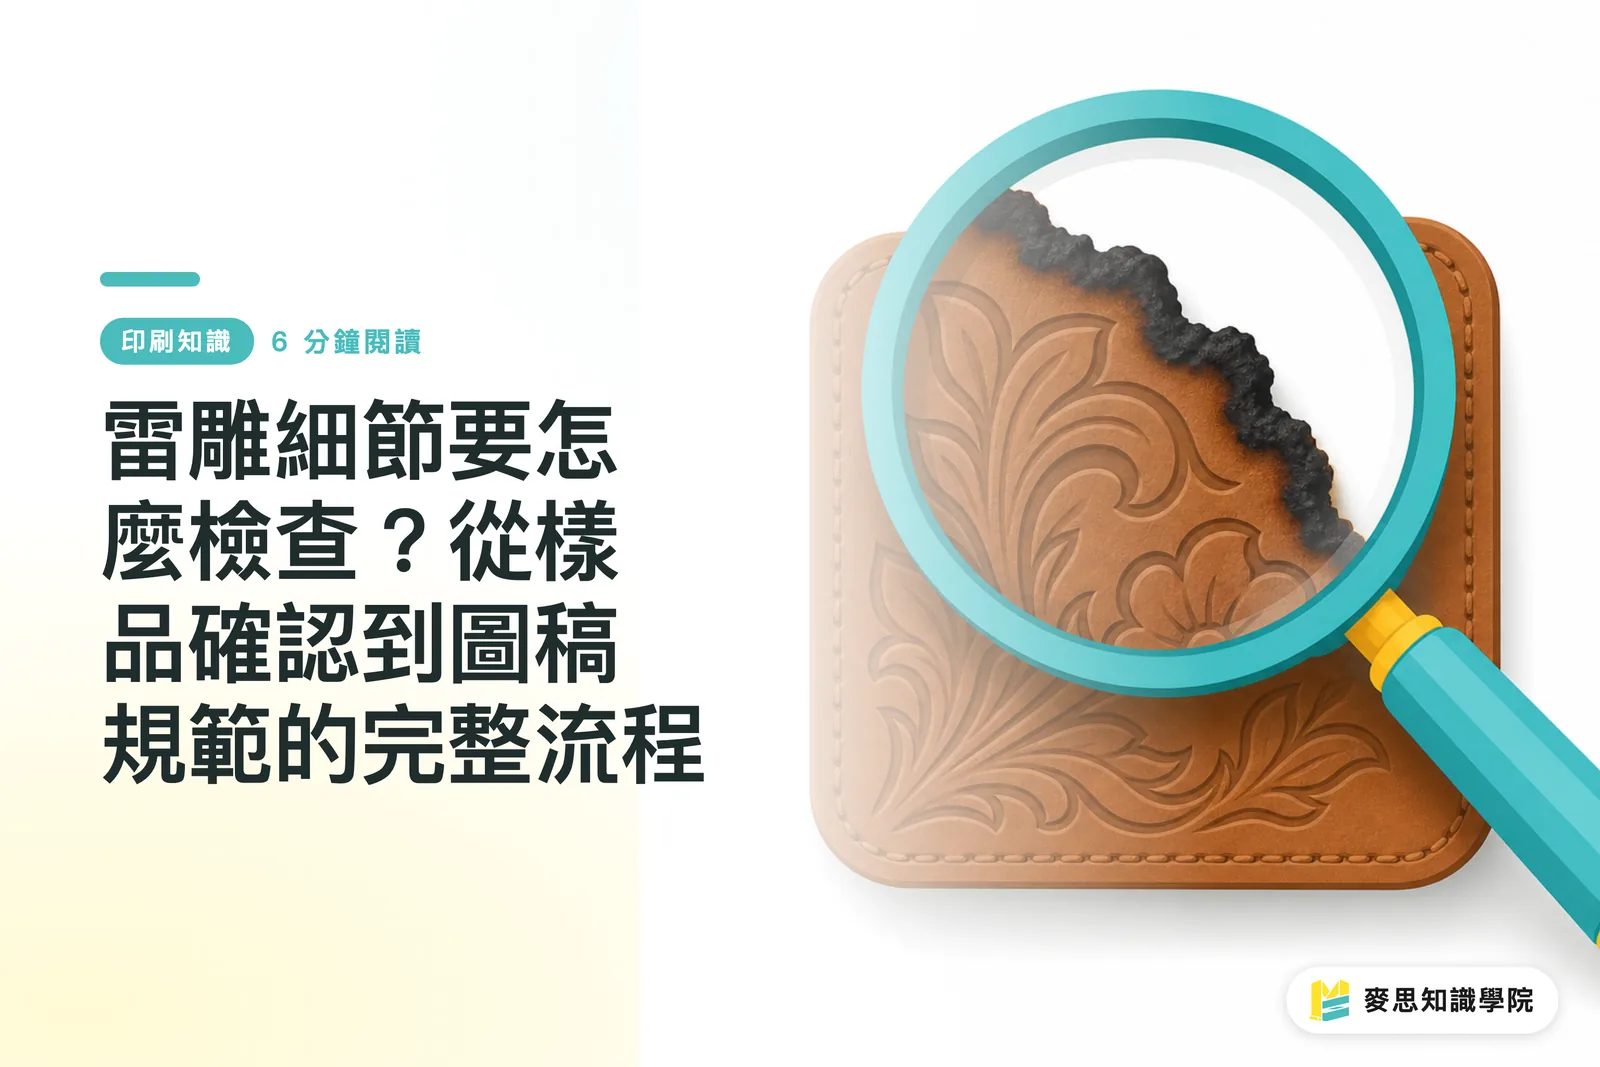
A Black-and-White File on Screen Is Not the Same as What Gets Engraved
This is the most common mistake I see: the designer converts the logo to black and white, exports it as a vector, figures the file is fine, then the finished piece arrives with broken hairlines, text that's fused together, and a big scorched patch on the surface
Where's the problem? Laser engraving burns away material with intense heat. The depth, width, and contrast of that burn don't map directly to the "black area" you see on screen. A line that looks fine on screen A 0.5px hairline might output at less than 0.3mm, and on some materials, that's too narrow to engrave at all. A character that looks delicate in AI can smear into a blob on leather because the burn spreads
So the first step is to read the file with the question "what happens when this burns into the actual material?", not just "is anything missing from the layout?"
What File Details Do You Need to Check Before Sending to Production?
These are the items I go through on every laser engraving job. Miss one and you're probably looking at a rejection
Line weight and type
・Keep hairlines no thinner than 0.3mm. Below that, most materials will break. For metal coatings, stay at 0.5mm or above
・Minimum type size is 8pt. Thin-stroke fonts (ultra-light gothic, handwriting styles) need to go up at least one size, or convert to outlines and check again
・If you insist on a design with very thin strokes, flag it on the proof order: "confirm detail here." Don't wait until mass production to find out it doesn't work
Recessed vs. relief engraving
・Recessed engraving (cutting into the material): the character outline is a cut edge, the thinner the font, the more likely it chars
・Relief engraving (background burned away, character raised): thin type actually holds up a bit better than recessed, but you're burning a much larger area, so the scorch smell is stronger overall
・The visual contrast between the two methods is dramatic, you can't judge it on screen. Always proof. Don't carry over impressions from the last job
Layer structure and output format
・Cut lines and engraving areas go on separate layers. Don't mix them in the same path
・AI or PDF vector is the preferred format. If you're using a raster image, resolution must be at least 600 DPI, below that and edges will be jagged
・If the design has gradients or grayscale effects, confirm the vendor's supported grayscale parameter range separately. You can't just use whatever you see on screen
How Much Do Char Edges and Odor Vary Across Materials?
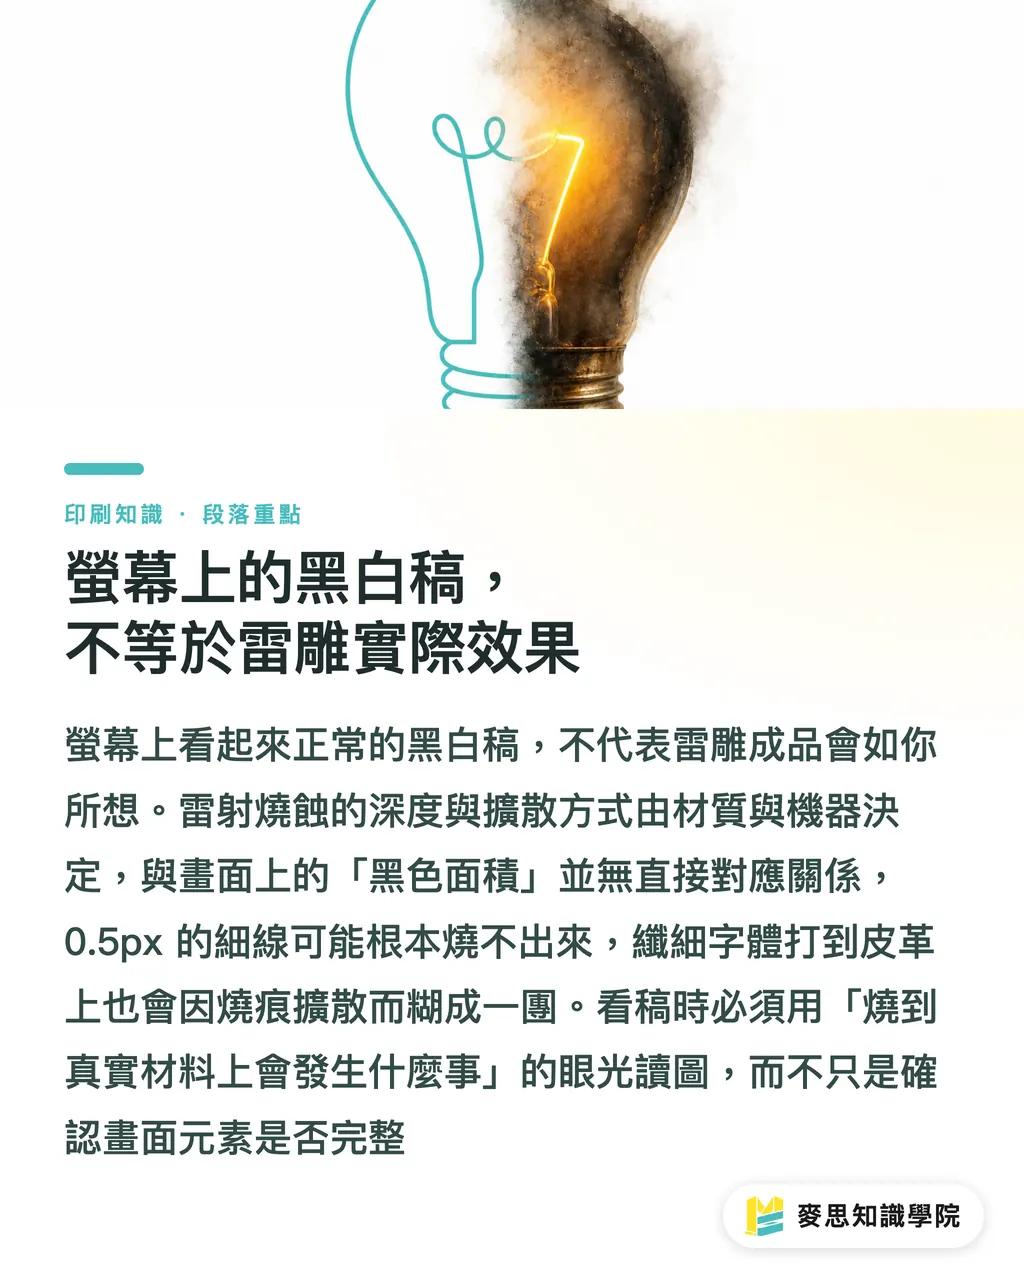
I want to call this out specifically, because "laser engraving" sounds like one thing, but burning wood, leather, acrylic, metal coating, and paper are essentially different processes. Each one needs to be treated on its own terms
・Wood: natural grain means engraving depth varies from board to board, tight grain burns deeper, open grain burns shallower. That's the material, not a production error. Proofing must be done on boards from the same batch; you can't swap in boards from a different lot
・Leather: genuine leather absorbs heat fast, the burn spreads further than you'd expect, and fine type smears easily. Vegetable-tanned leather holds detail better than chrome-tanned, but you need to tell the vendor which type before proofing. The two handle differently in terms of minimum line width
・Acrylic: clear acrylic gives the cleanest contrast with the least charring. Colored acrylic changes color when burned, so proofing needs to check the post-burn color, not the original
・Metal coatings (anodized aluminum, powder-coated metal): engraving removes the surface coating to expose the substrate, the result is sharp contrast. The substrate color directly affects the final look, so confirm the coating type and substrate color before ordering
・Paper: the hardest to control. Edge charring is nearly impossible to eliminate entirely, you can only reduce it by lowering the power. Card stock at 300gsm and above is easier to control than thin paper, but the risk of burning through is also higher
Every time you switch materials, proof again. Don't skip it with "wood worked last time, leather should be about the same."
What Do You Actually Need to Check on a Sample to Call It Approved?
A lot of clients get the sample, check that the engraving is there, and sign off. Then the production run comes in with charred text edges and uneven depth across the batch. Chasing that down after the fact is a mess. When I guide clients through sample approval at MINDS (MS, mid-to-high-end fully custom commercial printing), I always ask them to check the following:
Visual details
・Are the thinnest lines clean, no breaks, no bleed?
・Are the edges of the recessed and relief engraving within the expected design range? Is the char width acceptable?
・Is the engraving depth consistent across the whole piece? Are the corners and center at the same level, or is the energy uneven?
Feel and material condition
・Does the texture of the engraved surface match expectations? Some clients want a pronounced tactile feel; others want it nearly flat
・Does the leather or wood surface show cracks or warping after engraving? That's a sign the power was too high
Smell and post-processing
・Leather and wood will have some scorch smell after engraving. Confirm whether the finished pieces need to air out or require special post-processing
・For food-related packaging or gifts, nail down the odor standard at the proofing stage, not later
Batch consistency expectations
・A single sample only confirms that the design is feasible. It says nothing about production consistency
・Ask the vendor for a small-batch proof (5–10 pieces). That's what tells you whether the run will be consistent, that's the real pre-production sign-off
If your job has front-and-back engraving, or multiple specs going out at the same time, each spec needs its own proof. Don't use spec A's sample to stand in for spec B
What Inspection Do You Need After Mass Production Starts?
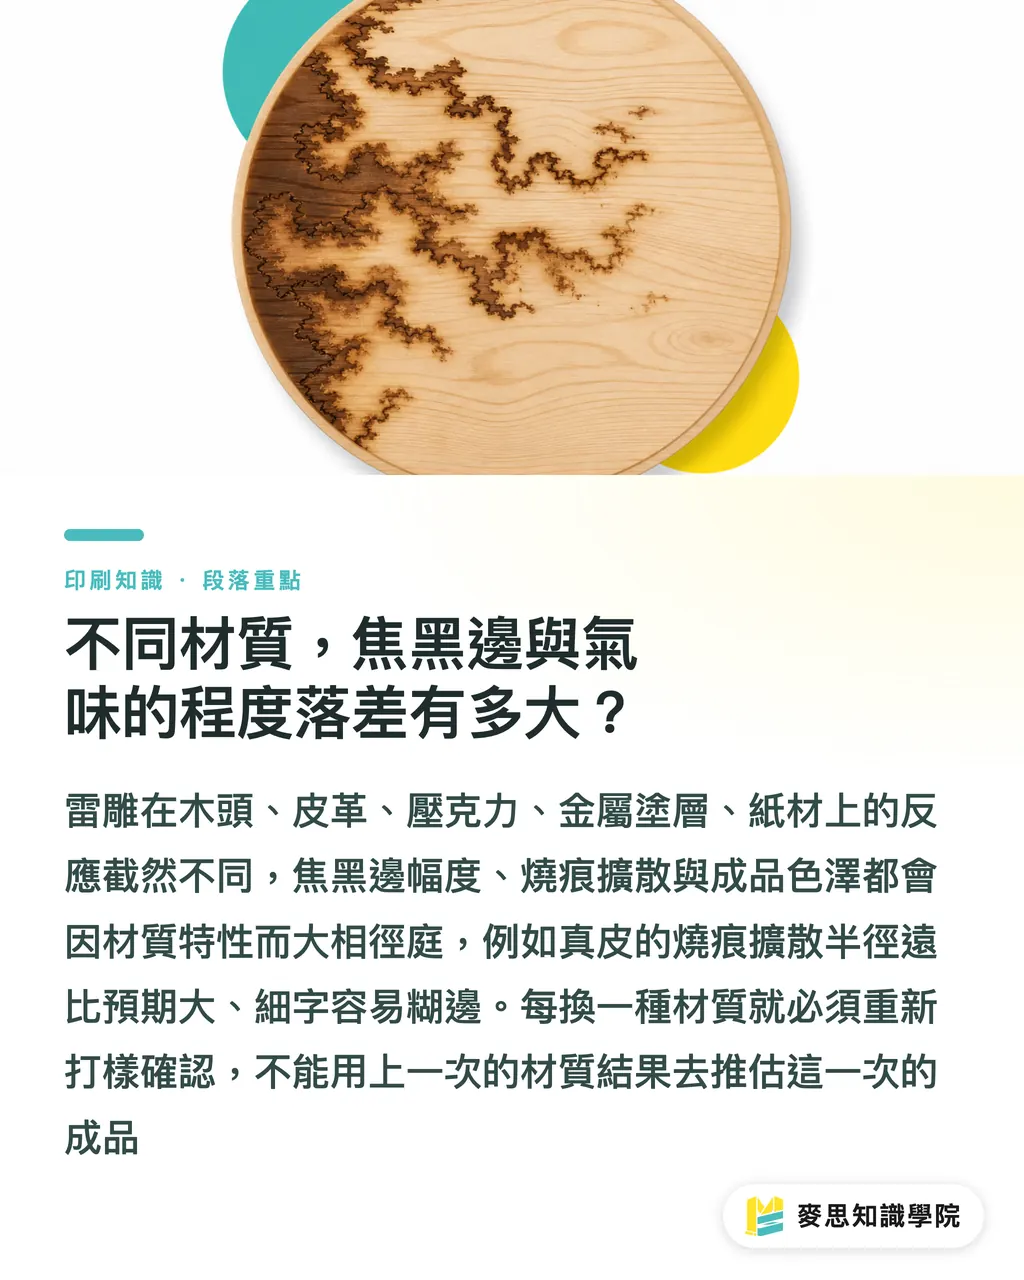
Sample passed, production started, you think you're done worrying? Not quite. During a laser engraving production run, the laser tube loses power gradually with continuous use. Pieces from early in the run and late in the run can end up a full grade apart in engraving depth
A few things you can do to stay in control:
・Ask the vendor to keep one piece from the start and one from the end of the run so you can compare them
・For large runs (over 500 pieces), ask for a mid-run sample check. Don't wait until it's all done
・Find out whether the vendor has a regular energy calibration process. That's the most direct indicator of whether their production is stable
・If there's any doubt, ask a MINDS consultant to confirm the production specs. That's more reliable than guessing at the vendor's equipment condition
Production inspection isn't about being difficult. It protects both you and the vendor by putting the risk of unmet expectations on the table before it becomes a problem
Key Takeaways
・There's a layer of material physics between your black-and-white vector file and the finished engraving. Minimum hairline 0.3mm, minimum type size 8pt, confirm these before submitting the file
・Wood, leather, acrylic, metal coatings, and paper each burn differently. Switch materials, do a new proof. Last time's experience doesn't transfer
・Sample approval isn't just "did it engrave." Char width, feel, smell, and batch consistency all belong on the checklist
・You can't judge the contrast difference between recessed and relief engraving on screen. For any premium piece, decide the direction based on a physical proof
・Mid-run sampling is better protection than checking everything at the end. Laser tube degradation is a common cause of batch inconsistency
Something Worth Thinking About
Looking at the laser engraving rejection cases I've come across, over 90% of the problems aren't about the vendor's technical ability. They're a combination of insufficient file review and skipped steps in the proofing process. Designers default to judging by screen; production defaults to running by parameters. Nobody in the middle is translating between the two
For designers, the most valuable habit to build is this: whenever you take on a laser engraving job with a new material, spend half a day running a test plate. Put your usual type sizes, line weights, and recessed/relief combinations through it all, and keep it as your material reference library. It's a lot less work than guessing from scratch every time
For buyers, making small-batch proofing a standard contract term rather than an optional step is the most direct way to reduce production waste. If you don't have a regular laser engraving vendor, or you're unsure about your current vendor's production specs, reach out to a MINDS consultant for an assessment. They have complete acceptance standards for process limitations across different materials
FAQ
- What's the minimum line width for laser engraving?
- The safe minimum for most materials is 0.3mm. For metal coatings, stay at 0.5mm or above. Below those thresholds, breakage risk is high, pay particular attention to the thinnest strokes when proofing
- Will laser engraving always leave char on the edges?
- Char edges are almost impossible to eliminate entirely. You can reduce them by lowering the power and shortening the exposure time, but they'll still be there. Paper and leather show more obvious charring than acrylic and metal coatings. Confirm during proofing that the char is within the design's tolerance
- Why did the sample pass but the production run come out uneven?
- The laser tube loses power gradually with continuous use, so pieces from early and late in the run can differ in engraving depth. Ask for a mid-run sample check. For large runs (over 500 pieces), ask the vendor to keep samples from the beginning, middle, and end for comparison
- Which is better for premium pieces, recessed or relief engraving?
- Neither is objectively better. The only way to decide is a physical proof. Recessed engraving suits clean, bold-stroked designs. Relief engraving works well when you want more pronounced texture, but it burns a larger area and the smell is stronger, worth paying attention to for premium gifts
- What file format should you send the vendor for laser engraving?
- AI or PDF vector format first, with cut lines and engraving areas on separate layers. If you need to use a raster image, minimum 600 DPI. For gradient or grayscale engraving effects, confirm the vendor's supported grayscale parameter range in advance, you can't just use what you see on screen
Related articles

The Print × AI weekly
The print and AI know-how designers, brands and enterprises can use before they commit — one email, every week
MINDS Free Tools
Spine width and imposition calculators — skip the manual math, free in your browser.
MINDS Group
Need actual printing or gifting services?
From premium printing to online ordering and festive gifts — the MINDS Group sister brands take it from here.