

"It looked fine on my screen" — so what's the actual problem?
I get asked this all the time. A designer hands off the file with full confidence: "I checked it, it's fine." Then the print shop opens it up and finds not enough bleed, missing fonts, the wrong color mode. Both sides feel hard done by, but the real issue sits in the word "finished." On the design side it means "looks done visually." On the print side it means "meets the production conditions to go straight on press."
Between those two standards are five gaps that people fall into constantly. I'll walk through each one. Every single one comes from real situations where a press operator pointed at my screen and vented, across more than ten years of production work
・Color management gap: screens emit RGB light, ink reflects CMYK. They're fundamentally different mediums
・Bleed and safe-zone assumptions: designers often leave 3mm, but the print shop has to account for the stock and finishing
・Missing font risk: the fonts on your machine may not be installed at the print shop. If the PDF doesn't embed them, the type gets swapped
・Resolution after rasterization: it looks fine zoomed in on screen, then you output at 300dpi and it's mush
・Special stocks and finishing compatibility: the designer specs gold foil stamping, then simulates it with a regular CMYK build
These five points aren't about designers being unprofessional. The two industries just need a shared language at the handoff point
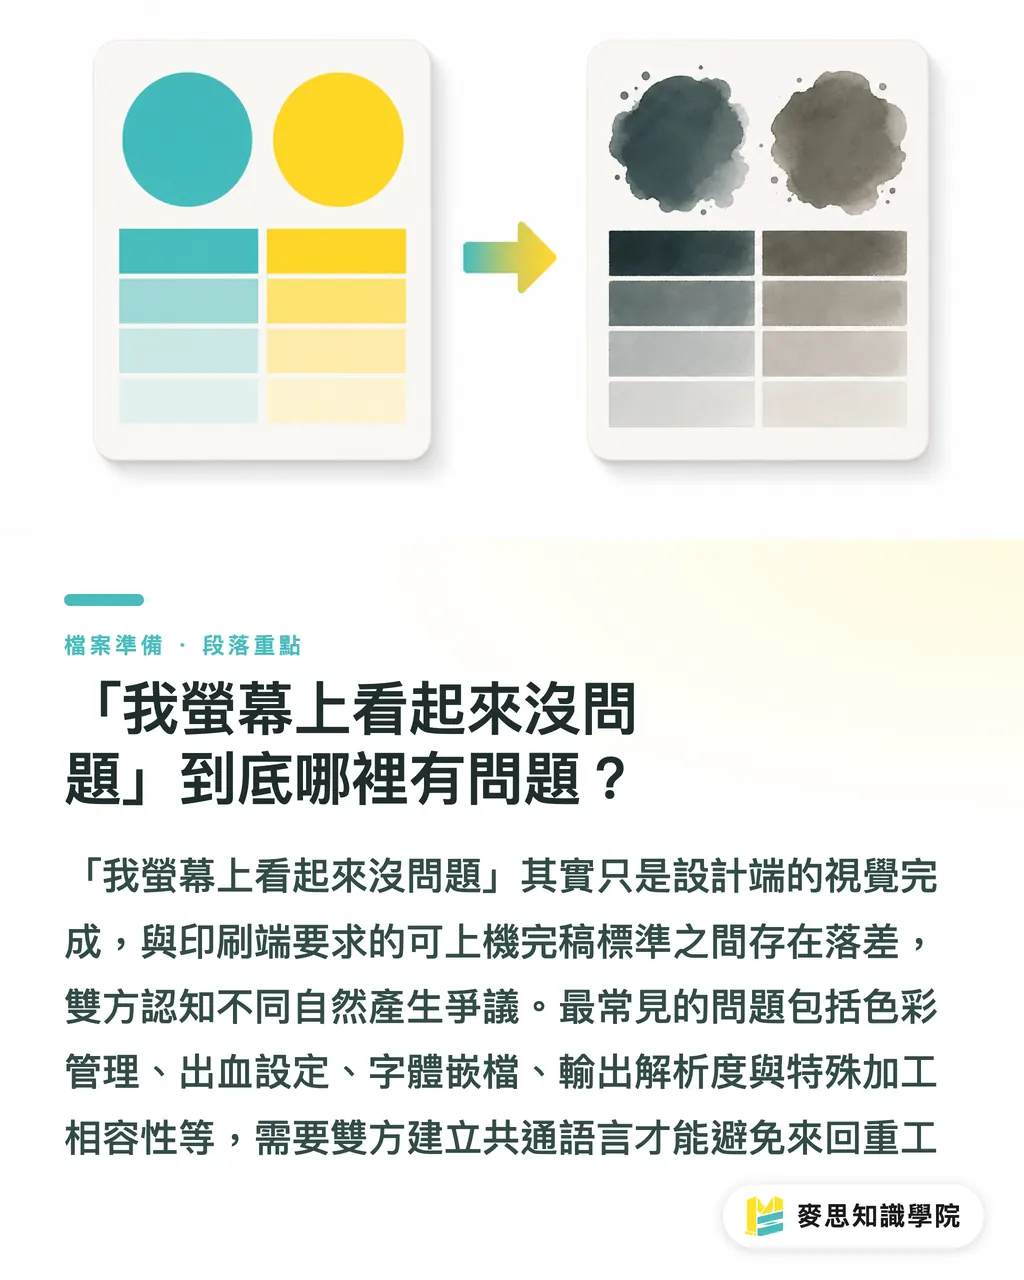
Why does it look perfect on screen and come out wrong in print?
Color is where designers and print shops argue the most. Design software defaults to sRGB for screen display. Production needs CMYK ink data. That conversion isn't one-click, it pulls in ICC profiles, paper whiteness, press ink characteristics, and other variables
The usual scenarios:
・Uncalibrated screen: the designer's display runs cool or warm, they don't notice, and the whole job prints with a color shift
・Out-of-gamut RGB to CMYK: saturated blues, greens, and fluorescent tones get noticeably darker or muddier when squeezed into CMYK gamut. The designer never did a pre-conversion check
・Mixing RGB black and CMYK black: RGB black is a "looks black" value. Going straight to K100 on press is usually fine, but stack C/M/Y underneath it and you get a "rich black" with completely different drying time and set-off risk
・Mixing Pantone and CMYK without flagging it: the logo uses a Pantone spot color, everything else is CMYK, but the file doesn't tag the spot channel. The print shop just runs a four-color simulation and the color drifts
Before anything hits my production floor, I require every design file to come with either an ICC profile attached or an explicit "no color correction expected" note. The first tells the print shop what to reference and what gap to anticipate. The second means the client is accepting the risk themselves, and responsibility is clear. Set the rules up front and there's nothing to argue about later
Bleed and safe zones, is 3mm really enough?
Design textbooks say 3mm bleed. That number works fine for standard print jobs like A4 flyers or saddle-stitched booklets. Change the finishing, and it falls apart immediately
・Saddle stitch or perfect bound: 3mm bleed is okay, but you need extra margin on the spine side for binding shift (usually 3–5mm)
・Die-cut cards or boxes: bleed should be 5mm. Slightly off on the cut and you get white edges showing
・Special finishing like foil stamping or embossing: bleed and safe zone both need to be larger, or finishing drift eats your design elements
The "safe zone" is how far the main content (text, logo, key imagery) sits inside the trim line. 3mm of bleed doesn't mean your content can sit 3mm from the trim line. You'll typically want another 3–5mm inside that for cutting and finishing tolerance
This is where custom packaging goes wrong most often. A designer builds a full-bleed pattern, figures 3mm bleed is safe, and then the curved edges come out crooked, the box lid colors don't align. The press operator doesn't blame the designer, it's because nobody aligned on this job's tolerance for finishing error from the start
What happens when fonts aren't embedded?
You send a PDF, the print shop opens it, and the type has changed. Not typos, it's been swapped to a system default. I've seen this at least a hundred times
The core issue with font embedding: your machine has a font installed, the PDF only records "display this font here," but it doesn't actually pack the font file inside the PDF. The other end doesn't have that font, so the PDF silently substitutes the default (usually Times New Roman or PMingLiU), and the whole layout falls apart
・Full embedding: the entire font file goes into the PDF. The file gets bigger, but it's bulletproof
・Subset embedding: only the characters you actually used go in. Smaller file, but some font licenses don't allow subsetting
・Convert to outlines (outline the type): the text becomes vector curves. Doesn't depend on any font file at all. Safest option, but the text is no longer editable
My own habit is "convert text to outlines + keep the original file as a backup." Outlines guarantee the print side has zero issues, the original file stays for future edits. If the client insists on an editable PDF, then I require full font embedding and confirmation that the font license allows it
How much resolution do bitmap images actually need?
A designer grabs an image off the web, or pulls from a 72dpi screen-resolution file, hands it off, and the press needs 300dpi or higher. Result: blurry, jaggy, banding
The math is straightforward: image's physical size (cm) × required dpi for print (usually 300) = required pixels. A 10cm-wide image needs at least 1183 pixels across. It looks big enough on screen, but the actual pixel count isn't there
A few rules of thumb from production:
・Photos: at least 300dpi, ideally leave 5–10% headroom
・Halftone or scanned material: same as above
・Line work or logos: vectors first, no resolution issues
・Web-downloaded images: usually 72dpi. Going straight to print with these is a disaster
Designers should zoom every image to 100% before handing off. If the photos come from a DSLR or a legitimate stock library, you're usually fine. If they come from a website screenshot or social media download, it's going to bite you nine times out of ten
How do designers and print shops communicate without stepping on each other's toes?
Five gaps covered, so let's bring it back to communication. The interface between design and production isn't about one side bending to the other. It's about information being symmetric
I've put together a checklist both sides can run. Designers go through it before sending, print shops go through it on receipt. The overlap is where both sides are aligned
・File format: PDF/X-1a or PDF/X-4 is the industry standard. ICC profiles and font embedding are enforced
・Size and bleed: state the finished size (including bleed), grain direction, binding method
・Color settings: flag any spot colors (Pantone), color mode (CMYK or multi-color), and whether color-shift tolerance is accepted
・Font status: embedded or outlined. Best to keep both (one outlined for press, one editable as a master)
・Image resolution: scan the entire file and flag anything below 300dpi
・Finishing notes: foil stamping, embossing, spot UV, die-cutting, note positions and dimensions
・Stock confirmation: paper name, weight, coating. Both sides need to be talking about the same item
Run this checklist item by item before handoff and you block out 90% of rejections. On the higher-end fully custom jobs I handle at MINDS Printing, this checklist is the first gate. Client files come in, run through this round, then production runs smooth
For short-run jobs using existing templates where speed matters, and the designer doesn't have time to run the full checklist, MindSPRT has an online ordering flow that locks the specs into the system upfront. That cuts down on friction too
The checklist isn't about turning designers into print experts. It's about giving both sides a shared baseline for "finished." With that baseline, the rounds of rejection, reprinting, and back-and-forth revision actually drop
Bonus: how designers can rehearse the print result themselves
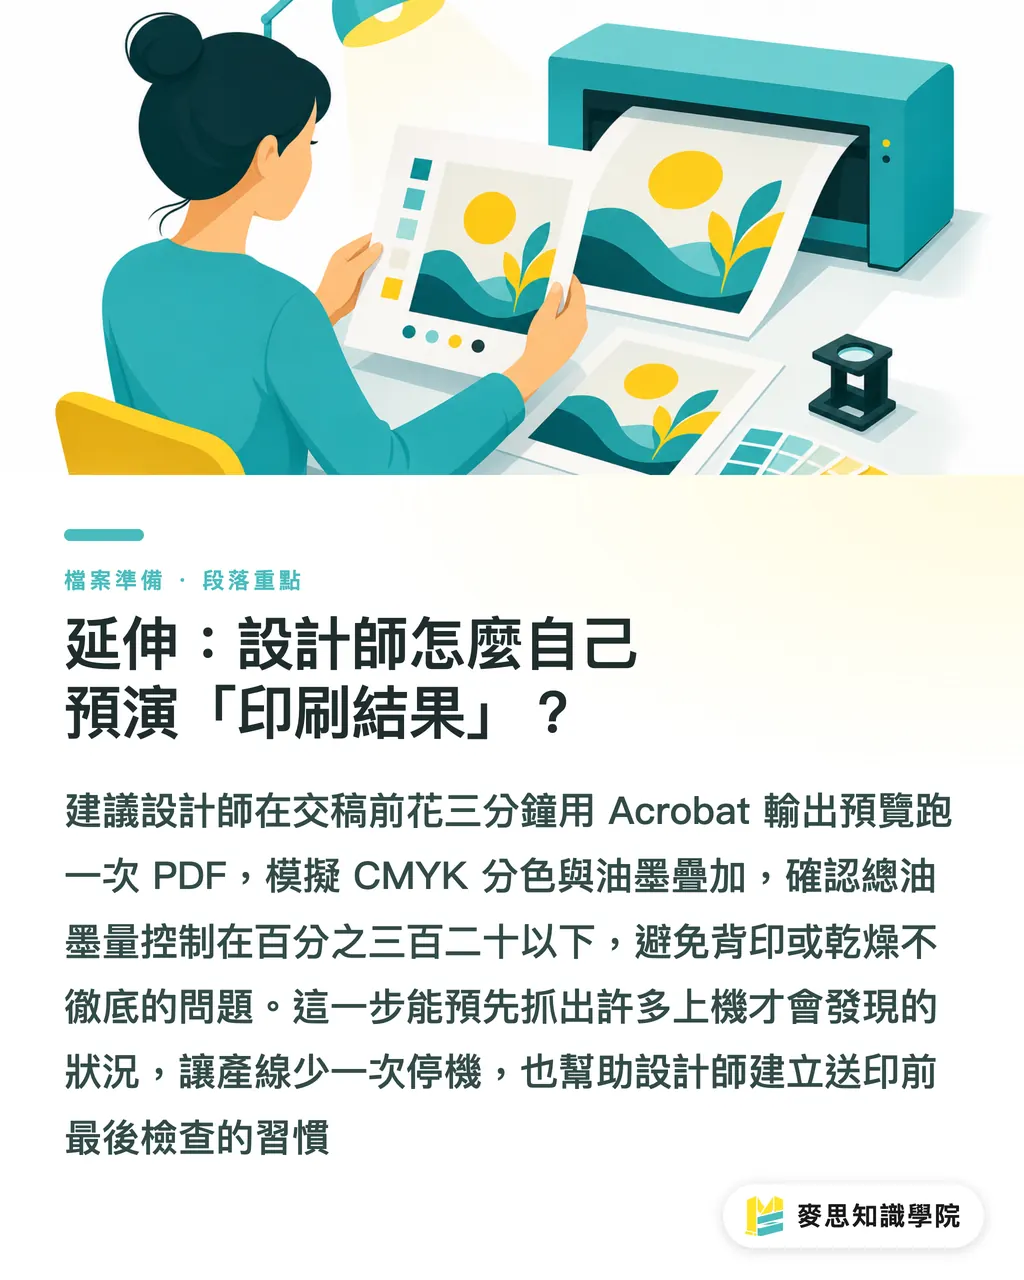
One small exercise for designers: before sending, run the PDF through Acrobat's Output Preview. Simulate CMYK separations, total area coverage (TAC, usually kept under 280–320% to avoid set-off and drying problems), spot channel separations. If you see a region where ink coverage exceeds 320%, that area might come out tacky, won't dry properly, or transfers ink onto the back of the next sheet
Three minutes of work, and it catches a lot of issues that would only show up on press. One more step at the design end saves a press stoppage
For the consulting team at Mai Strategy Knowledge Academy, this is the process we've walked clients through. It's not about teaching designers to become layout machines, it's about building the habit of three last checks before sending to print
Key takeaways
"Finished" means visual completion on the design side, production-ready conditions on the print side. The gap between them needs a shared language
RGB screen color and CMYK ink color are fundamentally different. Before handoff, clearly state the color reference or document who accepts the risk
3mm bleed is the baseline. Switch to any finishing (binding, cutting, foil stamping) and you need to recheck the safe zone and bleed values
Fonts must be embedded or converted to outlines. PDFs with unembedded fonts getting type-swapped is the most common rejection on the production floor
Images below 300dpi will come out blurry in print. Zoom every image to 100% across the whole file before sending. It's necessary
Further thinking
For print manufacturers: turn this checklist into a standard intake SOP. Designer files get filtered through the checklist before they hit the floor, and you save a lot of downtime and reprinting cost. For designers: turn those five gaps into your last three checks before sending to print (color preview, font status, resolution scan). Three to five minutes, done. For SaaS or automation: bake this checklist into the intake system as automated checks (PDF/X standard validation, font embedding detection, resolution warnings, ink coverage alerts). Customers get a "print feasibility report" before they send, and the back-and-forth friction moves from revision rounds to self-service correction
Further reading
FAQ
- If I send a PDF, is it automatically fine?
- No. PDF is just a container. If the fonts aren't embedded, the images are too low-res, or the color mode is still RGB, the PDF will still cause problems. Output to PDF/X-1a or PDF/X-4 — those standards force font embedding, CMYK conversion, and ICC profile attachment
- I calibrated my screen with sRGB, will the print still shift?
- Yes. Screens emit light, ink reflects it. Their color gamuts (the range of colors they can actually show) are fundamentally different. A vivid red on an sRGB screen almost always comes out darker or pushed toward orange in CMYK. What you need to look at is a CMYK-gamut color preview, not the RGB result on screen
- After converting fonts to outlines, can I still edit the text?
- No. Converting to outlines turns the type into vector curves, it's now graphics, not editable text. So at handoff, prepare two files: one outlined for the print side to be safe, and one editable original kept as a master
- Why isn't 3mm of bleed always enough?
- 3mm is the minimum for standard cutting. For saddle stitch, perfect bound, curved cuts, or die-cutting, the tolerance is wider and you need an extra 2–3mm on both bleed and safe zone. Designers should confirm the actual cutting tolerance for that job's finishing with the print shop before sending
- Can images downloaded from the web be used for print?
- Depends on the actual pixel count. Looking big on screen doesn't mean the resolution is there, web images are usually 72dpi, and print needs 300dpi to look sharp. How to check: zoom the image to 100% of its actual print size in an image editor. If it's visibly blurry or jaggy, it can't be used as-is
Related articles




The Print × AI weekly
The print and AI know-how designers, brands and enterprises can use before they commit — one email, every week
MINDS Free Tools
Imposition calculator and preflight file check — free prepress tools, right in your browser.
MINDS Group
Need actual printing or gifting services?
From premium printing to online ordering and festive gifts — the MINDS Group sister brands take it from here.