

Overview
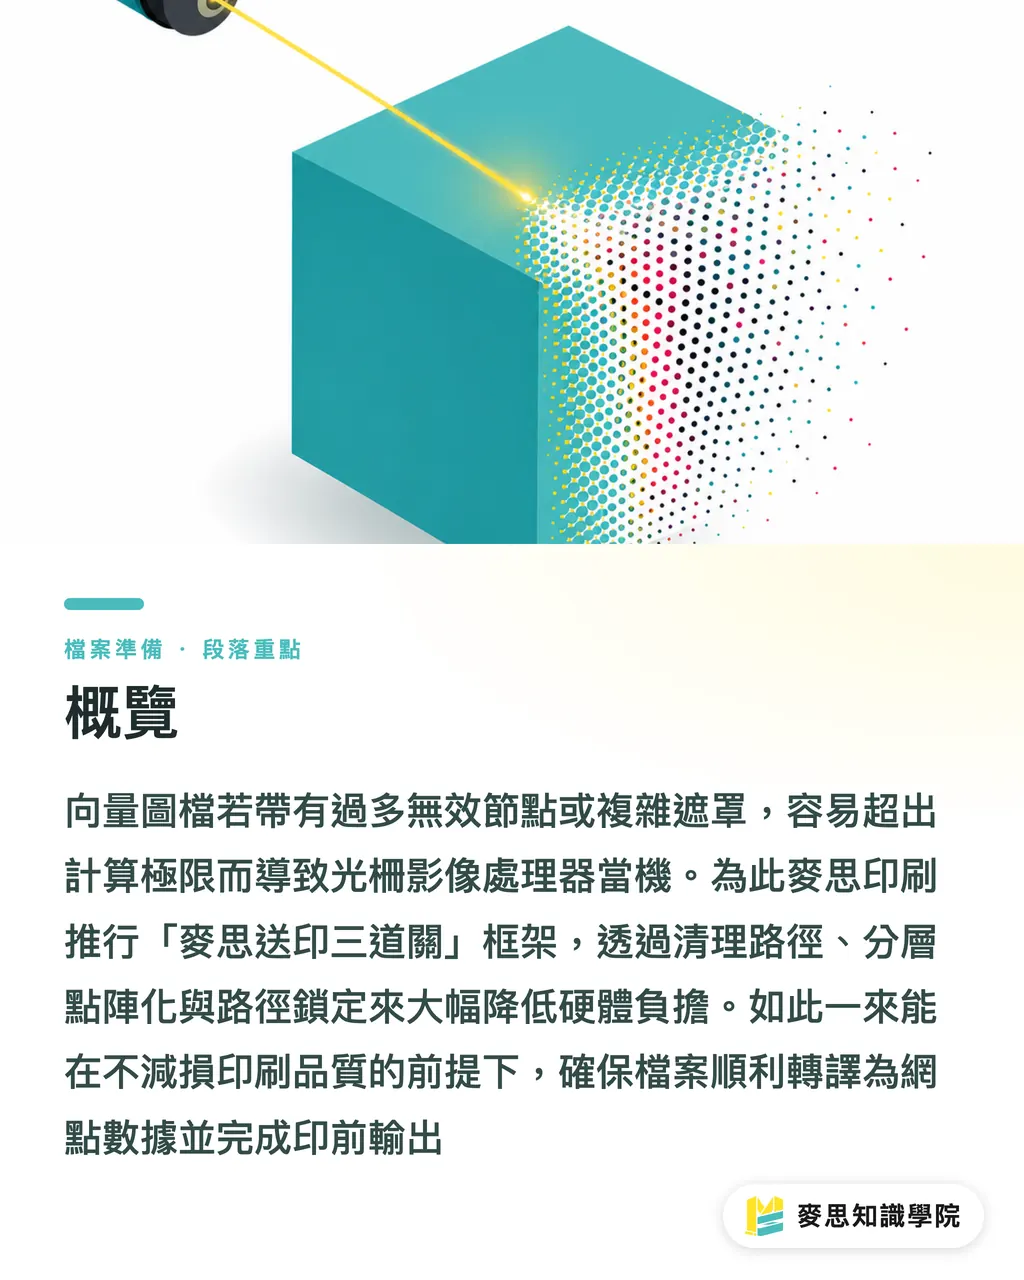
Vector files can crash the RIP during print production primarily because AI-generated artwork or stock assets carry tens of thousands of redundant nodes, excessive gradient steps, and multiple nested clipping masks that exceed hardware computation limits
For files like these, the MINDS pre-press team applies the 'MINDS (MS, mid-to-high-end fully custom commercial printing) three-gate framework': ① path cleanup and expansion, ② layered rasterization of complex effects, ③ vector type and path locking, significantly reducing processing load without sacrificing print quality
A raster image processor (RIP) is the hardware and software system that translates vector paths, fonts, and bitmaps into the CMYK halftone data required by the press; it governs output resolution, color conversion, and color separation
Why Do AI-Generated Vector Files Crash the RIP at the Print Shop?
AI tools have saved designers enormous amounts of time over the past few years, but downloading those SVG or EPS files straight into production is often a disaster
Traditional vector artwork is drawn by hand, bezier curve by bezier curve, lean nodes, clean structure
AI-generated vector files are typically assembled from thousands of tiny fragments; a single feather detail can carry tens of thousands of redundant, overlapping nodes
In my production experience, I've come across an extreme case: an illustration poster that looked simple, with background decoration containing over 80,000 tiny nodes
When a standard PDF/X pre-press output system tried to parse that file, memory usage spiked and processing time jumped from the usual 15 seconds to 45 minutes, then the hardware just died
The RIP has to compute the math for every single node and convert it into CMYK halftone dots; once node count overloads the system, processing resources drain fast
Beyond excess nodes, nested clipping masks are memory killers too
A lot of stock assets stack masks inside masks. On screen it just looks like trimmed edges, but underneath, the hidden path and color data is still there
All that visible and invisible geometry gets pushed to the pre-press machine to render, node by node
Which Transparency and Gradient Effects Are High-Risk for Pre-Press Rejection?
In pre-press rejection statistics, transparency and blending mode calculation errors account for close to a third of all cases
Effects designers love, Drop Shadow, Feather, Multiply, look gorgeous inside vector software
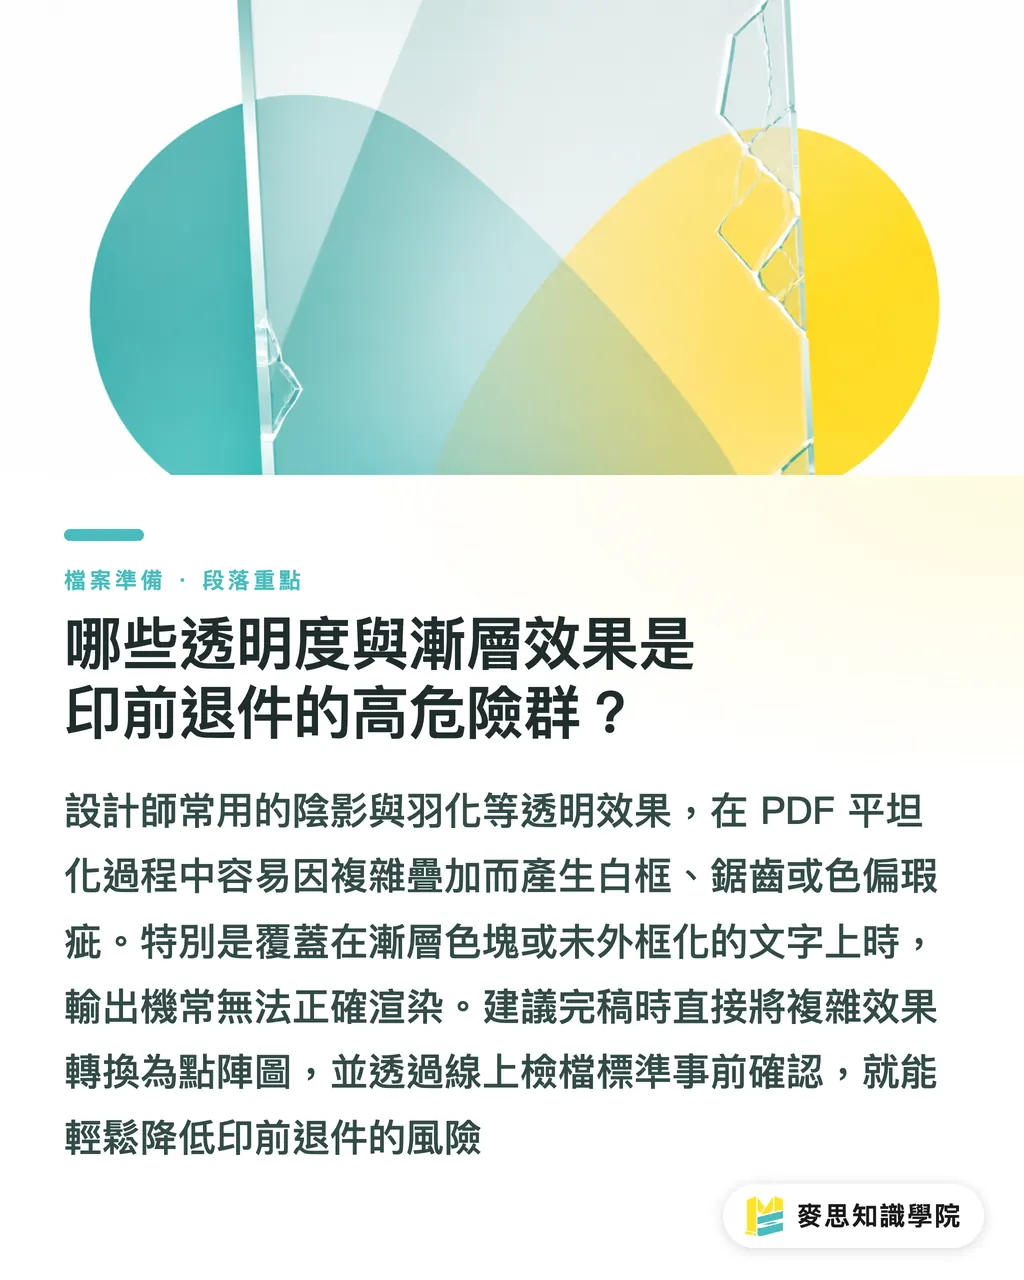
When the file is exported to PDF and transparency is flattened, overly complex blending layers make the output machine prone to white halos, jagged edges, or severe color shifts
The processing logic isn't complicated
Vector software handles transparency with real-time rendering, but the press only understands solid halftone dots
Flattening has to slice every transparent area into an intricate mix of bitmap and vector pieces
If there's a gradient swatch or unoutlined type underneath, jagged edges and white boundary lines get printed right in
Don't panic though
To avoid this rejection risk, convert complex effects to raster directly in the final artwork
For small-run commercial print jobs where you want to prevent file anomalies, running a pre-flight check through the online verification standards offered by MINDS can confirm the file upfront and cut pre-press back-and-forth significantly
Three Illustrator Pre-Press Optimization Moves: How to Rasterize and Simplify Paths Correctly
Getting a file through pre-press without starting over takes just three cleanup steps in Illustrator
The first move is running Path Simplify
Select the complex vector object, then go to Object > Path > Simplify
Illustrator's simplification algorithm automatically removes overlapping and redundant nodes
In practice, carefully adjusting the simplification slider can cut node count by roughly 60% to 80%, while geometric edge deviation stays within 0.01mm, completely invisible to the eye
The second move is expanding and outlining objects
If the file uses strokes, gradient meshes, or brush effects, always run Object > Expand Appearance
This freezes dynamic effects into fixed shapes and prevents path distortion when different versions of pre-press software open the file
The third move is layered rasterization
This is the best line of defense when you want smooth output without touching the visual design
Here's how it works in practice:
・ Bottom background and complex shadows: select them and run Object > Rasterize, set resolution to 300 DPI, background to transparent, color mode to CMYK. ・ Mid-layer vector patterns: keep the original vector paths, but make sure node count has already been cleaned up through simplification. ・ Top-layer type and logos: always outline type, place it on the top layer, never merge it with rasterized effects below, this keeps type edges sharp
That's it
When layered rasterization is done right, file size typically drops by more than half and RIP processing speed increases several times over
Large-Format Output and Complex Illustrations: Vector or Raster?
A lot of designers carry a misconception: that keeping everything vector throughout the print file is the highest quality approach
For small-format pieces like business cards and brochures, keeping type and icons in vector is standard
But when the job shifts to a trade show banner, vehicle wrap, or high-complexity AI illustration, insisting on all-vector often backfires
Large-format output usually starts with an SVG generated in Recraft or an AI vector tool, then scaled up to several meters wide
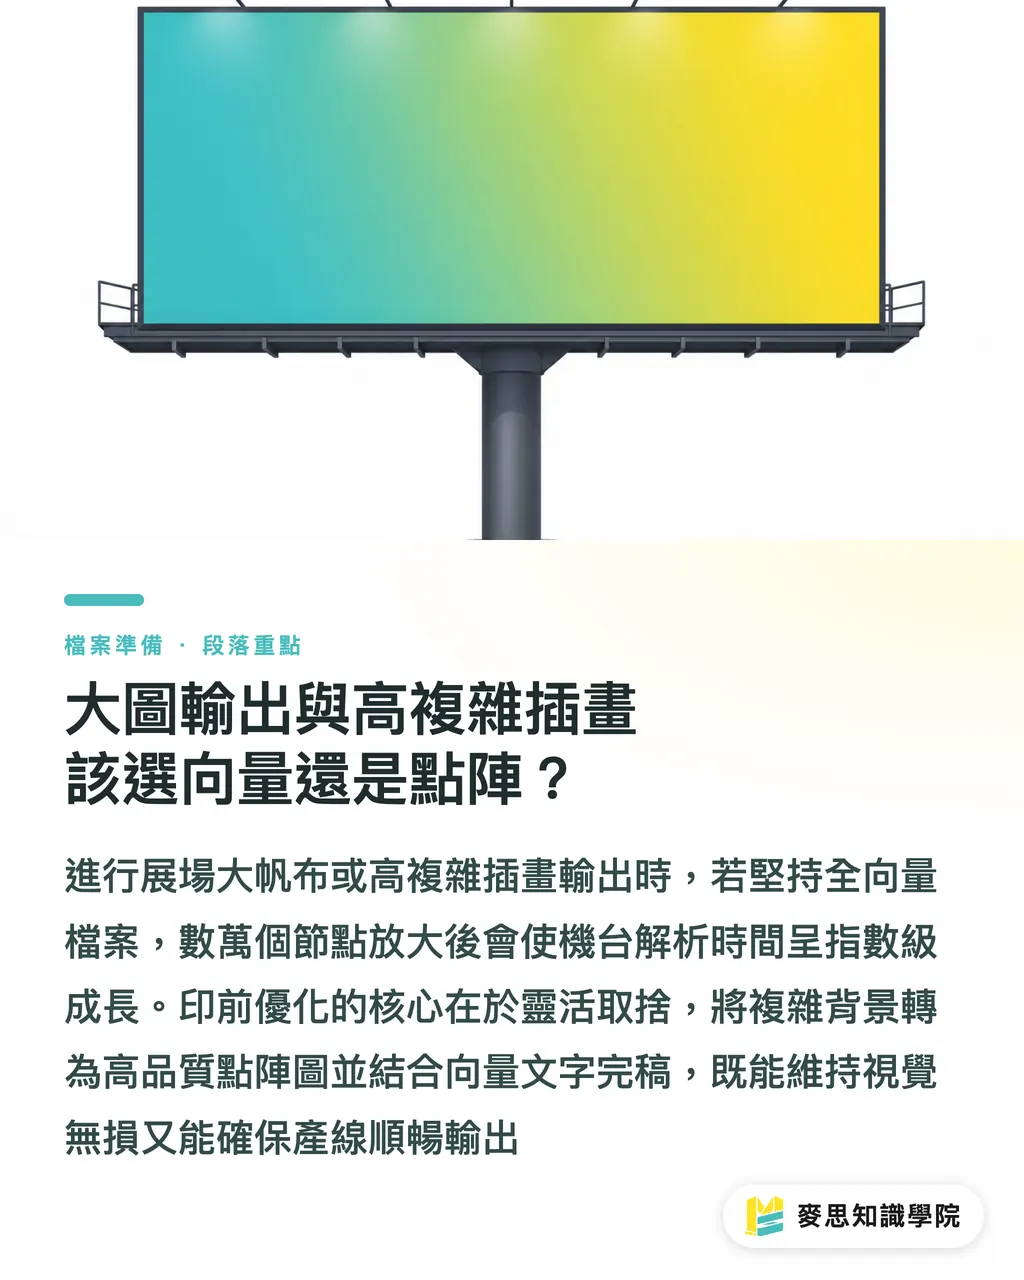
Sending a vector file with tens of thousands of nodes scaled to three meters wide sends the machine's path computation time through the roof, exponential growth
The truth is, people view large-format prints from farther away; output resolution requirements land around 150 to 200 DPI
Pre-press optimization is about trade-offs
For high-complexity illustrations or background elements, output them at high resolution as TIFF or high-quality bitmap files at the final artwork stage
Combining a raster background with vector type preserves visual quality and keeps production moving
For special print jobs spanning multiple surfaces or large formats, feel free to reach out to the Mai Strategy Knowledge Academy consultant team for pre-press file handling advice tailored to your production situation
Key Takeaways
・ AI-generated vector artwork often carries tens of thousands of redundant nodes, always run Simplify to clean them before sending to print. ・ Transparency effects like shadows and feathering are the most common cause of pre-press output errors; rasterize these elements at high resolution in separate layers at the final artwork stage. ・ Type and logos must stay as outlined vectors on the top layer to keep edges sharp. ・ Large-format output doesn't need to be all-vector; converting backgrounds to 150–200 DPI bitmaps significantly improves RIP efficiency
Further Thoughts
As AI vector illustration tools become mainstream, the barrier to generating extremely complex geometry on the design side has dropped dramatically, but print shop RIP processing power still has physical limits. The future of pre-press isn't telling designers to stop using AI; it's building more agile pre-press triage systems. Whether on SaaS platforms, online file verification systems, or within design teams themselves, automated node detection and layered rasterization templates should be built into the final artwork output stage, so inspiration can bloom on screen while production stays efficient and rejection-free
FAQ
- Why does my artwork look distorted after simplifying paths in Illustrator?
- Pushing the simplification slider too far deletes too many anchor points. Keep the target around 50% to 70% node reduction, and check the preview to confirm geometric edge deviation stays at the micrometer level
- Will the resolution be too low if I rasterize effects in a vector file before printing?
- As long as you set resolution to 300 ppi, color mode to CMYK, and export at a 1:1 scale, the printed result is indistinguishable from pure vector to the naked eye
- When should I convert a vector file to raster for printing?
- When a vector file contains large amounts of AI-generated fragments, multiple nested clipping masks, complex gradient meshes, or is destined for large-format output, rasterizing the background while keeping top-layer vector type is the best way to maintain output quality and prevent the machine from crashing
Related articles




The Print × AI weekly
The print and AI know-how designers, brands and enterprises can use before they commit — one email, every week
MINDS Free Tools
Imposition calculator and preflight file check — free prepress tools, right in your browser.
MINDS Group
Need actual printing or gifting services?
From premium printing to online ordering and festive gifts — the MINDS Group sister brands take it from here.