
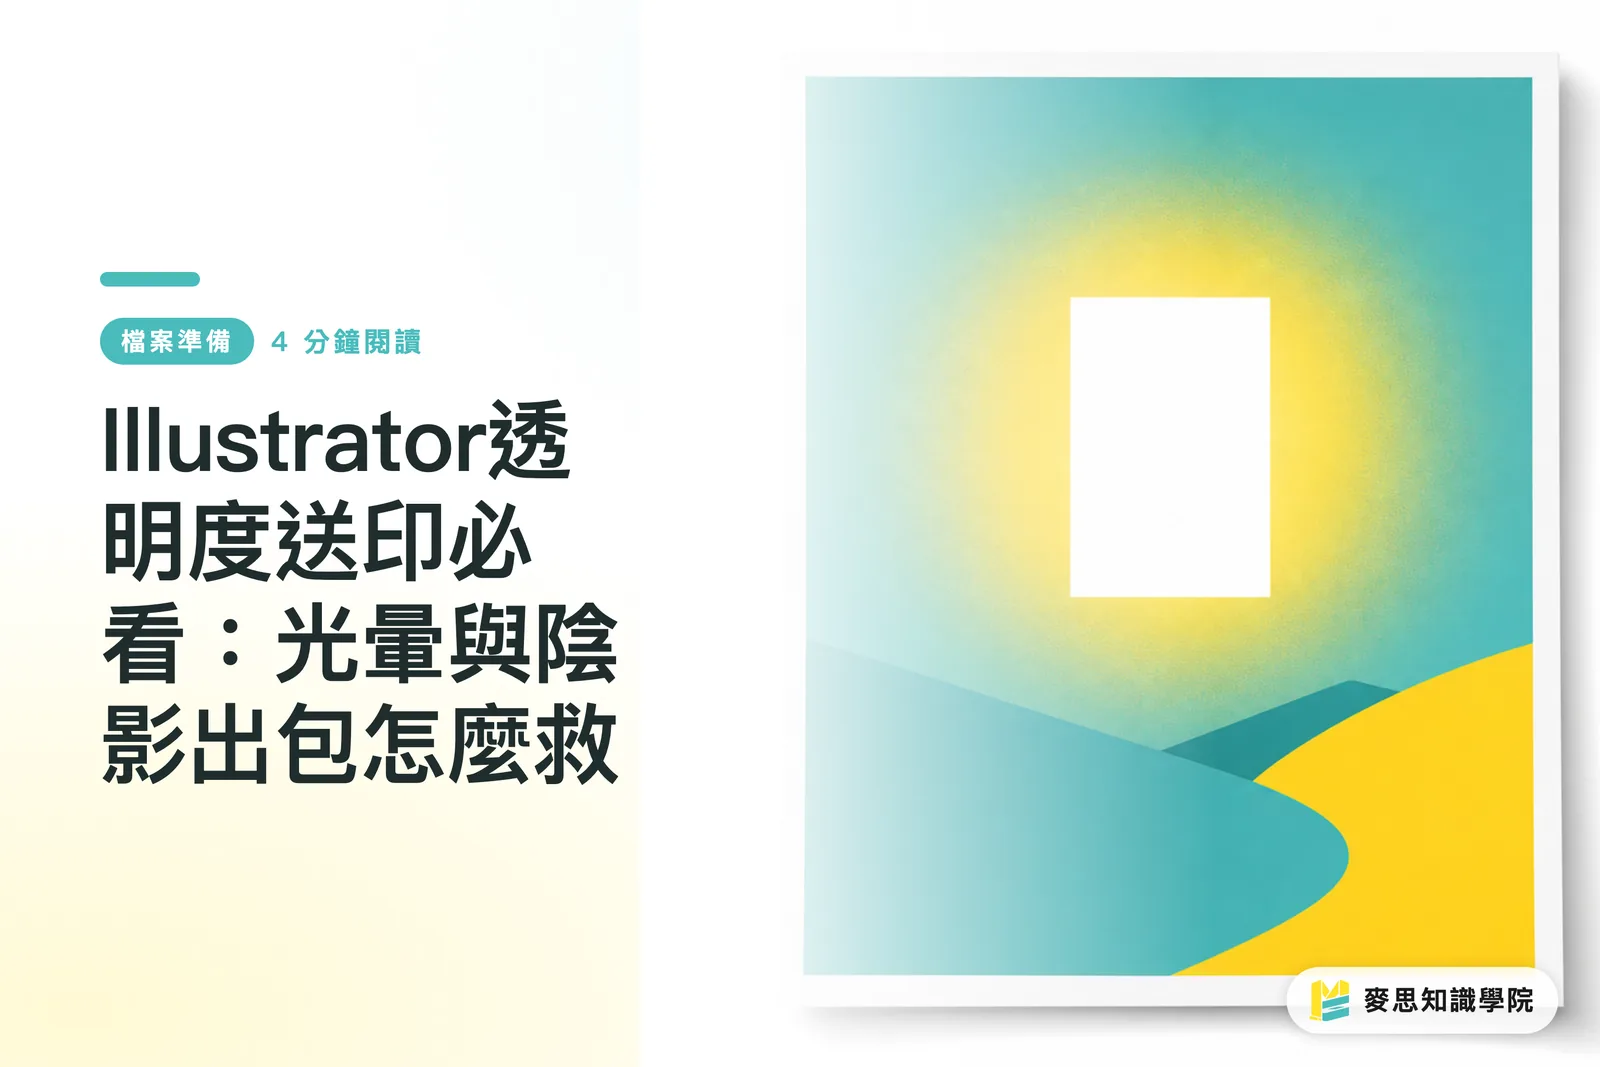
Why Do Perfect Screen Shadows Turn into Ugly White Boxes in Print?
This is the single most common file trap I have seen on the print shop floor over the past decade. Designers spend hours perfecting glows, drop shadows, and feathered edges in Illustrator, only to have them print out as solid white rectangles with jagged borders
The core issue is physical: printing presses do not understand transparency. Presses only print solid dots of ink. When a file with transparency hits a print shop RIP (Raster Image Processor), outdated software or conflicting settings can prevent the system from blending the transparent layer with the background. When that happens, the RIP simply fills the transparent area with solid white
We see the exact same thing with product photos cut out using one-click AI tools. If semi-transparent edges are not handled properly, you get an unnatural harsh white fringe. Issues like this account for nearly ninety percent of our prepress rejection workload

How Does Illustrator Transparency Flattening Actually Work?
To bridge the gap with machines that cannot process transparency, design software has to convert transparent zones into opaque color blocks. This process of breaking overlapping layers into pieces, recalculating overlapping colors, and merging them into a single layer is called transparency flattening
When you export a PDF from Illustrator, your compatibility version determines when and how this flattening happens
If you select Acrobat 4 (PDF 1.3), Illustrator flattens all transparency into solid vector shapes or raster images right as it exports. The file structure gets more complex, but even the oldest print shops can process it without issues
If you choose Acrobat 5 (PDF 1.4) or higher, the PDF retains native transparency, leaving the heavy flattening work for the print shop RIP server to calculate
Should You Flatten Files Yourself or Leave It to the Print Shop?
I strongly advise designers to keep control in their own hands, especially if your artwork mixes complex vectors and raster images
In practice, if a print shop is running older equipment, handing them native transparency is asking for trouble. You can use Window > Flattener Preview in Illustrator to see in advance which areas will be rasterized and catch potential issues early
If your artwork comes from Canva or Figma and was exported as a PDF before being opened in Illustrator, these web tools often introduce non-standard overprint settings. In that case, select everything and click Object > Flatten Transparency
Spending five seconds to eliminate these variables will save you expensive reprints and painful customer complaints later on
What Are the Exact Export Settings to Prevent Color Banding and Pixelation?
To keep your shadows from turning into pixelated mosaics or harsh color bands, your first step is to go to Effect > Document Raster Effects Settings and set the resolution to 300 ppi
This is always at the top of my prepress checklist, because the default 72 ppi setting in Illustrator looks atrocious once printed
When exporting your PDF, if you know the print shop uses older gear, pick Acrobat 4 (PDF 1.3). Then, under the Advanced tab on the left, set the Transparency Flattener Preset to High Resolution
If you are working with a modern commercial printer you know well, you can choose Acrobat 5 or higher after confirming their RIP supports it. This keeps the file lightweight and makes prepress imposition much easier
Key Takeaways
・White boxes appear around transparent effects because printing presses cannot read transparency and require flattening into opaque color blocks
・PDF 1.3 forces flattening during export, while PDF 1.4 and above preserves transparency for the print shop RIP to process
・When mixing complex vector art with raster images, always use Flattener Preview to spot rasterization risks beforehand
・Check Document Raster Effects Settings before exporting and make sure it is set to 300 ppi to prevent jagged, low-resolution edges on shadows and glows
Final Thoughts
Looking at recent client files, more and more non-designers are using Canva or generative AI tools without understanding the physical realities of going from RGB screens to CMYK print. This has created a massive disconnect between SaaS platforms and traditional manufacturing
For print shops, running strict automated prepress checks and rejecting unflattened high-risk files is the best way to cut waste. For designers, understanding how flattening works and baking it into your standard workflow is the only way to protect your finished work
FAQ
- Why does my gradient shadow print with visible steps and banding?
- This usually happens when Document Raster Effects Settings is left at the default 72 ppi. It can also happen if your transparency flattener preset is set to low resolution. Increase these settings before saving your file to ensure smooth color transitions
- Does the Feather effect in Illustrator also require flattening?
- Yes. Feathering is simply an effect that gradually reduces edge opacity. Whenever transparency is involved, it must be flattened before going through a traditional print RIP
- Can I send a PDF exported directly from Canva straight to print?
- Canva PDF exports often contain unpredictable transparency blends. I strongly recommend opening the file in Illustrator and running a manual flattening check to avoid accidental white boxes or missing backgrounds
Related articles




The Print × AI weekly
The print and AI know-how designers, brands and enterprises can use before they commit — one email, every week
MINDS Free Tools
Imposition calculator and preflight file check — free prepress tools, right in your browser.
MINDS Group
Need actual printing or gifting services?
From premium printing to online ordering and festive gifts — the MINDS Group sister brands take it from here.