
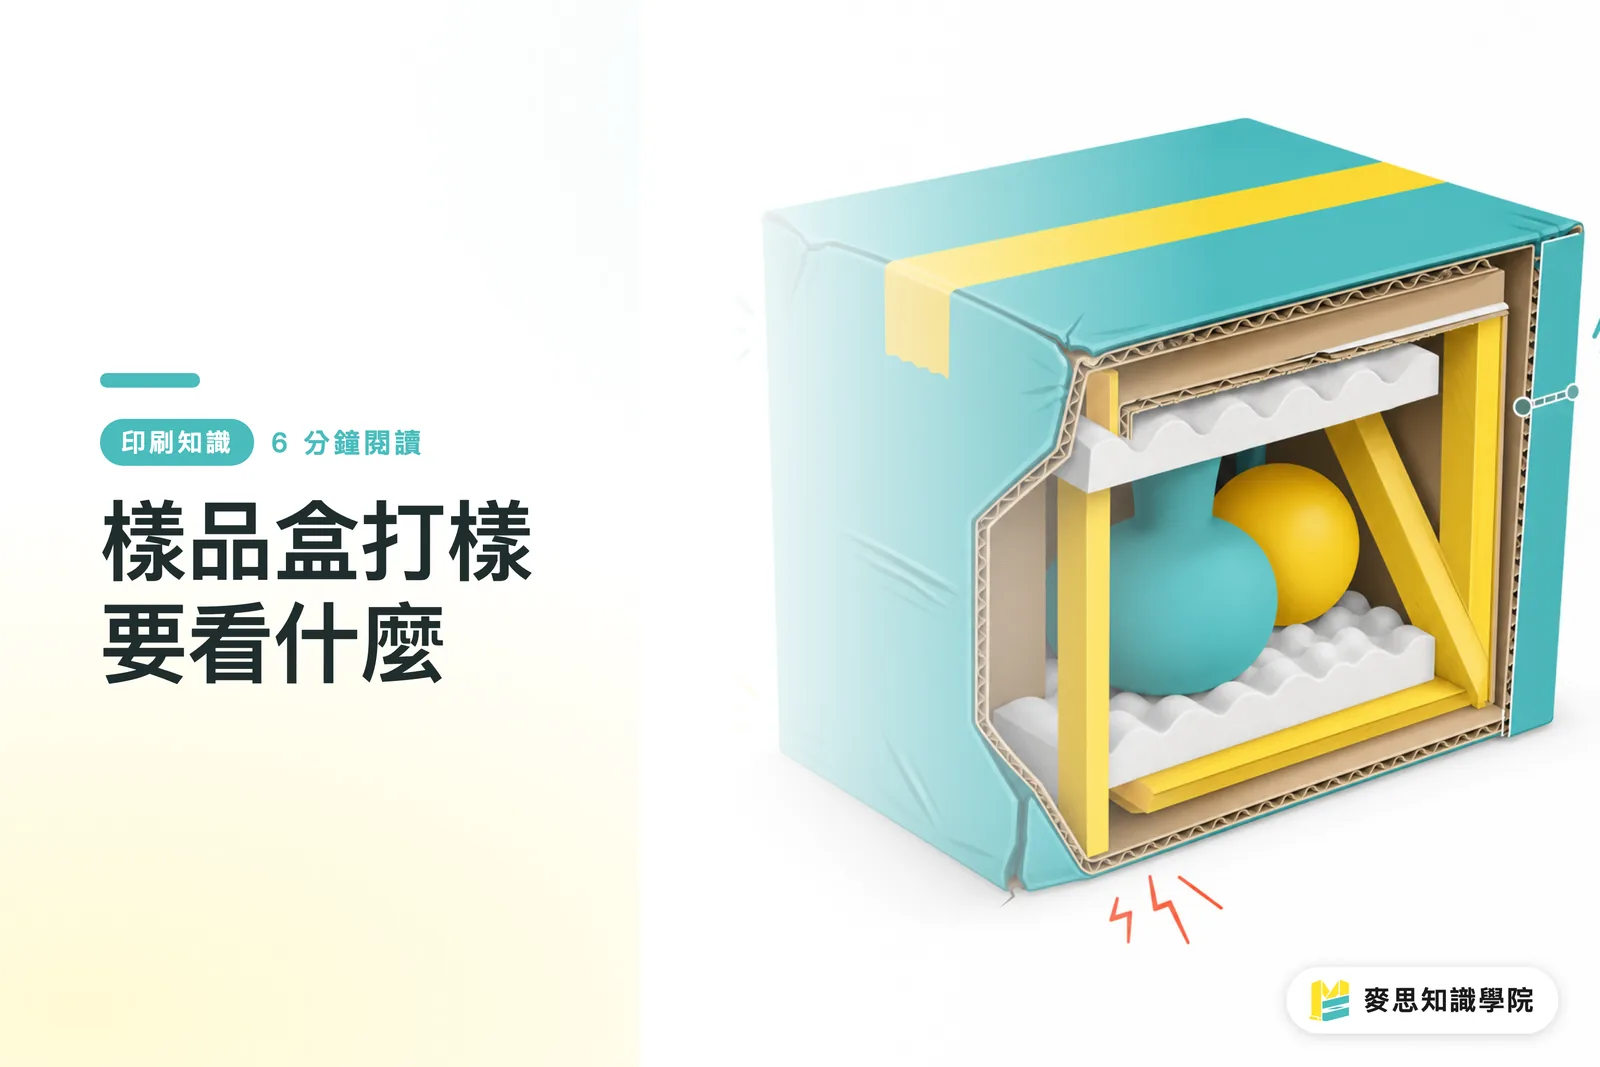
What Exactly Should You Look for in Packaging Box Proofing?
Packaging box proofing should follow the three-stage inspection at MINDS. First confirm appearance, then check structure, and finally verify mass production and logistics risks. When procurement signs off on a sample, passing color checks only completes stage 1. Paper stiffness, crease lines, glue joints, barcodes, and packing fit must be signed off together
Packaging box proofing: A physical sample inspection process before mass production using paper mocks, unprinted structural samples, digital proofs, or production-grade samples to verify box dimensions, print results, crease lines, glue joints, packing fit, and shipping conditions
I like to break packaging box sampling into 3 stages, because the issues procurement misses most often are usually hidden in stages 2 and 3
・① Appearance Check: Look at color accuracy, text, graphics, registration, lamination, foil stamping, and barcode placement
・② Structural Check: Look at die-lines, crease lines, glue joints, unboxing feel, and product fit security
・③ Mass Production Check: Look at paper stiffness, packing efficiency, stacking deformation, and post-shipping condition
Don't rush yet
You might hold a gorgeous sample box in your hand, but if the product wobbles inside, the creases crack white when folded, or the barcode sits right on a curve, you cannot sign off yet. Mass production will blow those small flaws into box after box of problems
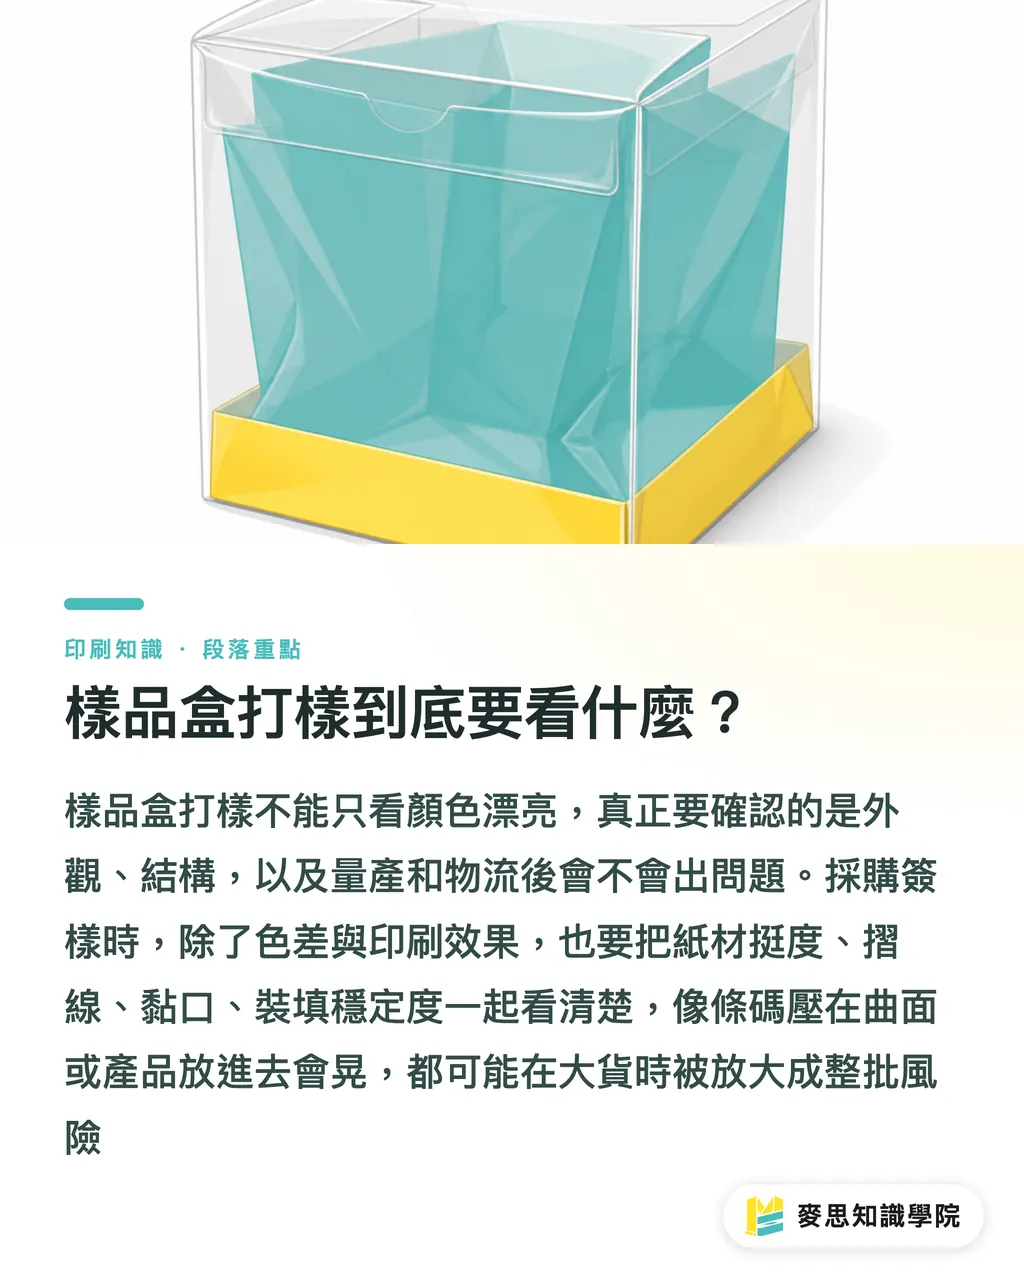
What Is the Difference Between Paper Mocks, Blank Samples, Digital Proofs, and Production Samples?
When examining sample boxes, procurement should first ask which type of sample they are holding. Different sample types evaluate different things. Judging color accuracy from a paper mock or treating a digital proof as the mass production color standard are common missteps
・Paper mock: Usually cut from basic paper to form the box shape, used to check dimensions, opening direction, display face, and product fit. Paper mocks are not suitable for judging real paper stiffness or print colors
・Blank sample: Built with unprinted paperboard close to the final thickness. The focus is on die-lines, crease lines, glue joints, assembly order, and product fit. I always require test-fitting at least one set of real products
・Digital proof: Printed digitally to review design placement, text size, graphic proportions, barcode area, and overall visual effect. Digital proofs catch layout errors, but they cannot directly represent high-volume offset color accuracy or special finishing effects
・Production sample: Made with actual production paper, real printing presses, and final finishing steps. Procurement should treat this as the sign-off standard for mass production. At this point, look for consistency across the entire sample batch rather than just cherry-picking the best-looking one
When you reach the stage of confirming actual materials and post-press effects, MINDS Printing is well suited for sample review discussions on mid-to-high-end custom commercial printing. For specialty paper, spot UV, foil stamping, embossing, and custom box structures, it is best to clarify the acceptable tolerance range before mass production
What 7 Things Should Procurement Check First When Inspecting Samples?
Once the sample box arrives, I suggest procurement hold off on snapping photos for team group chats. Spend 10 minutes checking 7 things first. A lot of downstream arguments can be resolved right at your desk
・Check box dimensions: After placing the product inside, see if the sides are too tight or too loose, and whether the insert catches on product edges
・Check crease lines: Open and close along main crease lines 3 consecutive times. Watch for cracking, white paper exposure along folds, poor spring-back, or awkward folding angles
・Check unboxing feel: Open the box with normal consumer force. Test if it feels too tight, too loose, tears easily, or takes an extra 5 seconds just to figure out where it opens
・Check product fit security: Hold the box horizontally and shake it gently back and forth. If the product knocks against the box wall, the insert or retaining notch needs adjustment
・Check barcode placement: Common EAN-13 product barcodes have 13 digits. Scan the sample box with an actual barcode scanner, and make sure the barcode does not sit on crease lines, curved surfaces, reflective film, or where sealing stickers cover it
・Check material stiffness: Hold the middle of the box with one hand and see if the body sags. When a box feels flimsy in hand, it is usually not because the design looks bad, but because paper weight, paper stock, or fold distribution were not clearly defined
・Check post-shipping condition: Place at least 1 set of samples into the actual master carton, complete with real inner packing, labels, and stacking layout. Corner damage, ink rub-off, and film scratches will surface at this step
This happens all the time
The design file looks pristine on screen, and the sample box looks sharp. But when sales takes it to a client meeting and the box lid jams halfway open, the client's first impression instantly drops. Procurement sample inspection is not about evaluating whether the designer tried hard. It is about what happens in the 30 seconds when the end customer actually holds the box
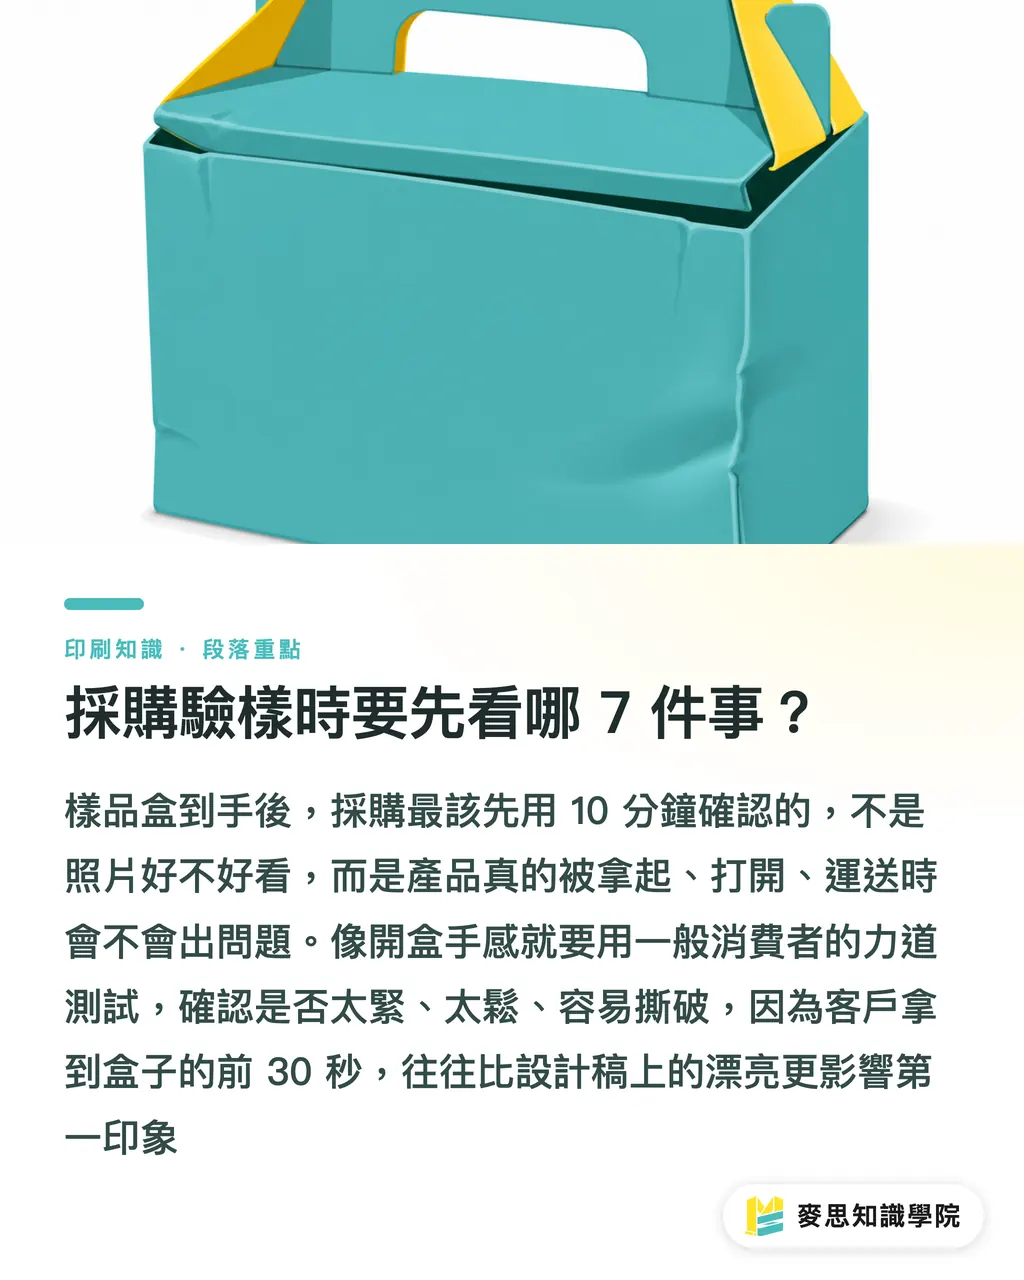
Which Issues Must Be Fixed Before Mass Production?
The value of sample proofing is keeping revisions before mass production. Discovering after production starts that boxes cannot stand straight, barcodes fail to scan, or packing is too slow costs far more than reprinting. It delays delivery schedules, warehouse management, and retail launch
・Fix structural issues: Lids that fail to close smoothly, loose glue seams, insufficient bottom weight capacity, or box sides bulging when loaded directly hit mass production yields
・Fix crease issues: Off-center crease lines, scores pressed too deep or too shallow, or white cracking along folds turn into batch-wide visual defects once mass-produced
・Fix barcode issues: Barcodes that are too small, lack contrast, or sit on curved surfaces or glossy finishes will cause major trouble during retail receiving and warehouse scanning
・Fix material issues: Paperboard that is too soft, box bodies that lack rigidity, or boxes that deform when stacked will ruin shelf presence no matter how beautiful the design graphics are
・Fix packing workflow issues: If packing a product requires one extra fold, tucking one extra corner, or peeling one extra piece of protective paper, that slowdown adds up fast on a packing line processing hundreds of boxes a day
If you already have die-lines and design files but feel unsure whether to start with a blank sample, digital proof, or production sample, pass your product dimensions, weight, retail channels, and shipping methods to the Mai Strategy Knowledge Academy Advisory Team for joint assessment. Advisors will start by asking 3 things: how heavy is the product, how is it sold, and how is it shipped? Those 3 factors reshape the inspection priority of your sample boxes
How Can Design, Printing, and AI Tools Catch Risks Early Together?
Sample box sign-off should never rely on just one role. Designers look at layout, print vendors check manufacturing limits, and procurement evaluates practical use cases. Each sees different risks. Putting them all onto a single inspection checklist makes alignment much easier
AI tools can organize PDF screenshots, die-lines, inspection photos, and notes into an action list, while SaaS teams can build the 7 inspection criteria into a standardized ticket template. I do not recommend letting automated tools sign off for you. The feel, stiffness, and packing fit of a physical box still need to be held by hand, tested with real product, and scanned with a real reader
A practical approach is standardizing the sample box review process into 4 fields:
・Sample Version: Paper mock, blank sample, digital proof, or production sample
・Inspection Category: Appearance, structure, barcode, material, packing fit, logistics
・Revision Ownership: Design, printing vendor, brand procurement, or product team
・Sign-off Status: Approved, needs revision, re-sample required, approved for mass production
The benefit is immediate. When the next sample box arrives, nobody needs to dig through old memories. You simply review item by item to see what is fixed and what is still holding up approval

Key Takeaways
・In sample box proofing, assess risk before beauty. A box with acceptable colors but unstable structure will still fail in mass production
・Paper mocks check box shape, blank samples check structure, digital proofs check layout, and production samples set the standard for mass production
・Evaluate barcodes, crease lines, glue joints, paperboard stiffness, and post-shipping condition before sign-off
・Procurement inspection requires real products, real master cartons, and a real barcode scanner. Missing any one of these leaves hidden risks behind
Further Considerations
Print manufacturers can turn sample proofing into a fixed inspection checklist. Designers can clearly label die-lines, bleed, barcode safe zones, and opening directions upfront. AI and SaaS teams can organize photo annotations, version changes, and revision ownership into clear workflows. The next step is straightforward: pick an upcoming box project entering production, record the specific inspection items for paper mocks, blank samples, digital proofs, and production samples onto a single verification sheet, and you will eliminate endless back-and-forth next time
FAQ
- Does packaging box proofing always require physical samples?
- If you are only confirming layout internally, digital soft proofing is fine to start with. But whenever paper stiffness, crease lines, unboxing feel, product fit, or logistics conditions are involved, you must make a physical sample
- What is the difference between a paper mock and a blank sample?
- Paper mocks are mainly used to verify box dimensions, opening direction, and basic product fit. Blank samples provide a truer structural test closer to the final box, making them ideal for checking crease lines, glue joints, assembly order, and product fit security
- Can a digital proof serve as the color standard for mass production?
- Digital proofs help review layout, graphic proportions, text, and barcode placement, but they should not be used as the sole color reference for mass production. Only formal production samples accurately reflect final paper stock, printing press colors, and post-press finishing effects
- How should sample box barcodes be inspected?
- Sample box barcodes must be scanned with a physical barcode scanner. Keep them away from crease lines, curved surfaces, reflective film, sealing stickers, and high-wear areas. Standard EAN-13 retail barcodes have 13 digits; never sign off just because the numbers look readable to the eye
- What is most commonly missed before procurement sign-off?
- Procurement misses post-shipping condition and packing efficiency most often. A sample box looking good on its own does not mean it works well in bulk shipping. Always place it into an actual master carton with real inner packaging and labels to evaluate it properly
Related articles


The Print × AI weekly
The print and AI know-how designers, brands and enterprises can use before they commit — one email, every week
MINDS Free Tools
Spine width and imposition calculators — skip the manual math, free in your browser.
MINDS Group
Need actual printing or gifting services?
From premium printing to online ordering and festive gifts — the MINDS Group sister brands take it from here.