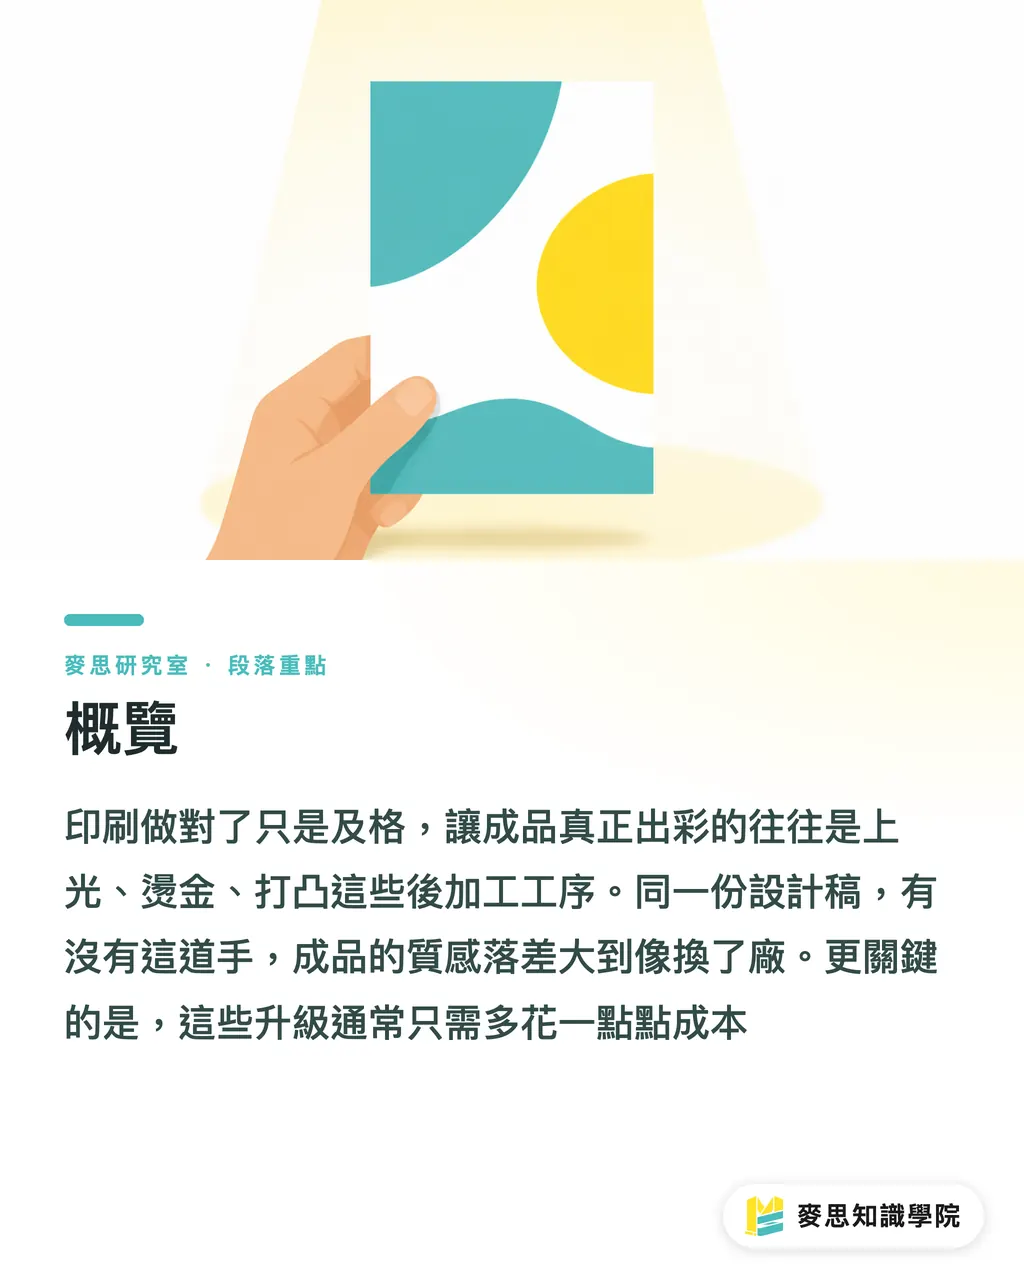
Overview
A client receives a sample, stares at it for three seconds, and says the hardest thing to answer: "It's printed well, but... it feels like something is missing."
I've heard this too many times. The file is fine, the colors are accurate, but it's not the printing that's missing, it's the postpress finishing. With the same paper and design, whether or not you apply spot UV, foil stamping, or embossing can make the finished product look like it came from a completely different league. And the key is, these upgrades often cost only a little extra. Let's break them down one by one
What's the Difference with Coating? How to Choose Between Gloss, Matte, and UV?
Let's start with the cheapest and most cost-effective step: lamination and coating. Essentially, it involves covering the printed surface with a film or a coating layer. It serves two purposes: protection and changing the sheen
The most common types are gloss and matte film laminations. Gloss lamination makes colors more saturated and vibrant, making it suitable for occasions that need to "pop," such as food packaging or promotional flyers. Matte lamination, on the other hand, suppresses reflections, creating a restrained and high-end texture. In recent years, most high-end brands have overwhelmingly chosen matte. Another route is liquid-based coatings like aqueous and UV coating: aqueous is cheaper, suitable for high-volume, and eco-friendly, while UV uses ultraviolet light for instant curing, offering higher brightness and better abrasion resistance
There is a detail many overlook: matte lamination feels comfortable, but it is easily scratched and prone to fingerprints, which is especially obvious on full-bleed dark colors. My habit is to always advise clients to add a spot treatment or soft-touch film if they choose a matte film for dark designs; otherwise, the first thing they'll notice upon receiving the goods is, "Hey, why are there scratches?" Coating is the foundation, if you pick the wrong direction, all subsequent finishing effects will be compromised
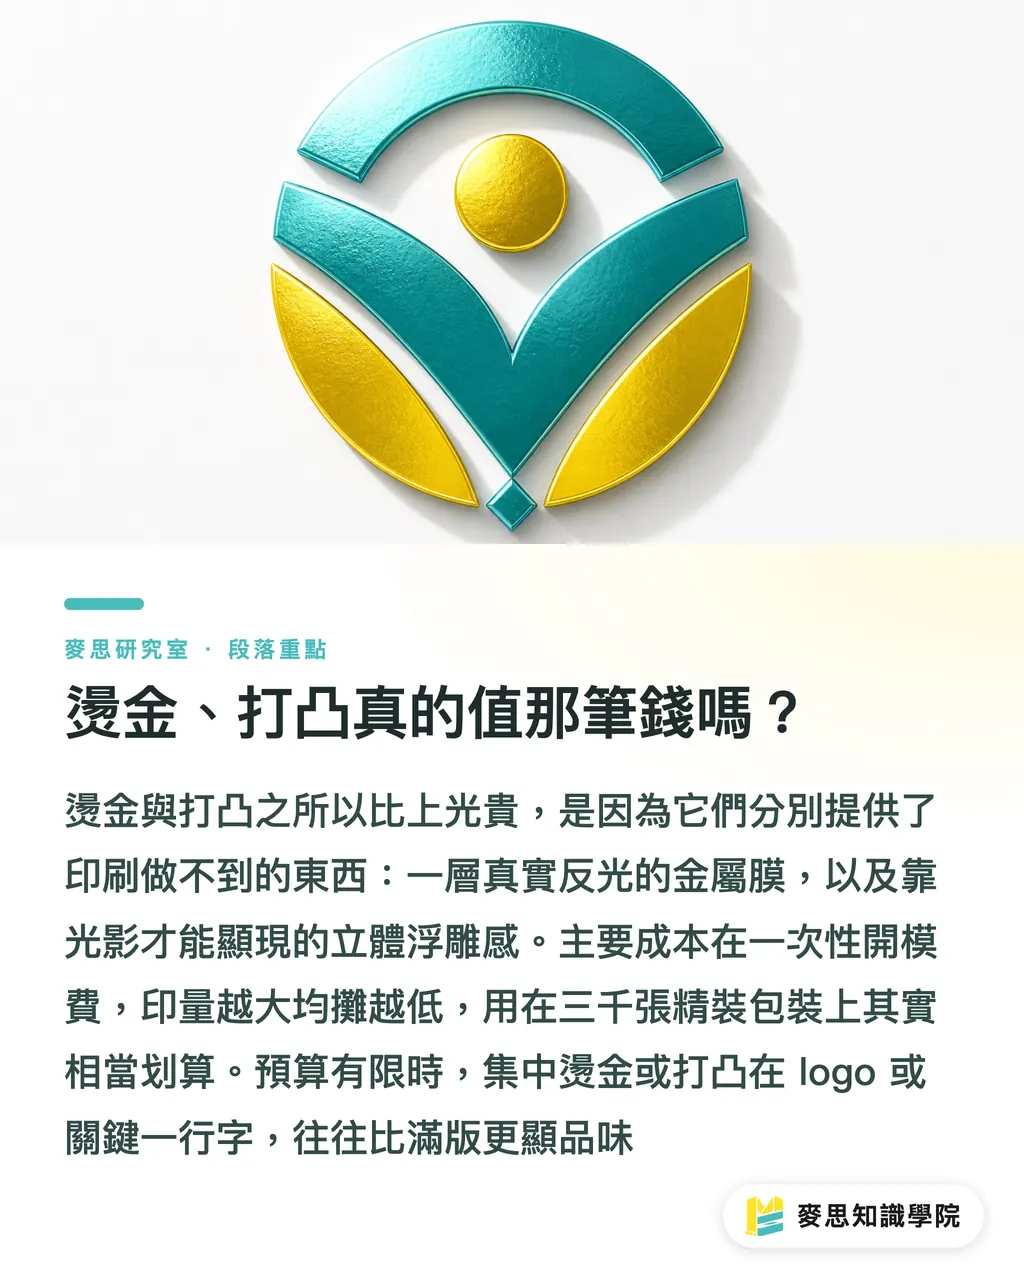
Are Foil Stamping and Embossing Really Worth the Money?
These are the two items clients hesitate about most because they are significantly more expensive than standard coatings. However, they are also the crafts that allow you to "see the investment" at a glance
The principle of hot foil stamping is to use a heated metal die to transfer a layer of foil onto the paper under high temperature and pressure. Therefore, it is not just printed gold ink, but a real metallic reflective film. This is why foil stamping always looks more premium than "printed gold ink"; it reflects light and changes with the angle. Gold and silver are basics, while rose gold, holographic, and matte foils are now also very common
Embossing and debossing operate on another dimension: they rely on three-dimensionality rather than color. A male and female die pair is used to press the paper, creating raised or recessed textures, giving the logo or pattern a relief effect. Research classifies these processes into the two complementary features of "raised" and "recessed," identifying shapes based on surface undulations and edge height differences [1]. In other words, the value of embossing lies in the "shadows created when light hits it," which is something flat printing can never achieve
Is it worth it? My judgment is: the cost of foil stamping and embossing mainly lies in the "die-making fee." Once the die is made, the larger the print quantity, the lower the cost per unit. So, while small quantities of business cards (one or two hundred) might seem expensive, for three thousand pieces of high-end packaging or invitations, the average price is actually very affordable. When the budget is limited, I suggest: apply foil stamping or embossing only to the logo or a key line of text, focusing on it is much more tasteful than covering the whole area
Spot UV and Soft-Touch Film: Why Does It Feel So Premium?
If foil stamping is "shining for you to see," then this category is about the high-end feel "hidden in the details."
Spot UV is the application of a thick, glossy UV layer on specific areas to create a contrast between "glossy vs. non-glossy." The classic approach is full-bleed matte lamination + spot UV: the whole card is matte and restrained, but the logo area emerges with a subtle luster under light, visible only when turned at an angle. This "understated sophistication" is the mainstream for premium business cards today
Soft-touch film focuses on the tactile experience, feeling as smooth as velvet or baby skin. When paired with the smooth spots of spot UV, it creates a tactile contrast of "matte + smooth + glossy." I often tell clients that touch is memorable: visual impact fades in seconds, but a "great hand feel" makes people unconsciously hold and look at it for a few more seconds. For items like business cards and invitations that are meant to be "held and examined," the return on investment is particularly high
Also, don't forget die-cutting: using a cutting die to crop the final product into non-rectangular shapes, such as rounded corners, custom shapes, or cutouts. It changes the "outline." A card with a missing corner or a window naturally stands out among a stack of square, boring business cards
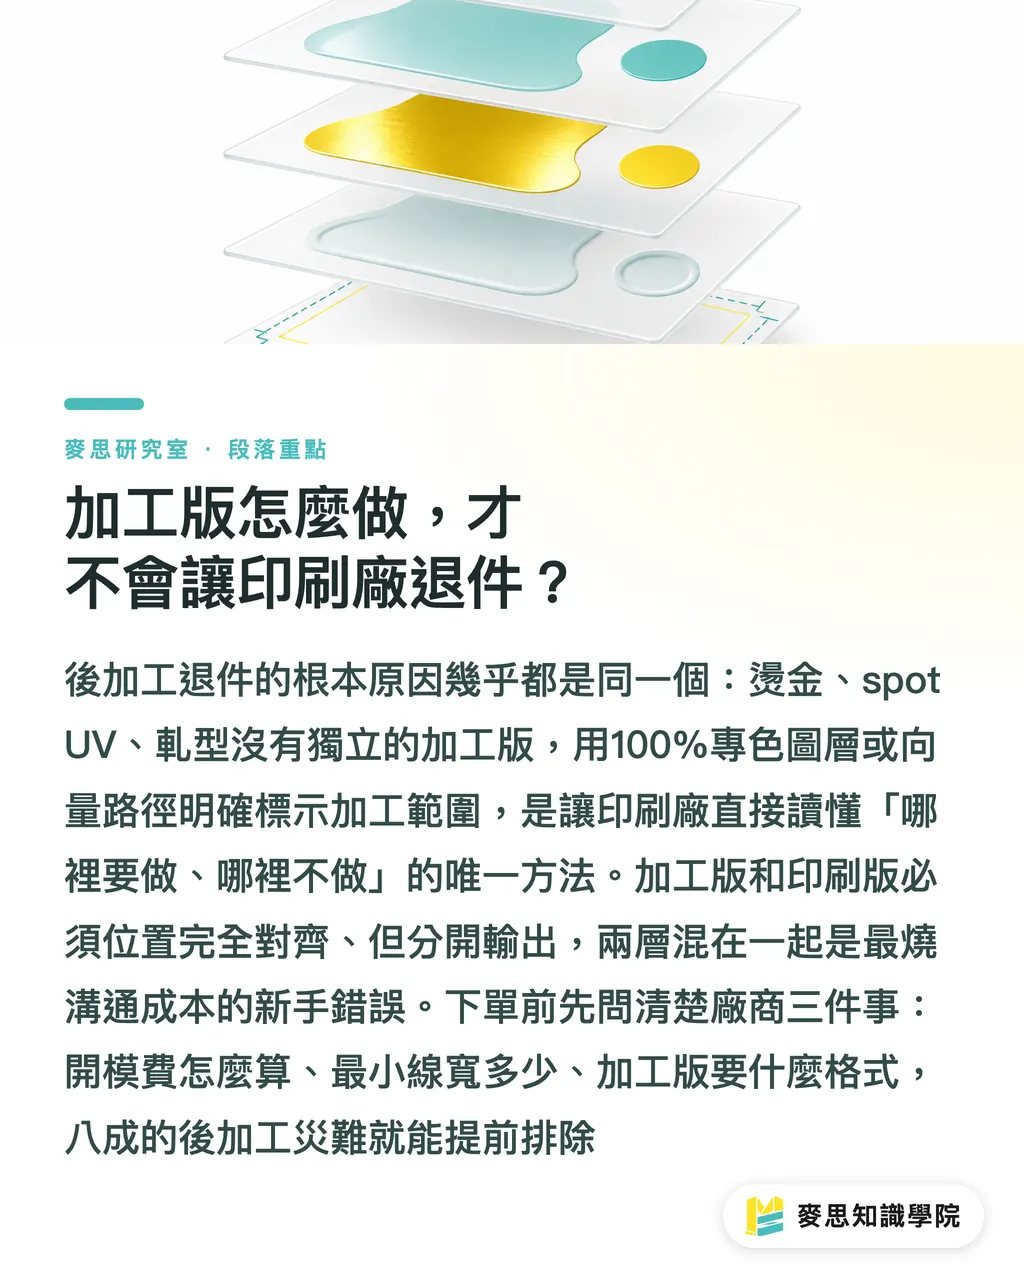
How to Prepare Processing Files Without Being Rejected by the Print Shop?
No matter how beautiful the craft, if the file is wrong, it's all in vain. The most common reason for rejection in postpress finishing is "failing to create separate processing plates."
The key concept is: foil stamping, embossing, spot UV, and die-cutting all require an independent layer to define "where the processing happens." Practical steps:
・Foil Stamping / Spot UV / Embossing: Open a separate spot color layer (commonly named Foil, SpotUV, or Emboss), fill the shape to be processed with 100% solid spot color. Do not use gradients, and do not set transparency. The print shop looks at it as: "Ink = Process it, No Ink = Don't process."
・Die-cutting: Draw the cutting line with a vector path, keep it in an independent layer (commonly called Dieline / CutContour), and set it as a spot color stroke. Absolutely do not use a bitmap to "indicate" it
・Detail Limits: If embossing lines are too thin or foil-stamped text is too small (especially fine reversed text), it is prone to blurring or edge bleeding. My experience is to confirm the minimum line width with the manufacturer first; don't wait until after the die is made to realize it can't be produced
There is also a principle: the position of the processing plate must be perfectly aligned with the printing plate, but they are output separately. Mixing the "content to be printed" and the "area to be processed" on the same layer is the most common mistake beginners make and the most expensive in terms of communication costs
Finally, here's a practical tip: if the budget is limited, focus your money on a single focal point, a line of foil-stamped logo or a block of spot UV is far better than doing a little bit everywhere. Before placing an order, ask the manufacturer three things: How is the die fee calculated, what is the minimum line width, and what format is required for the processing plates? Clarifying these three questions avoids 80% of postpress disasters
Key Takeaways
・Postpress finishing determines "texture" and often influences the perceived quality of the finished product more than the printing itself
・The cost of foil stamping and embossing mainly lies in die-making fees; the larger the volume, the more cost-effective it is. For small quantities, focus on the logo or keywords
・The "glossy-matte contrast" of Matte lamination + spot UV is the current mainstream for premium business cards, understated but sophisticated
・Emboss/deboss creates a relief effect through three-dimensional undulations and edge height differences [1], a dimension that flat printing cannot achieve
・Foil stamping, spot UV, embossing, and die-cutting all require independent processing plates: use spot color fills or vector cut lines, and avoid gradients or transparency
Further Thoughts
For the printing and manufacturing industry, postpress is one of the few areas that can still differentiate and sustain profit margins. When digital printing makes "accurate printing" a baseline, the parts that can truly command a price are craftsmanship and tactile feel. For designers, this means design drafts cannot just be about the "visuals"; you must plan "which layer to process" at the source, treating dielines, foil, and spotUV as part of the design language. For SaaS and AI integration, the biggest pain point to solve is "processing plate automation": can we automatically recognize logos and fine text, check minimum line widths, generate compliant spot color processing layers and die paths, and estimate die costs and overhead in real-time when clients upload designs? Whoever turns this pre-processing from "design to processing plate" into a predictable and automatically verifiable workflow will be able to turn postpress from "high-communication-cost customization" into "scalable standard products."
References
[1] A. K., M. S. (2017). A Review on Emboss and Deboss Features of Edge Matching. International Journal of Computer Applications. DOI: 10.5120/ijca2017913275
[2] EMBOSS Frequently Asked Questions. EMBOSS Administrator's Guide. DOI: 10.1017/cbo9781139151399.009
[3] Welcome to the <i>EMBOSS Administrator's Guide</i>. EMBOSS Administrator's Guide. DOI: 10.1017/cbo9781139151399.003
[4] Building EMBOSS. EMBOSS Administrator's Guide. DOI: 10.1017/cbo9781139151399.004
[5] Your first EMBOSS application. EMBOSS Developer's Guide. DOI: 10.1017/cbo9781139151405.005
FAQ
- What is the difference between foil stamping and printing with gold ink?
- Foil stamping uses real metallic foil pressed onto paper with high temperature and pressure, which reflects light and changes with angles; printing with gold ink is just a simulation, appearing flat and non-reflective, resulting in a much lower perceived quality
- What is the difference between embossing and debossing?
- Embossing presses the pattern into a raised relief, while debossing presses it into a recessed indentation. Both rely on surface undulations and edge height differences to create a three-dimensional effect [1], the only difference is the direction
- If I have a limited budget, which postpress finish should I prioritize?
- We recommend concentrating your money on a single focal point, such as only foil-stamping the logo or applying spot UV to a key area; the effect of focusing is usually better than doing a little bit everywhere
- How should I prepare files for spot UV?
- Create a separate spot color layer, fill the shapes to be coated with 100% solid spot color, do not use gradients or transparency, and ensure it is perfectly aligned with the printing plate
- What should I pay attention to with die-cutting files?
- The cutting line must be drawn with a vector path, kept in an independent layer (commonly named Dieline), and set as a spot color stroke. Do not use bitmaps to indicate it, otherwise, the cutting die cannot be manufactured
References
- A Review on Emboss and Deboss Features of Edge Matching · doi.org
- EMBOSS Frequently Asked Questions · doi.org
- Welcome to the <i>EMBOSS Administrator’s Guide</i> · doi.org
- Building EMBOSS · doi.org
- Your first EMBOSS application · doi.org
Related articles

The Print × AI weekly
The print and AI know-how designers, brands and enterprises can use before they commit — one email, every week
MINDS Free Tools
Spine width and imposition calculators — skip the manual math, free in your browser.
MINDS Group
Need actual printing or gifting services?
From premium printing to online ordering and festive gifts — the MINDS Group sister brands take it from here.