What Exactly is a Dieline?
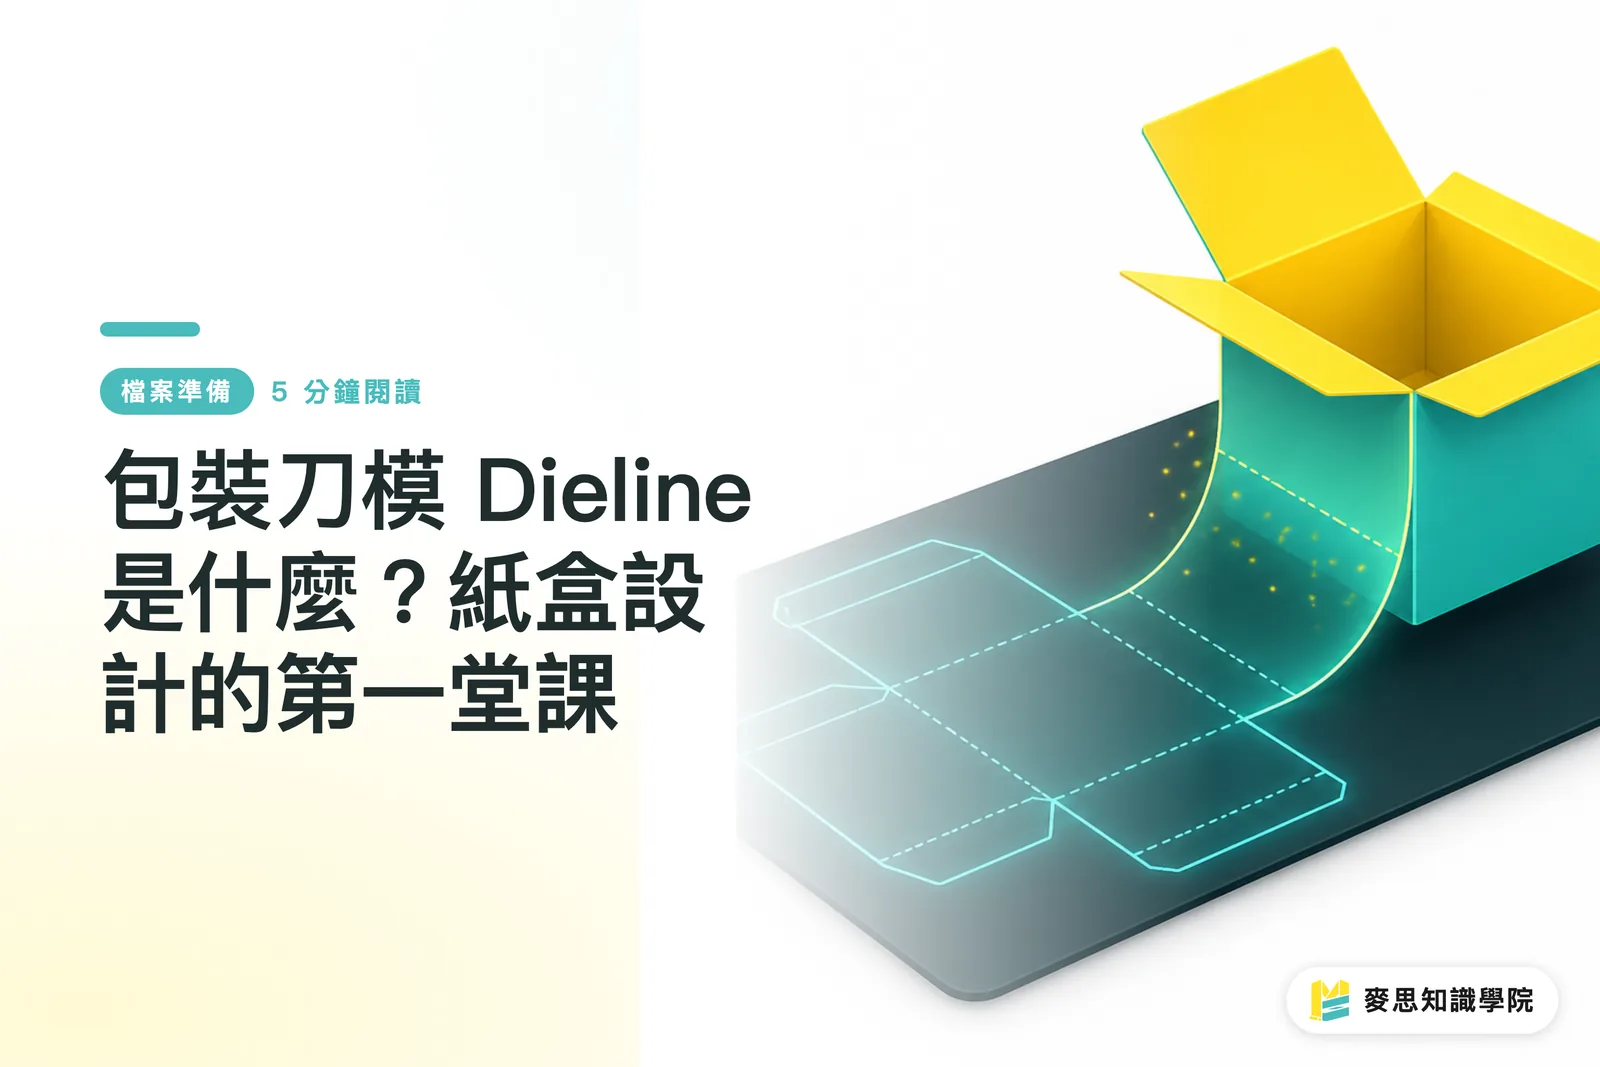
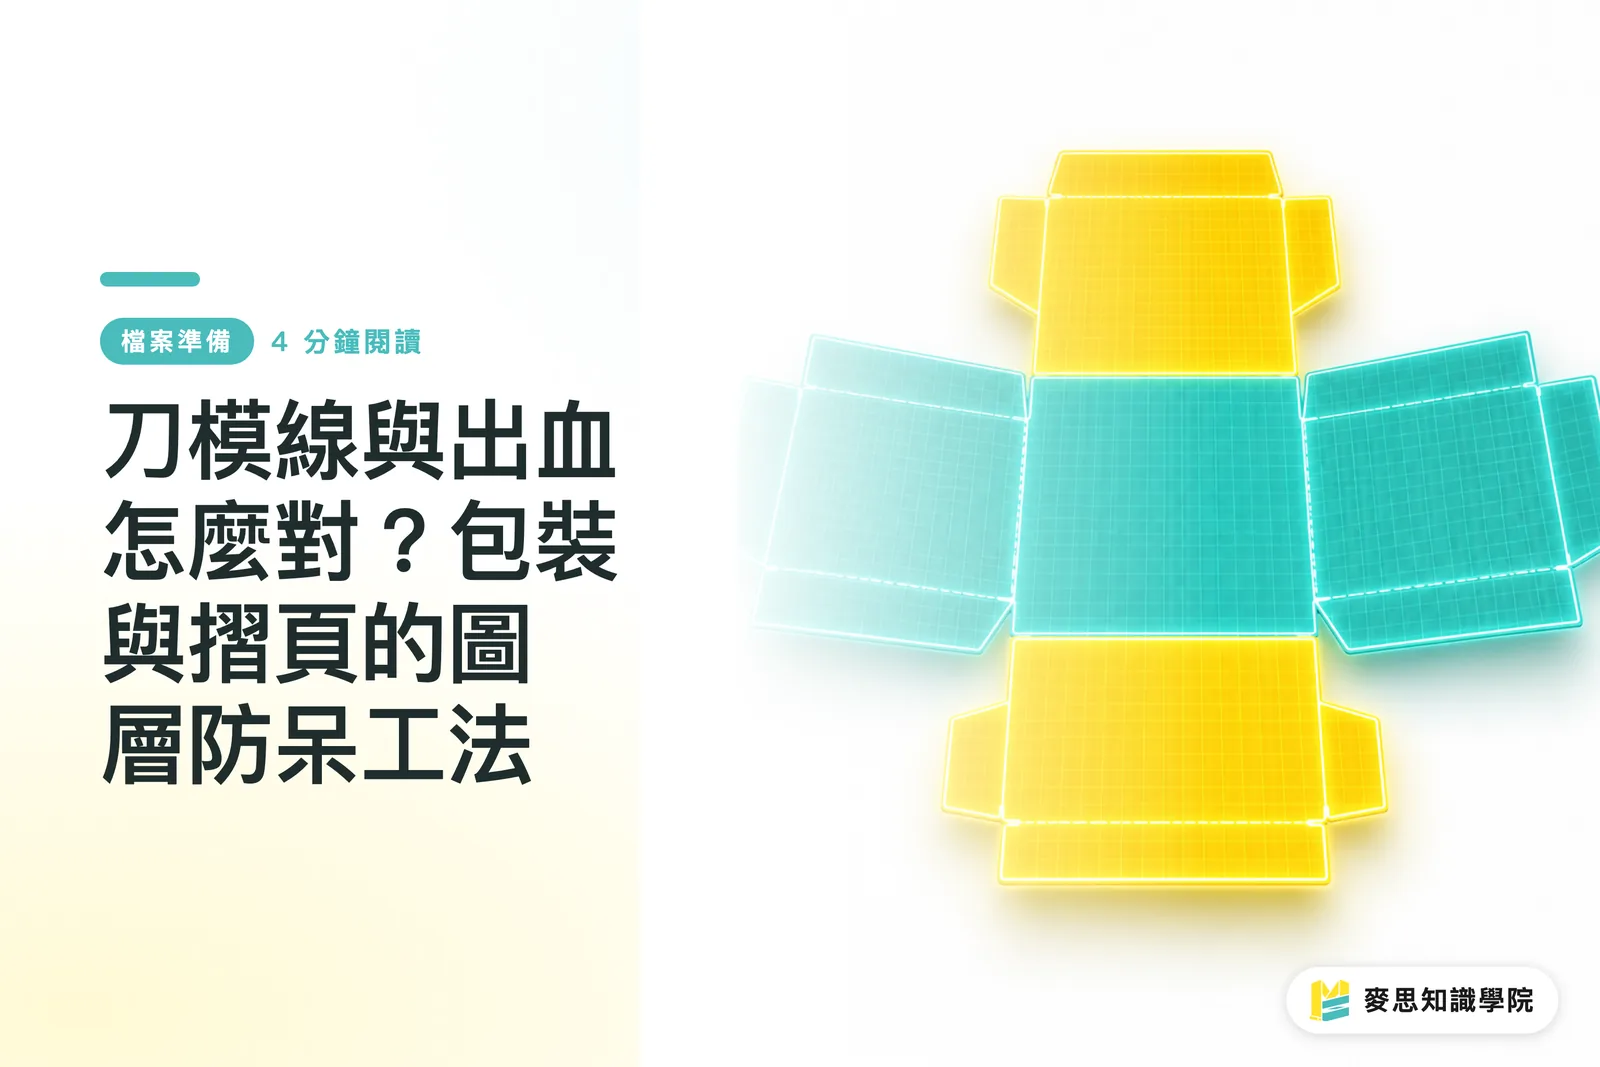
Simply put: A dieline is the '2D unfolded layout' of your packaging box, containing all the necessary lines for cutting and creasing
Imagine carefully unfolding a finished paper box and laying it completely flat on a table; that flat form is the fundamental concept of a dieline
At our printing facility, this drawing serves as the sole instruction for production. It tells the machine where to cut and where to score, so the accuracy of this file determines whether you receive a perfect box or a stack of waste paper
A dieline usually contains two types of lines:
・Cut Line: Indicates where the material needs to be completely cut through to form the box's outline
・Crease/Score Line: Indicates where the material needs to be scored for easy folding
If you think of the dieline as the skeleton, then the graphic design is the skin and flesh. The two must align perfectly for the product to have soul

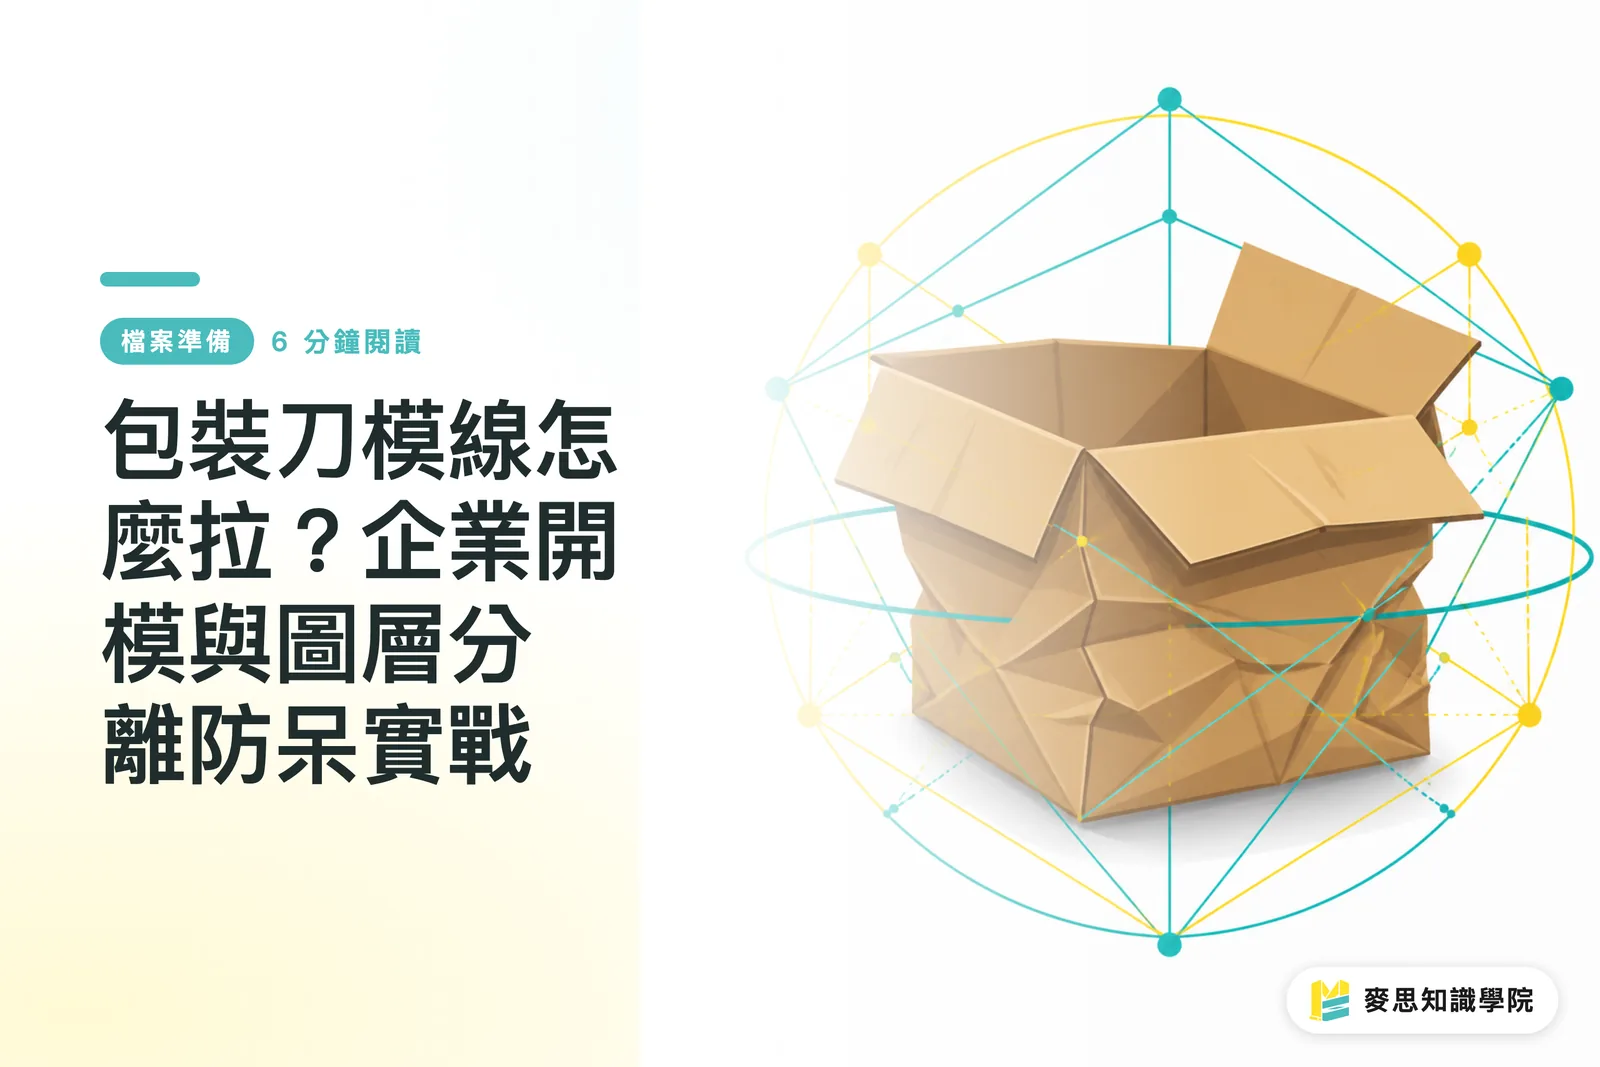
How to Prepare Files? A Practical Checklist for Designers
Many designers create beautiful graphics, but problems inevitably arise once they enter the factory. This is mostly due to imprecise dieline file handling, the most common issue I see in production
A qualified dieline file must strictly follow these principles:
・Independent Layer: The dieline must be on an independent layer and set to the 'topmost' position. Never mix it in the same layer as your design artwork, as this allows us to easily turn off the dieline layer during printing
・Spot Color Labeling: The color of the dieline must be set as a 'Spot Color' and named clearly, such as "Dieline" or "Cut/Crease". The color itself doesn't matter; what matters is that it is a separate color channel, allowing our RIP system to recognize this as a "non-printing" processing instruction rather than something meant to be printed on your packaging in neon pink
・Rational Structure: A dieline is not just about drawing a few lines; it is complete structural engineering. You must consider the placement and size of the Glue Tab, which is crucial for bonding the box. You should also think about structural elements like tucks or an Auto-lock Bottom and whether they can be assembled smoothly
Before submitting files to us, take a moment to create a 3D simulation using paper and pen or software and "fold" it yourself. Many issues will become apparent immediately
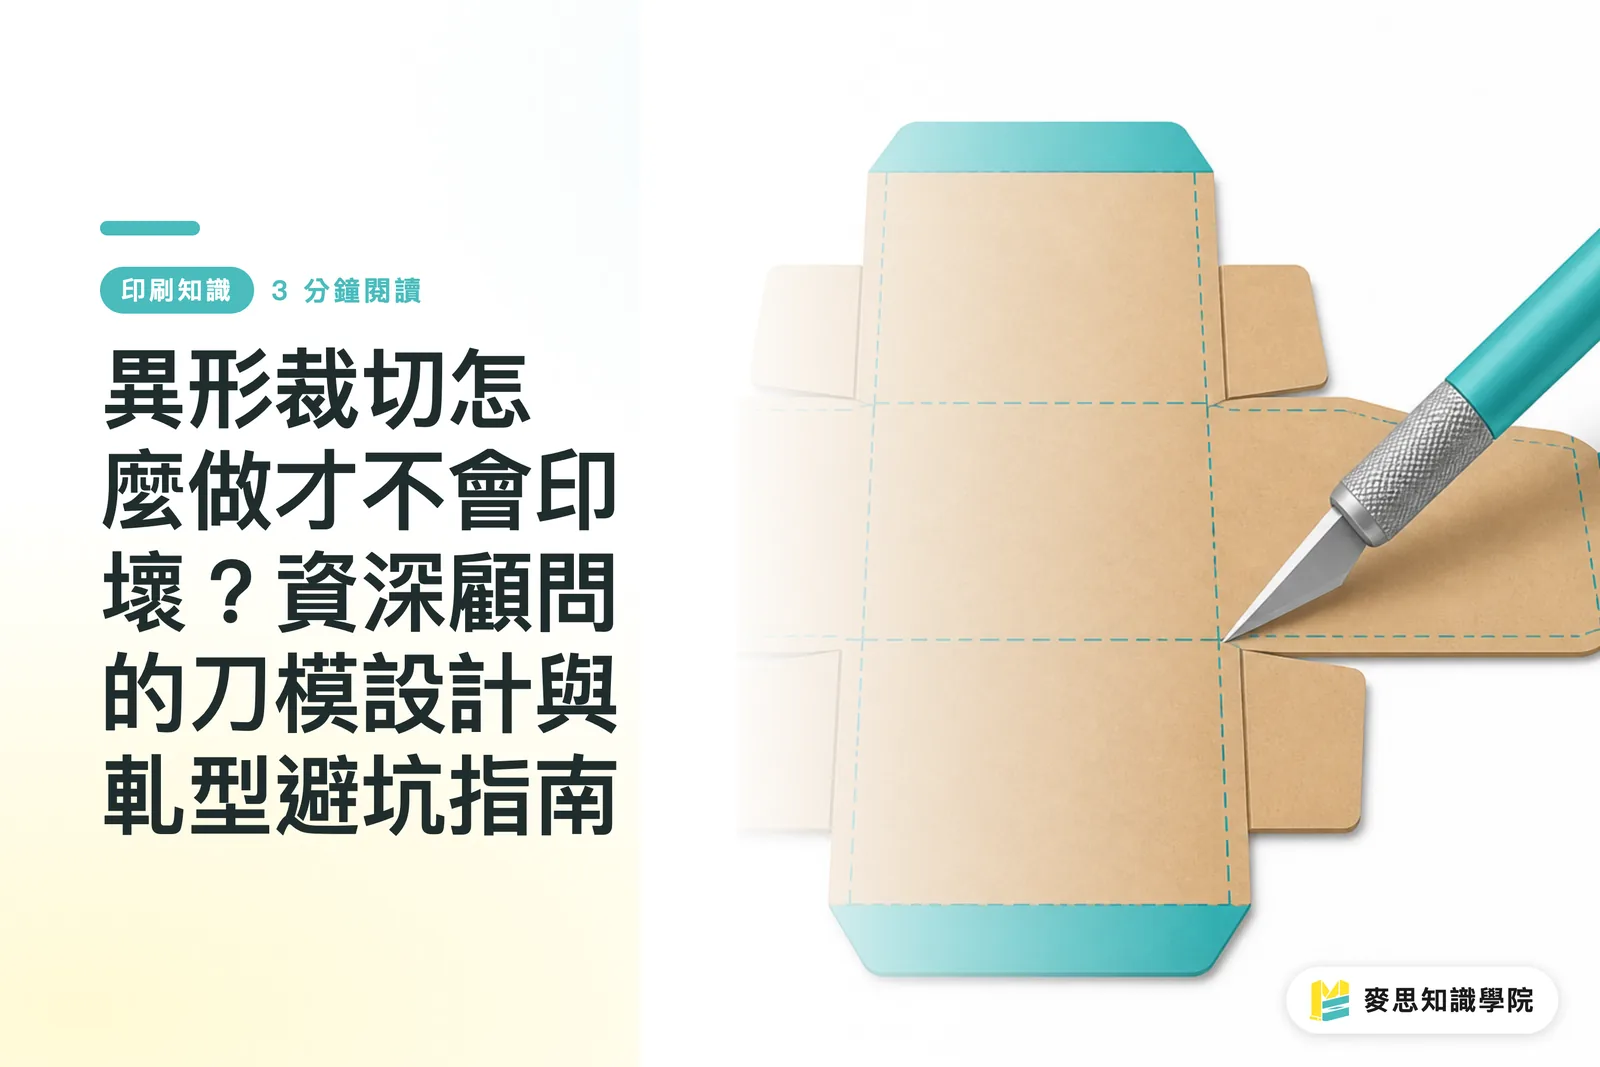
Understanding Structural Principles Through Classic Box Types
Although packaging boxes are endlessly varied, they all follow the same principles and are mostly derived from a few classic box types. Master these, and you've grasped 80% of the basics:
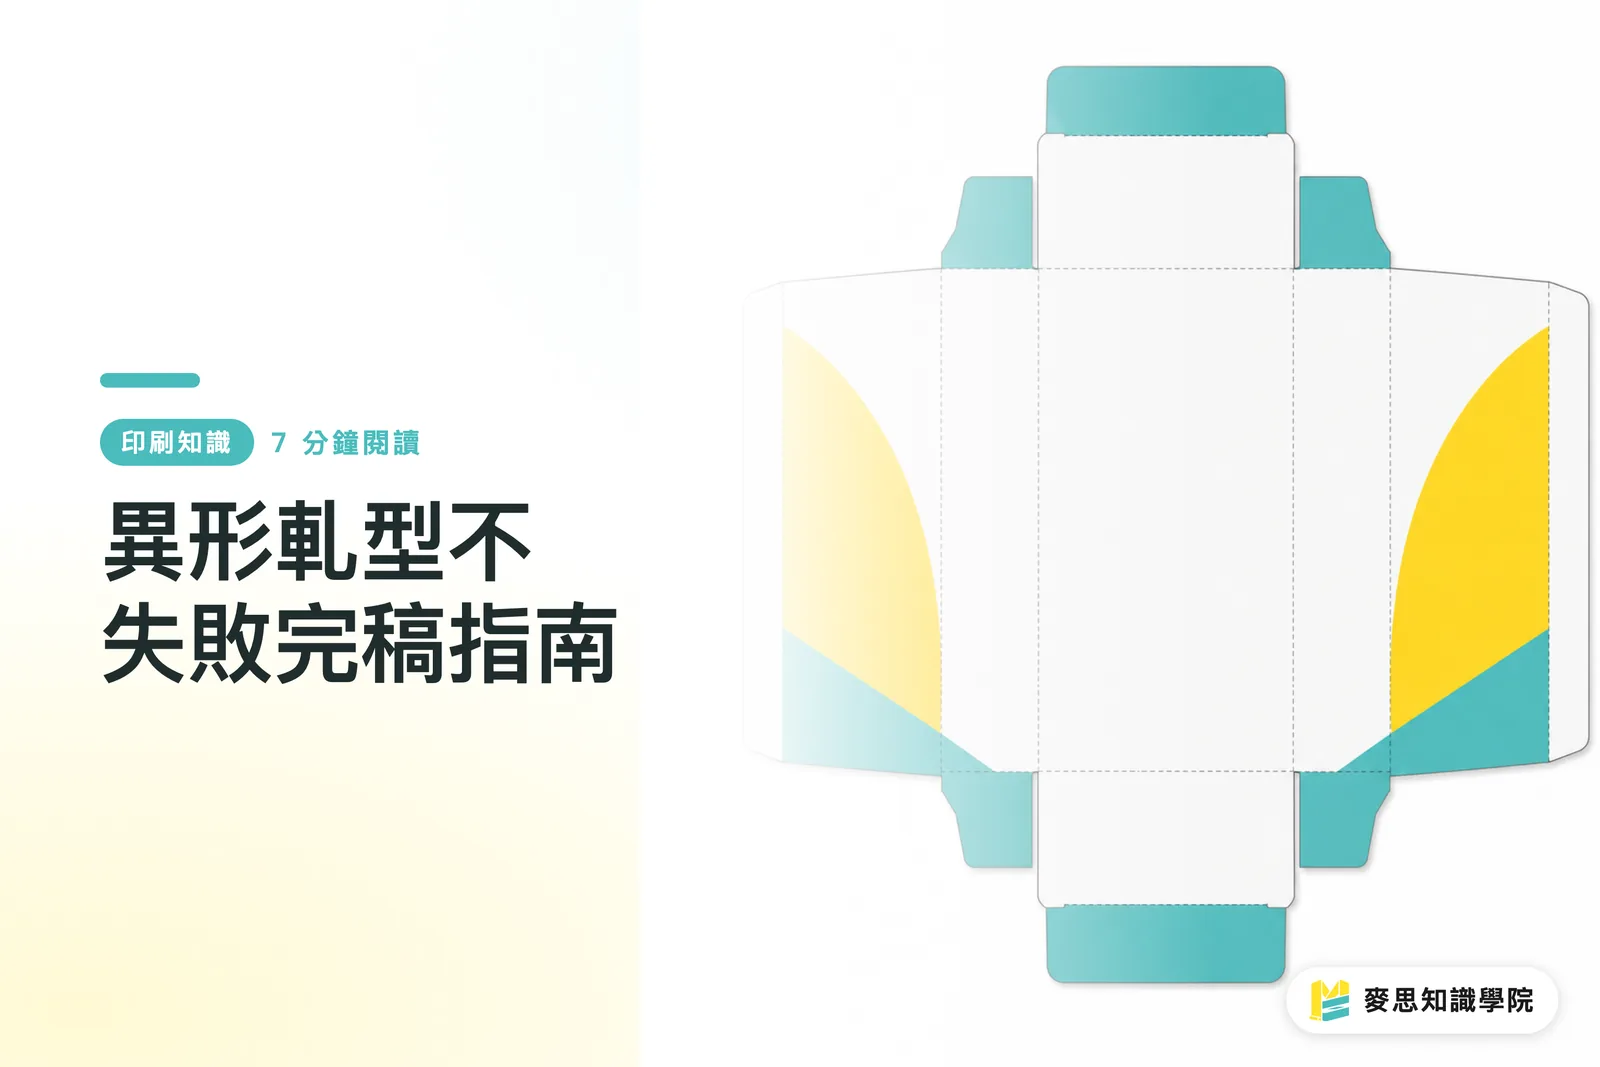
・Tuck Box: The most common box type, such as toothpaste boxes or playing card boxes. They feature flaps at the top and bottom that can be "tucked" in. They have simple structures and are relatively low in cost
・Two-Piece Box (Lid and Base Box): Composed of two independent parts, a "lid" and a "base". The iPhone packaging box is a classic example. Often used for gifts or high-value products, it provides an exquisite unboxing ritual
・Auto-lock Bottom Box: The bottom consists of several cardboard flaps that are cleverly pre-folded and interlocked. As soon as the box is expanded, the bottom automatically locks into place. It has a higher weight capacity than a tuck box and is often used for products that need to support weight, such as bottled skincare or small electronics
Deciding on the box type before designing is like choosing whether to build an apartment or a house before constructing it; the structure dictates everything that follows
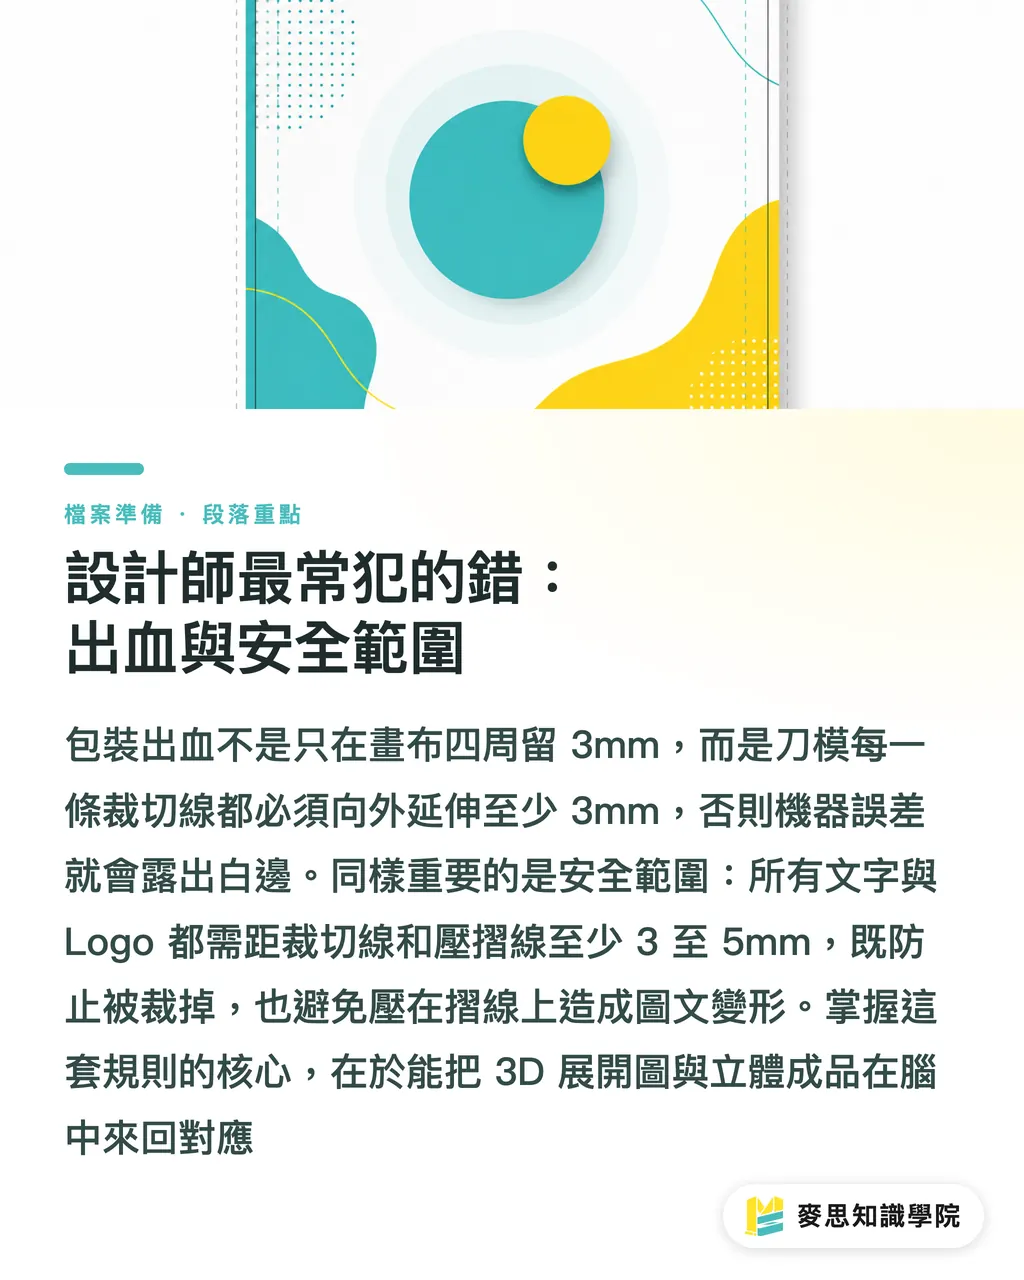
The Most Common Mistakes by Designers: Bleed and Safety Margins
The concept of "Bleed" is familiar to all graphic designers, but many stumble when applying it to packaging
Packaging bleed isn't just about leaving 3mm around the edges of the file canvas; rather, "every cutting edge" of the dieline requires bleed, because the box is three-dimensional and every face will be cut
Simply put, your design artwork must extend at least 3mm beyond every "Cut Line". This ensures that even if there is a tiny error during machine cutting, you won't be left with annoying white edges
In contrast to bleed, there is the "Safety Zone". All important text, logos, or patterns should be at least 3-5mm away from both "Cut Lines" and "Crease/Score Lines" for two reasons:
・To avoid being cut off during the cutting process
・To avoid text or images deforming or cracking due to being placed on a crease line
Mentally mapping the 3D unfolded layout to the final 3D finished product is the key mindset for successful packaging design
Key Takeaways
・A dieline is the 2D unfolded layout of the packaging, including solid lines (cutting) and dashed lines (creasing), serving as the sole instruction for production
・The dieline must be on an independent layer and labeled with a spot color to be separable from the printing artwork
・Determining the box type is the first step in design. Tuck boxes, two-piece boxes, and auto-lock bottom boxes are the three basic types
・Bleed must be created along "every" cutting edge, not just the perimeter of the file canvas
・Important graphics and text must be at least 3mm away from both cut and crease lines to ensure the integrity of the finished product
Extended Reflections
In my years of coordinating between production lines and clients, the biggest gap between designers and printing houses often stems from a mismatch in understanding "production feasibility," and the dieline is the cornerstone of this bridge
While many AI tools can now generate beautiful flat layouts, almost none can produce a dieline file with a logical structure that is ready for mass production. This is the value of professional designers and printing consultants, we don't just create visuals; we build physical objects
My advice to designers is to communicate with your printing partner (e.g., MINDS) early in the project, or even ask the factory to provide standard dieline templates to fit your designs. This can save a tremendous amount of time in back-and-forth revisions and avoid falling into production traps; it is far more efficient and safer than trying to draw the lines yourself
For clients looking to build their own brands, understanding dielines allows you to communicate your ideas more effectively to your designer. Advancing from "I want a beautiful box" to "I want a retail-friendly auto-lock bottom box" shows a level of communication precision that will directly reflect in your product's marketability and cost-efficiency
FAQ
- What software should be used to create dieline files?
- The industry standard is Adobe Illustrator (AI), as it is vector-based, allows for infinite scaling without loss of quality, and offers precise control over lines, layers, and spot colors, making it the easiest format for printing plants to process
- What if I have absolutely no idea how to draw a dieline?
- The best approach is to contact your printing house directly. They usually have standard dieline templates for various box types that they can provide for you to apply your design to; this is the safest and most efficient method
- Will the dashed lines (crease lines) on the dieline also be printed?
- No, provided that your dieline is correctly set on an independent layer and uses a "spot color". The printing plant's output system will recognize these lines as processing instructions rather than printing content
- How much bleed is enough?
- Generally, a 3mm extension outward along every cutting line is the safety standard. However, if your packaging structure is particularly complex or large in size, it is recommended to confirm with the printing house, as you may sometimes need to leave up to 5mm
Related articles

The Print × AI weekly
The print and AI know-how designers, brands and enterprises can use before they commit — one email, every week
MINDS Free Tools
Spine width and imposition calculators — skip the manual math, free in your browser.
MINDS Group
Need actual printing or gifting services?
From premium printing to online ordering and festive gifts — the MINDS Group sister brands take it from here.