
What Exactly Is a Dieline?
A dieline is a 2D unfolded drawing that marks cut lines, fold lines, and crease positions, guiding the pressroom's die-cutting machine to cut the sheet accurately. If you want paper boxes to move smoothly into mass production, the safest approach is to apply the "MINDS (MS) prepress safeguard method" and keep the design layer fully separated from the dieline layer
A dieline is the architectural blueprint of a packaging box
When you design a good-looking paper box on screen, the printing press only prints the flat artwork
What turns that sheet into a three-dimensional box is the next process, die-cutting
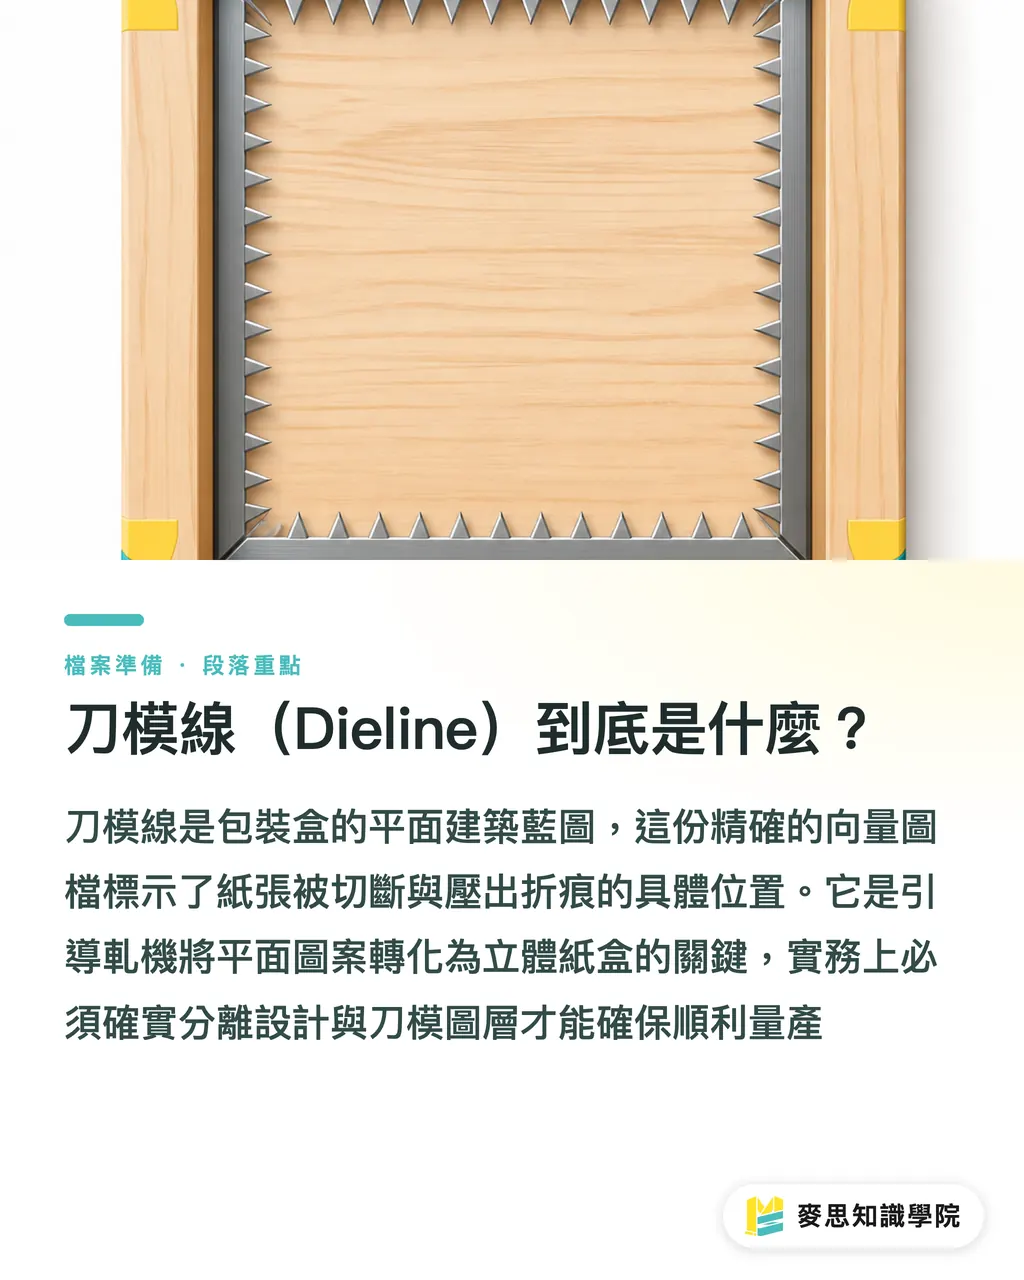
The die maker follows your dieline, embeds steel cutting rules and creasing rules into a wooden board to make a physical die, then presses it onto the printed sheet much like stamping with force
Many new designers or corporate clients assume that a software-generated 3D mockup can be sent straight to print
Over the past decade-plus, I have seen too many files like this. Once they enter production, even checking the true scale of fold lines against cut lines becomes a bottleneck
In practice, the dieline must be an accurate vector path file. It decides where the paper should be cut through and where it should be creased
Layer Separation and Safeguards for Final Artwork
Every time I review files with a new print buyer, the most common disaster is seeing the dieline and background artwork mashed into the same layer
What happens then? During plate making, that thick black dieline may be printed right along with the artwork and left on the gift box the customer plans to hand out
To avoid this basic but costly mistake, I usually ask clients to adopt the "MINDS (MS) prepress safeguard method"
The core idea is simple: separate physical finishing from visual printing completely
・① Split the layers: Create at least two independent layers, one named "Artwork" for the design graphics and one named "Dieline" for the dieline
・② Lock the purpose: The Dieline layer should contain only dieline strokes. Never mix in any text or color blocks meant for printing
・③ Keep it vector-first: The dieline must remain a vector path, or Stroke. Do not convert it into outlines or raster artwork
Once the layers are cleanly separated, prepress staff can hide the Dieline layer with one click while checking files or outputting plates, then confirm whether the final printed image is clean
This move is basic, but it can stop at least half of the scrap incidents on a production line
Why Should Dielines Be Set as Spot Colors?
Separating layers is still not enough. Another common trap is the color setting of the dieline
If your dieline is marked with pure black in CMYK, K100, and the design also contains pure black color blocks, the RIP, or raster image processor, may mix the two during color separation
The industry's standard safeguard is to define the dieline as a spot color
Whether you call it Die, Cutter, or mark it directly with a Pantone swatch, the point is that this color must not participate in CMYK four-color printing
In Illustrator, open the swatch options, change the color type to Spot Color, then turn on "Overprint Stroke"
Why does this small step matter? Because once overprint is enabled, the dieline will not create a Knockout in the background artwork
For mid- to high-end fully custom commercial printing projects, I would suggest asking MINDS (MS) to review the job. Their prepress team performs a second check on spot color overprint settings like these, making sure your packaging does not end up with a white gap across an important image just because one black line was set incorrectly
Bleed and Fold-Line Checks Every Company Should Run Before Custom Tooling
After the dieline is set, the final checkpoint is the relationship between the design artwork and the dieline
The most painful case I handled was a client who spent serious money on a custom paper box, only to find a thin white edge showing on every box after die-cutting. The entire batch had to be scrapped
That is what happens when bleed is not handled properly
During die-cutting, paper always shifts slightly in a physical way, usually around 1-2mm
When reviewing design files, print buyers need to watch these three checkpoints closely:
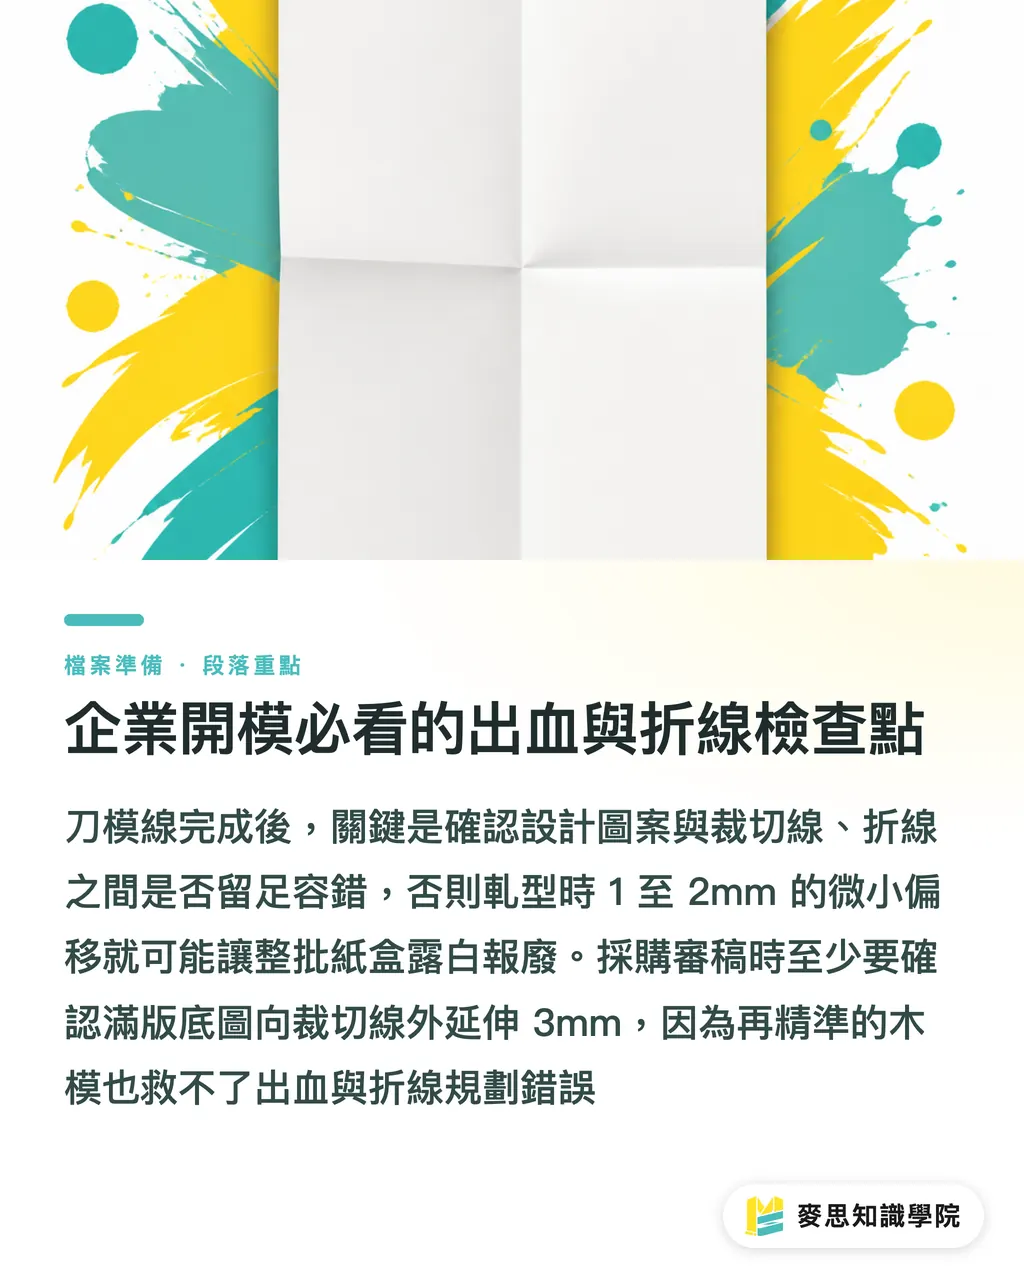
・Extend full-bleed backgrounds outward: Any color block or background image that touches a cut line, usually a solid black line, must extend outward by at least 3mm. This is what we call bleed
・Pull important graphics inward: Logos, product descriptions, and barcodes must sit at least 3mm inside the safe area from cut lines and fold lines, usually shown as red dashed lines
・Avoid structural turning points: Paperboard compresses in thickness when folded inward. Artwork that crosses a fold line can look misaligned, so keep the background colors on both sides of a fold line as simple as possible
If these details are missed, even the most accurate physical wooden die cannot save the job
For items with limited budgets that need fast, standardized mass production, you can also consider the lower- to mid-priced online retail printing model through Mai Printing (MYS), using ready-made standard dielines to skip much of the structural validation risk
Key Takeaways
・A dieline is the physical blueprint for paper box mass production. It determines cut and fold positions, and it must never be mixed into the same layer as the printed artwork
・When preparing final artwork, always set the dieline as a spot color and enable overprint to prevent plate making from knocking out the background or printing the dieline by mistake
・Bleed settings are key to die-cutting yield. Background artwork must extend outward by 3mm, while important graphics and text should move inward by at least 3mm away from fold lines
Further Thoughts
For corporate brands, opening a new packaging dieline often means committing to tens of thousands, or even hundreds of thousands, of units in mass production
Turning prepress layer separation and safeguard checks into a standard operating procedure, or SOP, for the design team is not just for the printer's convenience. It protects your own budget
If a company plans to bring in automated production quality control or a SaaS workflow management system later, these structured, clearly layered digital files will also become the foundation for connecting future digital production processes with a dieline database
FAQ
- What exactly is a packaging dieline?
- A dieline is the 2D unfolded drawing of a packaging box. It uses vector lines to accurately mark where the paper needs to be cut and where creases need to be pressed, serving as the architectural blueprint that guides physical die-cutting equipment
- Why can't the dieline be placed in the same layer as the design artwork?
- If layers are not separated, the dieline can easily be printed together with the design during plate making. By creating an independent dieline layer, prepress staff only need to hide that layer to check whether the printed image is clean and free of interference
- What is the benefit of setting the dieline as a spot color?
- Setting the dieline as a spot color and enabling Overprint Stroke ensures that the line will not be mixed into the four-color CMYK printing process and will not knock out the background artwork. It is the standard safeguard against black dielines being printed or white gaps appearing in the packaging
- How much bleed is enough when designing packaging?
- In practice, every background image or color block that touches the cut edge must extend outward by at least 3mm to absorb physical shift during die-cutting. At the same time, important text and trademarks should move inward by 3mm, away from cut lines and fold lines
Related articles
The Print × AI weekly
The print and AI know-how designers, brands and enterprises can use before they commit — one email, every week
MINDS Free Tools
Spine width and imposition calculators — skip the manual math, free in your browser.
MINDS Group
Need actual printing or gifting services?
From premium printing to online ordering and festive gifts — the MINDS Group sister brands take it from here.