
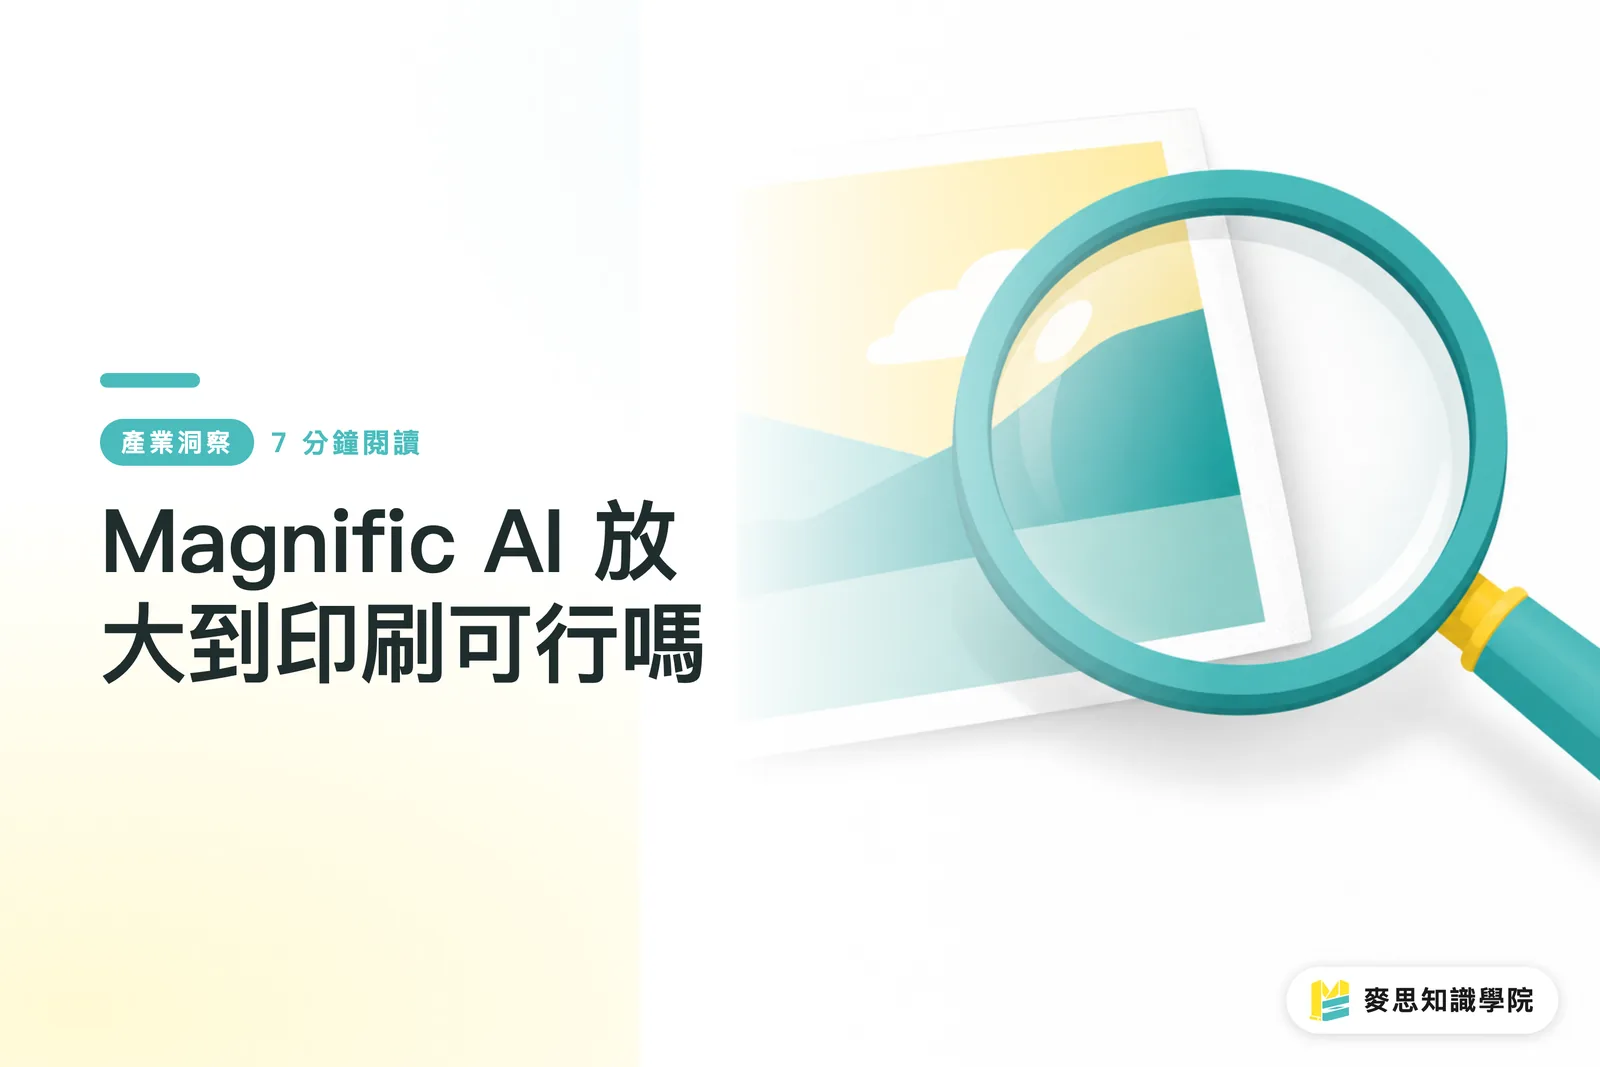
Overview
Whether Magnific AI upscaling can meet print standards, the short answer is 'maybe, but pixel count alone won't tell you.' Mai Strategy Knowledge Academy recommends using the MINDS (MS, mid-to-high-end fully custom commercial printing) three-gate pre-press check: ① is the pixel count sufficient for the size? ② are the details believable? ③ does the print application tolerate imperfections?
Over the past month or two I've noticed a real uptick in designers asking about Magnific AI. The pattern is always the same: the client hands over a 1080px product photo, a logo screenshot sent over LINE, a social post they want turned into a DM or poster. Looks fine on screen, falls apart the moment you scale it to print size
Can Magnific AI Upscaled Images Actually Print?
Yes, but it depends on how large you're printing, how close viewers will be, and what material you're printing on
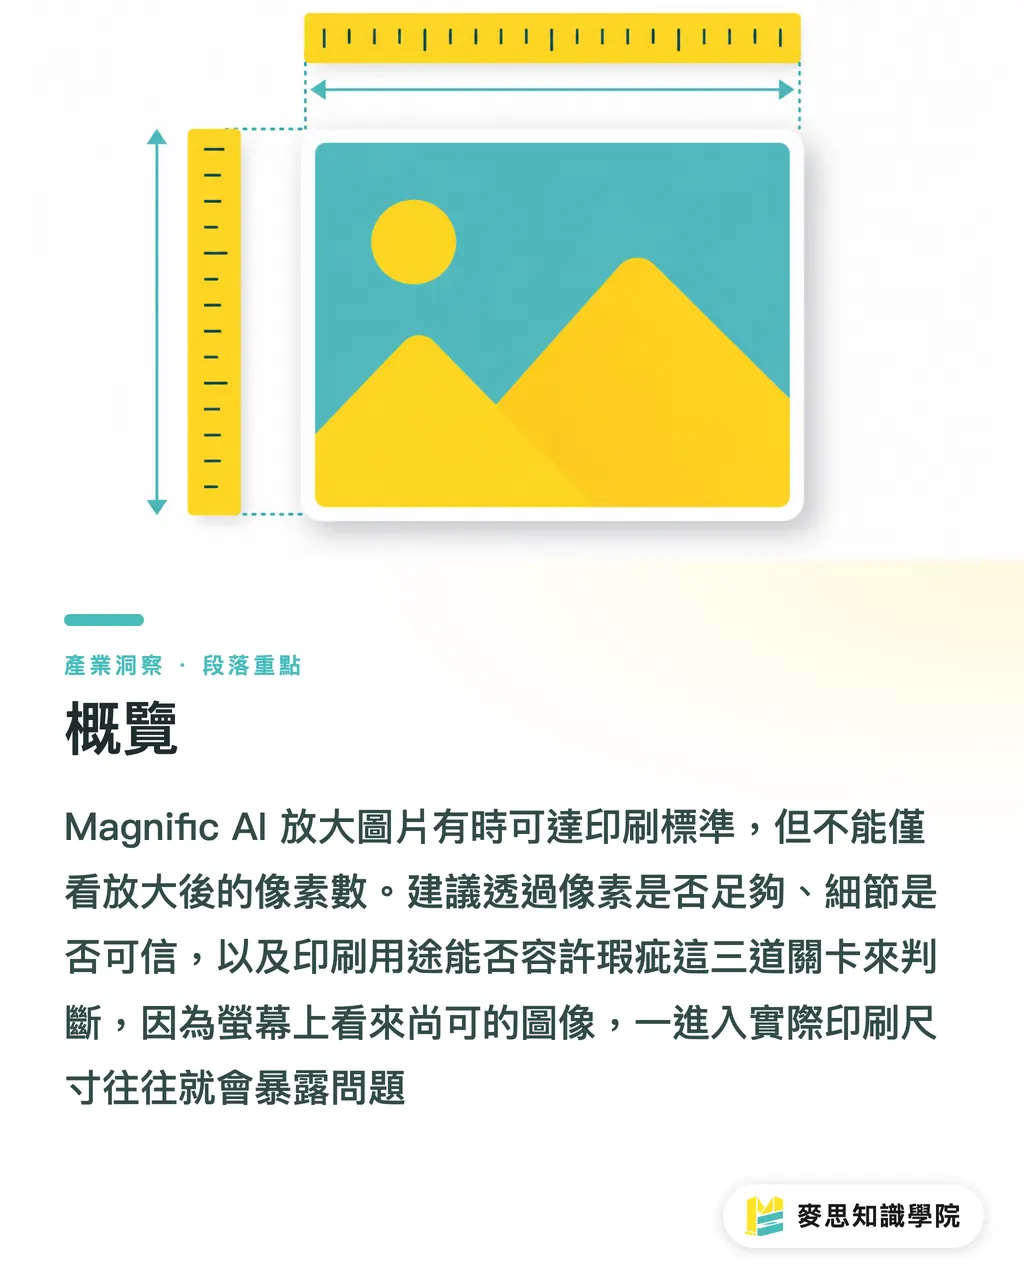
Print resolution is defined as the number of pixels per inch at the actual printed size, expressed as PPI. 300 PPI is the standard for close-read pieces like catalogs, DMs, and stickers. Posters and large-format exhibition prints viewed from a distance can get away with less, but content detail still matters
The most common mistake designers make is changing the DPI field in the file settings and assuming the image is now sharp. That's meaningless on the production floor, what actually determines sharpness is the total pixel count
・A4 full-bleed print is roughly 21 × 29.7 cm; at 300 PPI, you need about 2480 × 3508 px
・A5 full-bleed print is roughly 14.8 × 21 cm; at 300 PPI, you need about 1748 × 2480 px
・A 90 × 54 mm business card using a full-bleed photo needs roughly 1063 × 638 px at 300 PPI
・A 60 × 90 cm exhibition poster is usually viewed from a distance, so you don't have to chase 300 PPI, but the hero visual can't have obvious fake texture or broken edges
AI upscalers like Magnific AI add pixel count to small images and attempt to reconstruct local detail. I treat them as a rescue tool, not a print guarantee
Which Images Have a Higher Success Rate with Magnific AI?
Images with a higher success rate are ones where the original still shows readable outlines, texture, and light direction
・Product photography, bottles, food, clothing, interiors: as long as the original isn't heavily compressed, AI upscaling usually produces usable texture
・Illustration and poster hero visuals: brushwork, backgrounds, and textured imagery tend to tolerate AI-filled detail, and the flaws are less glaring in print
・Social images repurposed for small printed pieces, for example, an IG post turned into an A5 DM: if the original is around 1080 × 1350 px, upscaling then fitting it into the layout can reach an acceptable result
・Large-format output: signage, backdrops, exhibition posters, when viewing distance exceeds one meter, the eye's tolerance for detail is much lower than it is for a close-read catalog
I'd advise against using Magnific AI to rescue the following:
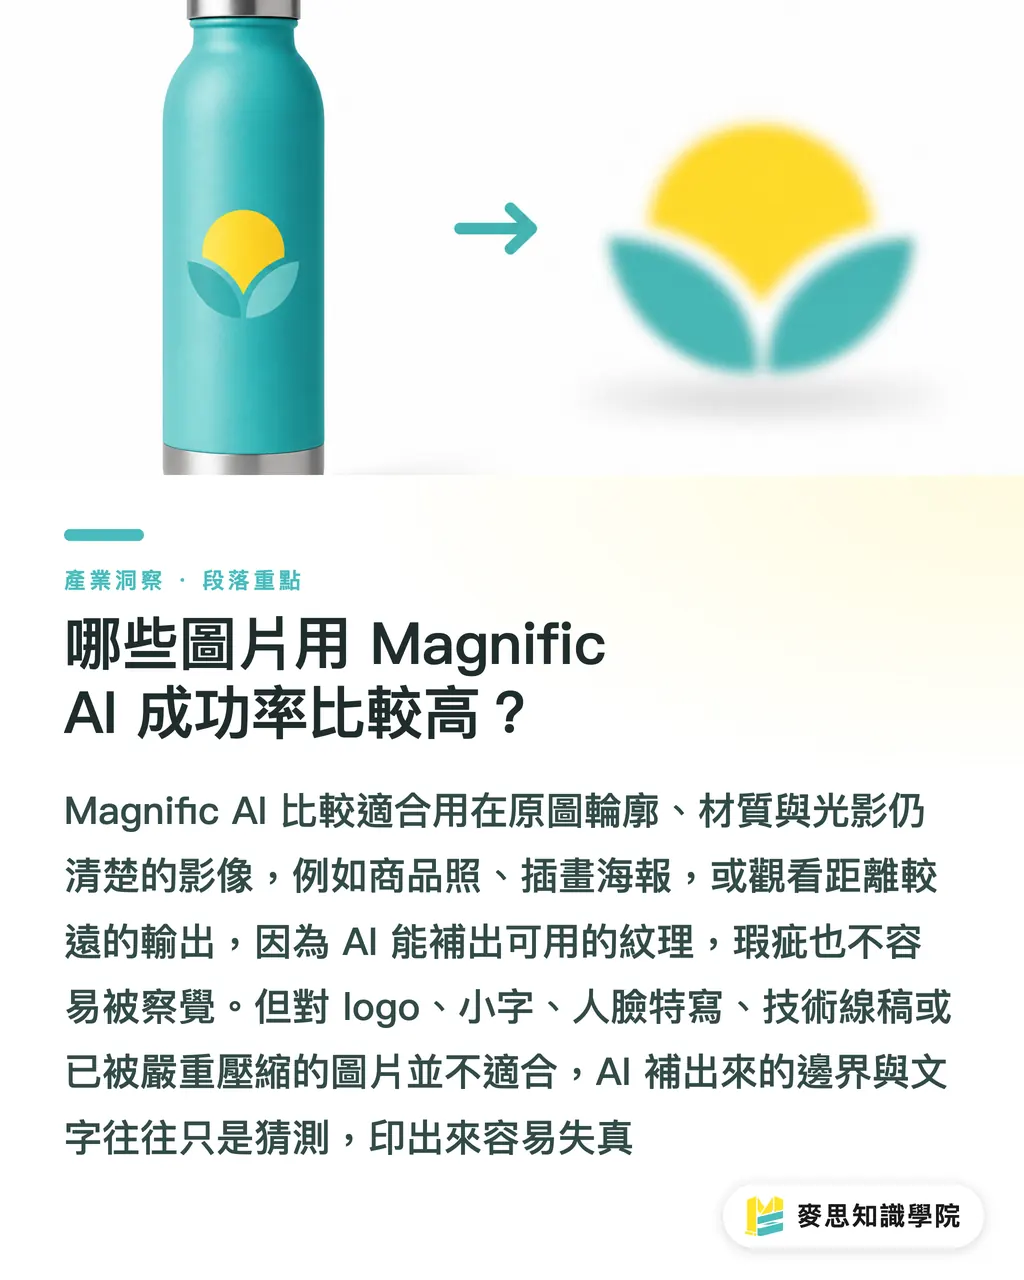
・Logo screenshots: any error in text edges, geometric lines, or brand proportions and the mark no longer looks like the brand
・Images with a lot of small text: AI will fill in something that looks like letters, but not necessarily the right ones
・Close-up faces: eyes, teeth, and skin texture are prone to over-processing and come out with a plastic, artificial look
・Technical diagrams, line art, QR codes, barcodes: these need precise edges, AI fill increases misread risk
・Images already compressed into block artifacts: AI may treat the compression noise as texture and amplify it
There's a blunt saying on the print floor: if the original is unreadable, AI can only guess, and a pretty guess isn't the same as a correct one
How to Check Magnific AI Upscaled Images So They Don't Print Soft
I use the MINDS (MS) three-gate pre-press check for Magnific AI upscaled images, more reliable than just looking at a 300 DPI label
・① Pixel check: confirm the image's PPI at the actual print size, for A4 full-bleed close-read printing, start at 2480 × 3508 px as your baseline
・② Detail check: view at 100% and inspect faces, product labels, logo edges, shadow transitions, and repeating textures
・③ Application check: catalogs, business cards, and packaging stickers require strict quality; exhibition backdrops, wall prints, and stage visuals can relax the standard based on viewing distance
After Magnific AI upscaling, the question to ask isn't 'did it get sharper?', it's 'can the client and the print application tolerate the added detail?'
In practice, here's what I do:
・Keep the original file; don't overwrite it
・Use 2x or 4x upscaling; don't chase an absurdly large size in one shot
・After upscaling, check at actual layout size inside your layout, don't judge from a small software preview
・Before converting the print version to CMYK, confirm the RGB image detail hasn't been broken by the AI processing
・For product images, always compare against the original product color, logo placement, and packaging text
・If budget allows, pull one physical proof, an A4 color proof usually settles arguments faster than staring at a screen
If you have a batch of product images or marketing visuals, the Mai Strategy Knowledge Academy consulting team can help you build a pre- and post-upscaling review checklist, so your design team knows which images are salvageable and which need a reshoot
Why Does AI Upscaling Look Sharp On Screen but Print Strangely?
The typical AI upscaling problem is 'sharp but fake.' Looks great when you zoom out on screen; print it on paper and get close, and the texture, text, and edges all look off
Print amplifies these issues for three reasons:
・Paper absorbs ink: uncoated stocks, laid paper, and cotton paper soften detail edges, so the fine texture the AI added smears together
・Finishing adds risk: lamination, spot UV, foil stamping, and embossing all need stable edges; AI-generated ragged edges make registration harder and messier
・Close reading is unforgiving: catalogs, menus, and packaging stickers are read at 30 to 50 cm, flaws are far more visible than on a poster
For logos especially, my advice is firm: if you can redraw it as a vector, redraw it. Don't use an AI-upscaled raster as your brand master file
Magnific AI is good at restoring photo texture; it's not a substitute for vector redrawing. Designers and buyers should be clear on this from the start, one fewer revision cycle means one fewer day lost
What Should Designers Actually Do with Low-Resolution Images?
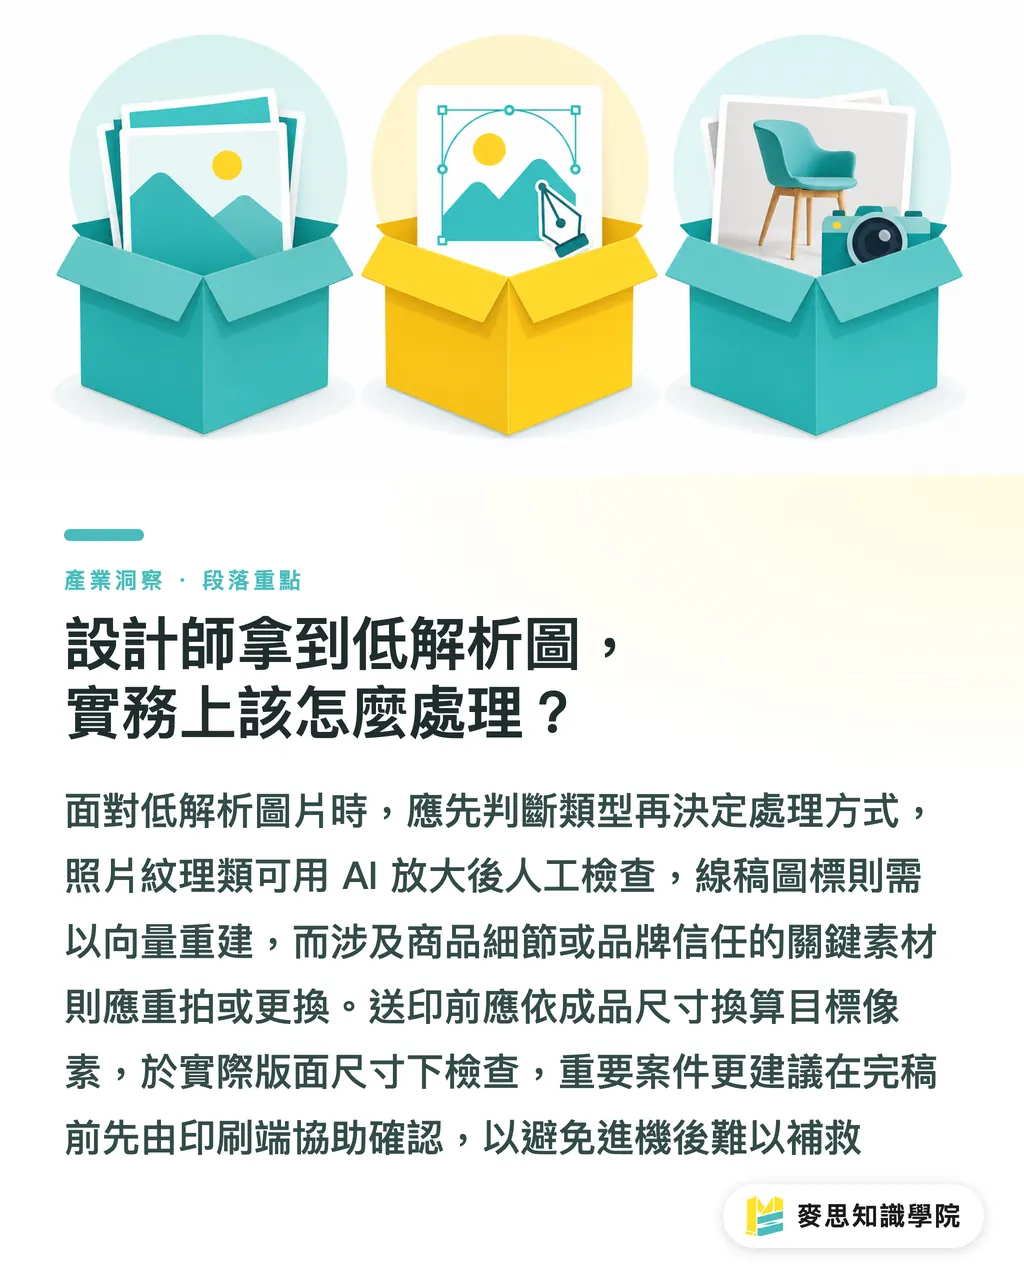
When I get a low-resolution image, I sort it into one of three categories before deciding whether to run it through Magnific AI
・Salvageable: photos, illustrations, background textures, large-format hero visuals, upscale with Magnific AI, then do a manual review
・Redo: logos, line art, charts, icons, packaging die-cut lines, rebuild as vectors in Illustrator
・Reshoot or replace: product close-ups, food textures, portraits, commercial photography that needs accurate reproduction, AI fill can't stand in for original source material
A simple rule of thumb for small businesses and designers in Taiwan: if printing this image wrong would affect brand trust, product information, or regulatory labeling, don't rely solely on AI upscaling
Before sending to print, follow this flow:
・Confirm the finished size, for example, A 5, A 4, business cards, stickers, or large-format output
・Calculate the target pixel count; use 300 PPI as the baseline for close-read print
・Upscale with Magnific AI to near the target pixel count, don't over-upscale
・Check at actual layout size inside your layout, not just by looking at the image file itself
・Do a zoomed-in spot check on text, logos, and product details
・For important jobs, pull a digital proof or partial press sheet
If the finished piece is mid-to-high-end custom commercial printing, brand catalogs, packaging stickers, limited-edition cards, event hero visuals, have MINDS review the files before final artwork. Many issues can be caught in ten minutes of preflight; once the job is on press, you're into damage control
Key Takeaways
・Magnific AI can add pixels, but it can't restore real information that wasn't in the original
・Print resolution is about total pixel count at the actual print size, not a 300 DPI field in the file settings
・Photos and illustrations are better candidates for AI upscaling; logos, barcodes, small text, and line art should be vectorized or redrawn
・After AI upscaling, do a 100% view check of edges, text, faces, product labels, and repeating textures
・For anything important, pull a physical proof, faster than guessing whether it'll look sharp on screen
Further Thoughts
Magnific AI gives designers one more rescue option, but that doesn't mean judgment can be removed from the print workflow. For the production side, what has real long-term value is building 'can this image print?' into a standard check process: SaaS reads the size and pixel data, AI flags high-risk areas, and a print consultant makes the call on application, paper stock, and finishing risk. That's how AI actually enters the production workflow, instead of just making things look sharper on screen
FAQ
- Can I send an image straight to print after Magnific AI upscaling?
- Not recommended. After upscaling, check the PPI at the actual print size, then do a 100% view to confirm text, logos, faces, and product details haven't been filled in wrong
- Does an AI-upscaled image always need to hit 300 DPI?
- Close-read pieces like DMs, catalogs, stickers, and packaging usually need 300 PPI, but large posters, backdrops, and exhibition prints can scale back based on viewing distance. What matters is whether the total pixel count at the finished size is sufficient
- Can a logo screenshot be upscaled with Magnific AI into a print-ready file?
- Not recommended. Logos require precise lines, proportions, and edges; AI upscaling can distort the mark. Formal print files should use a rebuilt vector, AI, PDF, or SVG
- Which images are best suited for rescue with Magnific AI?
- Photos, illustrations, background textures, and large-format hero visuals tend to work well, because those content types tolerate detail imperfections and the AI fill is harder to spot in print
- Why does an AI-upscaled image look fine on screen but print strangely?
- Common causes are AI-generated fake texture, broken text edges, over-processed faces, or the paper stock absorbing ink and smearing fine detail. A physical proof before final print is the fastest way to confirm the risk
Related articles
The Print × AI weekly
The print and AI know-how designers, brands and enterprises can use before they commit — one email, every week
MINDS Free Tools
AI background removal, brand stamping, and a LINE sticker maker — free design tools, right in your browser, no upload.
MINDS Group
Need actual printing or gifting services?
From premium printing to online ordering and festive gifts — the MINDS Group sister brands take it from here.