
Can You Actually Print Images Downloaded from the Web?
Almost never
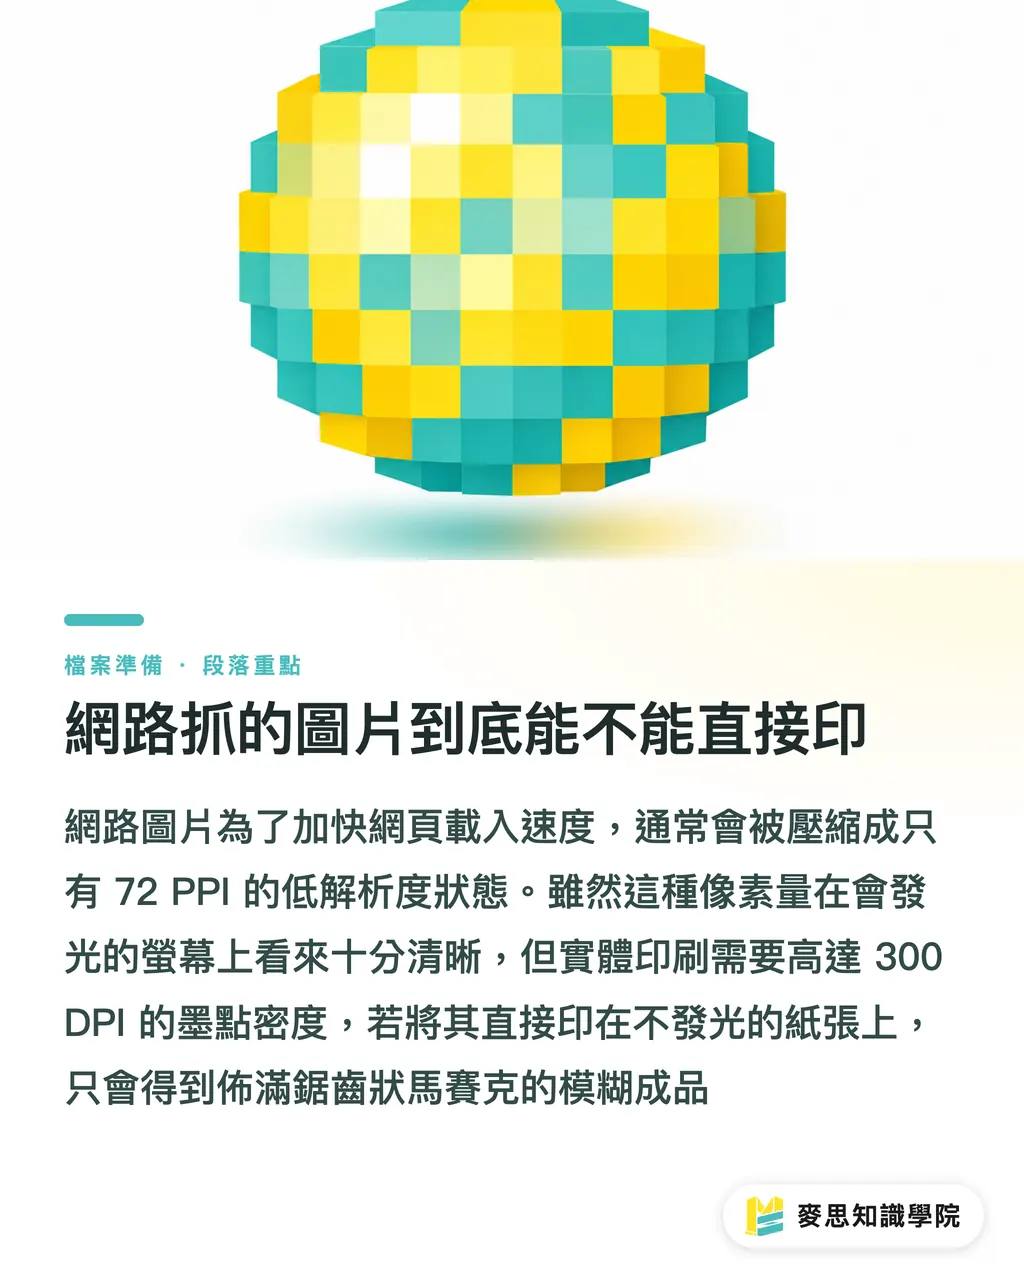
Images on the web are typically compressed down to a low-density 72 PPI state to speed up page loading, just enough for screen display. Printing presses, on the other hand, need extremely high dot density, which is what we mean by 300 DPI, to reproduce fine detail on paper
On the MINDS production floor, we receive files almost every day from customers who've pulled images off the internet and want them printed. Print those files as-is, and the result is almost always covered in jagged, blocky artifacts
Two terms worth clarifying here, since they're often used interchangeably: PPI (Pixels Per Inch) refers to the number of light-emitting pixel cells packed into one inch on a screen. DPI (Dots Per Inch) refers to the number of physical ink dots a printing press can lay down within one inch
Both describe information density per inch, but in day-to-day industry usage, people tend to call everything DPI
The key point is that a screen's self-illuminating nature tricks your eyes. 72 PPI looks crisp and clear on a monitor, but shift to non-emissive paper, and the low pixel count can't hold up. There's nothing left to hide behind
Why Does Your Print Still Look Blurry After Setting It to 300 DPI in Software?
This is the trap designers fall into constantly
A lot of people take a low-resolution image pulled from the web, open it in Photoshop, and change the number in the resolution field from 72 to 300, problem solved, they think
Whether a print comes out sharp has never been about that number in the software. It comes down to whether the total pixel count can actually support the physical size you're printing at
Think of pixels like LEGO bricks. A 720 × 720 pixel image is a fixed pile of bricks, that's all you have
When you ask the press to lay those bricks down at 300 DPI density, the pile only covers about a 6 × 6 cm square
If you force the software to scale that up to A4 size, it has to guess, inventing fake pixels through interpolation to fill the gaps
Those guessed bricks carry no real image detail. What comes out is a soft, unsharp blob of color. All you changed was the density setting. You didn't add any actual image information
MINDS' Three-Step Print Check: How to Tell If Your File Is Ready to Print
Whether it's a file a client hands over or material you've prepared yourself, we run a standard evaluation process on the production side
You can use this "MINDS Three-Step Print Check" to quickly assess file condition:
・Step 1: Back-calculate the true physical size. Ignore whatever DPI number the software shows. Look at the image's pixel dimensions, divide the pixel count by 300, then multiply by 2.54 to get centimeters
・Step 2: Eyeball it at 100% on screen. Open the image in your system's preview app and zoom to 1:1. If you can see jagged edges, the press will print every one of them, honestly and without mercy
・Step 3: Factor in the final viewing distance. A business card held in someone's hand demands 300 DPI, that's non-negotiable. A wall poster viewed from across the room can get away with 150 or even 72 DPI, because the human eye can't resolve dot differences at distance
If you have questions about a file with unusual specs, the Mai Strategy Knowledge Academy consultant team can run a file health check during the initial client consultation
What to Do When You're Stuck with a Low-Resolution Image
In practice, we often hear from customers: "This is the only photo I have. It's from my phone and there's no higher-resolution version."
When you're stuck with an under-resolution file but absolutely need to print it, there are a few approaches
First, shrink the print size. Keep the image within the physical dimensions its actual pixel count can support, and fill the surrounding space with layout and design elements
Second, run it through modern tools. A lot of image editors now have built-in upscaling algorithms that do a decent job of recovering some edge sharpness. But this only works for minor adjustments, detail that's already soft or missing cannot be invented from nothing
The third option is to rethink the paper stock and print strategy
For mid-to-high-end custom commercial printing, MINDS recommends steering away from smooth coated stock and going with watercolor paper or lightly coated paper with some surface texture
These papers have fibrous surfaces that absorb and diffuse ink slightly, which helps mask jagged digital edges and turns the low-resolution limitation into something that reads as a subtle, vintage aesthetic
Key Takeaways
・72 PPI fools your eyes on screen. Physical printing needs 300 DPI to reproduce sharp detail
・Whether an image can be printed depends on the total effective pixel count at the target physical size, not the number in the software field
・Forcing the value from 72 to 300 in software only generates fake, blurry pixels. It cannot conjure real detail out of thin air
・Viewing distance sets the resolution floor. 300 DPI is mandatory for handheld print items. Large posters viewed from a distance can pass at 150 DPI
Further Thoughts
For designers and print buyers, developing a solid grasp of total pixel count saves you countless back-and-forth arguments with the production floor about why a file got rejected
For people building AI image generation tools or design collaboration SaaS platforms, I'd strongly recommend adding a "physical print size" warning into the front-end interface
Don't let users admire a beautiful on-screen preview, only to run into a wall at the physical output stage
FAQ
- Can I print photos taken on my phone directly?
- It depends on your final print size. Modern phone cameras have high pixel counts, so printing to A4 or 4×6 is generally fine. But if the photo was sent through a messaging app, the file gets heavily compressed, print that version and it'll come out soft
- If I shrink a web image inside Illustrator, does the quality improve?
- Scaling the image down on the canvas does increase the information density in that area, but if the original pixel count is too low, you may need to shrink it down to postage-stamp size before it's anywhere close to print-ready
- My print shop rejected my file for low resolution. How do I check it myself?
- In Photoshop, open Image Size, uncheck Resample, then set the resolution to 300. The width and height in centimeters that appear are the maximum size at which that image can print clearly
Related articles


The Print × AI weekly
The print and AI know-how designers, brands and enterprises can use before they commit — one email, every week
MINDS Free Tools
Imposition calculator and preflight file check — free prepress tools, right in your browser.
MINDS Group
Need actual printing or gifting services?
From premium printing to online ordering and festive gifts — the MINDS Group sister brands take it from here.