

So what's the actual difference between artwork and prepress?
Artwork is the finished design file on your end. Prepress is all the work that gets that file into a press-ready state. People mash the two terms together, but the responsibility sits in different places: artwork lives mostly with the designer, while prepress falls on the printer's production team
In practice, prepress covers four jobs: converting RGB to print-ready CMYK, adding bleed and crop marks, checking that text is outlined, and confirming resolution and overprint settings are in order. Before you hand off the file, you only need to own the first three, let production handle the rest, and you'll move faster
The typical Taiwan workflow goes like this: designers export a PDF from Illustrator or InDesign and hand it to a full-service commercial printer like MINDS, whose prepress team takes over checking and imposition. Online retail printing (think business cards and stickers from places like Mai Print) runs mostly on automated checks, upload a PDF and the system flags common errors before a human ever sees it. That's the friendlier path for first-timers
What three things should you check yourself before sending the file?
Nine out of ten print rejections come from the same three places. Here's the simplest workable order:
・Resolution: 300 dpi minimum. That's the flat-out industry baseline for offset printing, go lower and the print comes out blurry. You can find the image-quality requirements in ISO 12647 (the international standard for print production processes) through stock-photo guidelines or general industry consensus; if your original camera file is large enough, you're fine. Anything you grabbed off the web is not
・Color mode: RGB must convert to CMYK. Screens emit RGB light (red, green, blue), printing layers CMYK ink (cyan, magenta, yellow, black), the two color spaces don't overlap. Those punchy neon colors you see on screen? They almost never survive the trip to press. No exceptions. If the colors look duller after conversion, that's normal
・Bleed: at least 3 mm on every side. Bleed is the extra bit of color your design extends past the trim line, so a hair of cutter error doesn't leave a white sliver. Taiwan's print industry treats 3 mm as the floor; Europe and the US often want 5 mm. Skipping bleed is the number-one rookie mistake
These three are the first gate you can hold on your own, and they make up the front end of the MINDS three-checkpoint submission flow. Clear this gate and your rejection rate drops by half
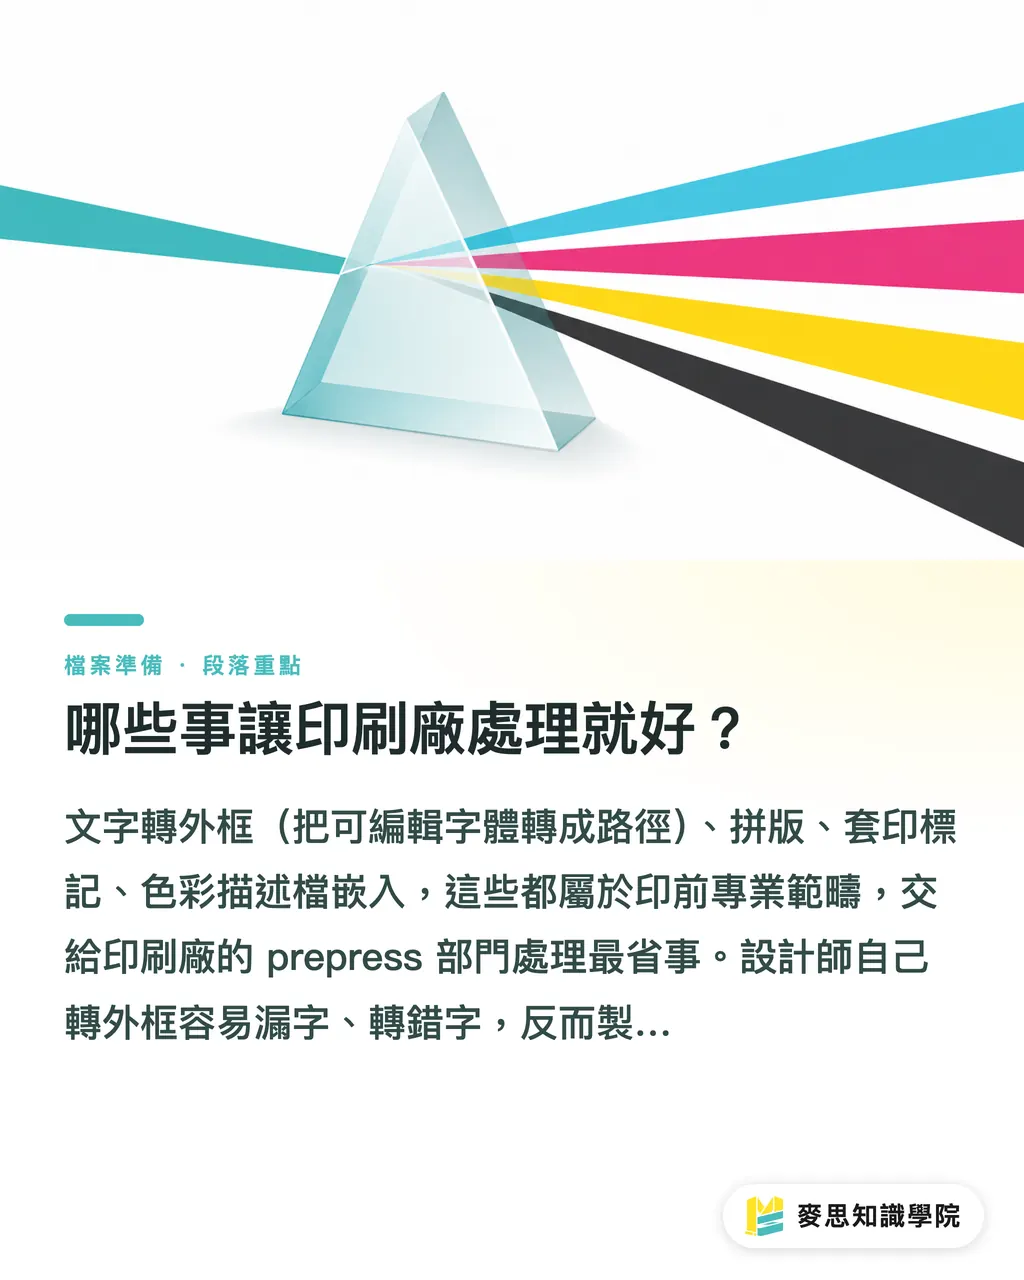
What should you just let the printer handle?
Outlining text (converting editable fonts to paths), imposition, overprint marks, embedding color profiles, these all sit in the printer's prepress lane. Trying to outline fonts yourself is how you end up with missing glyphs or wrong characters, and you've just made new problems for the file
Another common misconception: people think the moment bleed is added, the file is safe to send. They forget the "safe zone." Keep important text and graphics at least 3 mm inside the trim line, otherwise a sliver of cutter drift can clip a corner off your text. That's the safe-zone rule, it's not the same thing as bleed, but the two often get lumped together and ignored
Advanced color management, ICC profile mapping, PSO certification (the process-standardization certification pushed by FOGRA, the German printing research association), that's internal to the printer's production workflow. Unless you're printing something with brutal color demands (like a brand color bible), you don't need to understand that layer
Why do some files still get kicked back by the printer?
Even after you've cleared the three checkpoints, the printer can still reject the file at the prepress stage. Four usual suspects:
・Fonts not embedded or outlined, the press throws a missing-font error when it boots up
・Transparency and layers not flattened, the RIP (the raster image processor inside the press) can't untangle them
・Black set as "pure black" instead of "rich black", large solid black areas come out with uneven ink set-off
・Bleed direction is wrong or bleed is missing, interferes with back-print finishing
All four are worth a final eyeball pass before you submit. If you're using an online upload system, the system catches these at that step and saves you the back-and-forth
The workflow I'd actually recommend for a first print job
Three steps: finish the layout in Illustrator or InDesign and export as PDF/X-1a (the industrial-standard PDF format for print); run through your three checkpoints (resolution, color, bleed) before uploading; once it's uploaded, wait for the printer's confirmation reply instead of pushing to print right away. For small runs of business cards, stickers, or flyers, online ordering is the easiest path. For a brand's annual catalog, packaging boxes, or anything with specialty finishing, you need a full-service commercial printer
Quick recap
・Artwork is the design file, prepress is the pre-flight workflow, different owners, different responsibilities
・Hold the line on 300 dpi, CMYK, and 3 mm bleed at the design stage; rejection rates drop by half
・Let the printer handle outlining, imposition, and overprint marks, don't do it yourself
・Safe zone and bleed are two different things; keep important elements at least 3 mm inside the trim line
・For a first print job, start with online ordering; upgrade to a full-service printer when you hit issues
Worth thinking about further
For designers, how clean the artwork is sets the cost of talking to the printer. For printers, how standardized the prepress is sets the schedule and the yield. When both ends speak the same language (resolution, color, bleed, safe zone, file format), the whole supply chain moves a lot smoother
Next step suggestion: if you've got an old rejected file lying around, pull it out and run it against the three checkpoints, you'll usually find what went wrong. If you're building a team-wide submission SOP, start with the print templates from the Mai Strategy Knowledge Academy consulting team; turn the common rejection reasons into an internal checklist and new hires get up to speed way faster
Further reading
FAQ
- What are artwork and prepress called in plain English?
- Artwork is usually referred to as the finished design file, and prepress as the pre-flight or pre-production workflow. Both English terms are common in the industry and worth remembering as-is
- What resolution is enough for print?
- 300 dpi is the standard recommendation for offset printing; digital printing can accept 200 dpi or above. Go lower than that and you'll see visible grain or softness, it's the baseline image-quality requirement under ISO 12647
- What happens if I send an RGB file straight to print?
- The printer will convert it to CMYK for you, but the colors will shift, vivid colors especially. Best to do the conversion yourself in your design software and check the result, so what's on screen isn't wildly different from what comes off press
- 3 mm or 5 mm for bleed?
- Taiwan's print industry treats 3 mm as the floor; Europe, the US, and some higher-end printers want 5 mm. Check the printer's submission specs before you send, that's the safest move
- What's PDF/X-1a?
- PDF/X-1a is a PDF format standard built specifically for print: fonts are embedded, color is locked to CMYK, and there's no transparency. The printer can run it straight through the RIP without surprises. It's the safest format for a first print job
Related articles




The Print × AI weekly
The print and AI know-how designers, brands and enterprises can use before they commit — one email, every week
MINDS Free Tools
Imposition calculator and preflight file check — free prepress tools, right in your browser.
MINDS Group
Need actual printing or gifting services?
From premium printing to online ordering and festive gifts — the MINDS Group sister brands take it from here.