
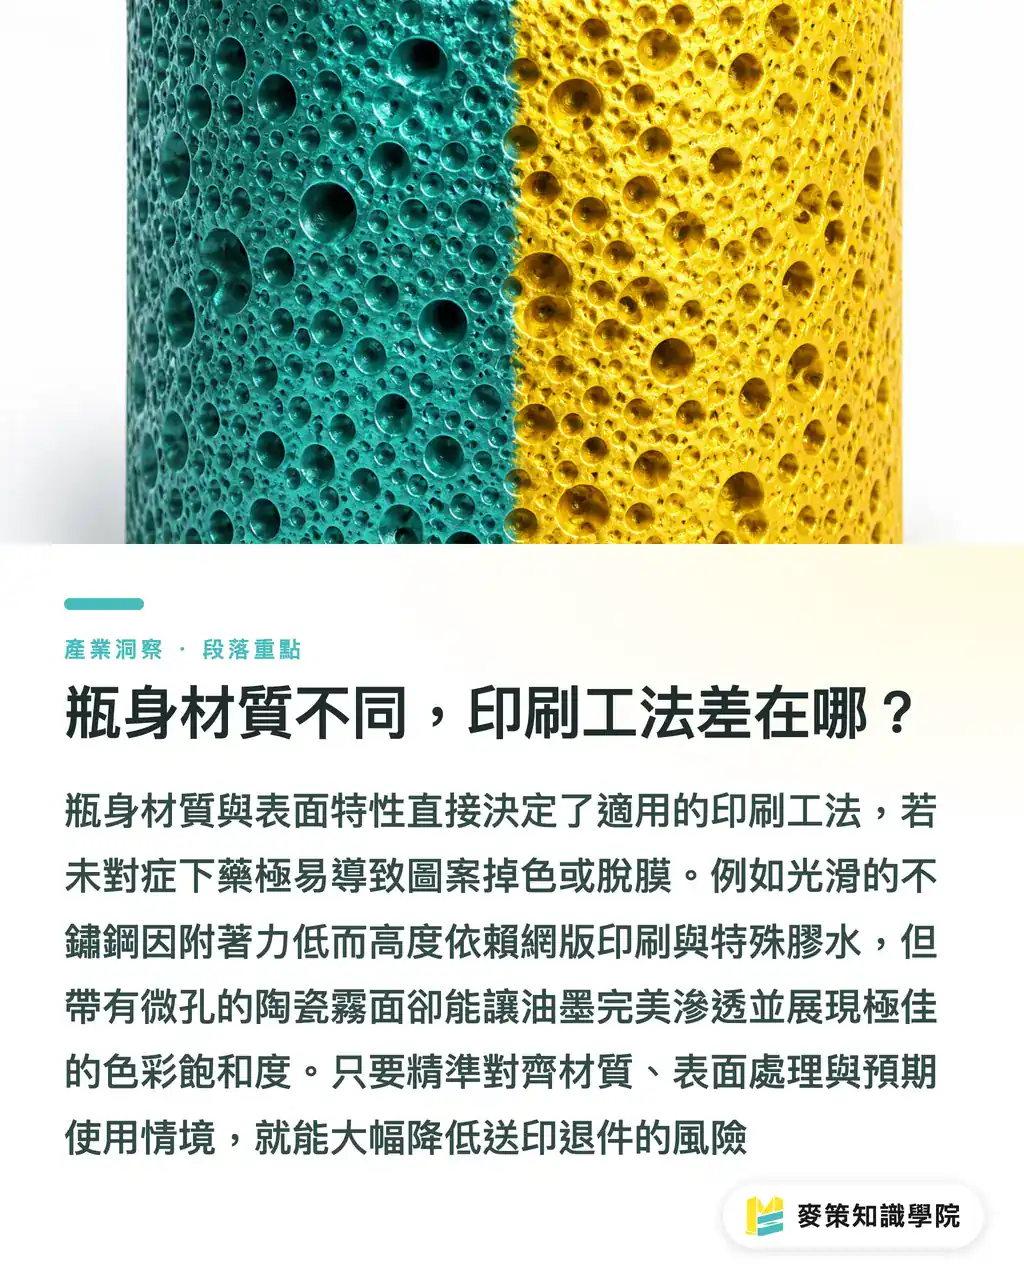
How Do Printing Processes Vary by Bottle Material?
Bottle material dictates the printing process. This is the first trap where most first-time clients trip up. Tumblers on the market mainly come in four bottle materials: 304/316 magnetic stainless steel, spray-coated ceramic (matte), anodized aluminum, and PP/PC plastic. Each surface has different adhesion properties, ink absorption capacity, and heat tolerance limits. Mixing up processes usually leads to paint fading or film peeling off after a few washes
・ Smooth stainless steel: Poor ink conductivity and low ink adhesion. Requires epoxy-cured double-layer adhesive, primarily using screen printing
・ Matte spray-coated ceramic: Micro-pores on the surface help ink penetration. Screen printing yields the highest color saturation here, making it the workhorse for commercial custom tumblers
・ Anodized aluminum bottles: The anodized surface layer absorbs ink well. Suitable for combining screen printing and UV inkjet, preserving metal luster best
・ PP/PC plastic bottles: Lower heat tolerance. High-temperature UV curing is a no-go. UV digital inkjet or heat transfer printing is recommended
At this stage, the three-step pre-submission check from Mai Strategy means ensuring bottle material, surface treatment, and intended usage scenario are aligned before choosing a matching process. Align these three, and job rejection rates after submission drop significantly
Screen Printing, UV Inkjet, or Dye-Sublimation: How to Choose?
Process selection comes down to color requirements, durability, production volume, and gradient performance. Here is my verdict: 80% of custom tumbler projects use screen printing. It offers the strongest adhesion, longest wash durability, and lowest per-unit cost once plate-making costs are spread across production runs. UV inkjet suits small orders, gradient photos, and complex logos. Dye-sublimation targets white ceramic or polyester coatings
・ Screen printing: Strongest ink adhesion, withstands 200+ dishwasher cycles, handles single to four colors well, poor gradient rendering, high initial plate-making cost
・ UV inkjet: Supports CMYK full-color gradients, no plate-making cost, higher unit price, requires post-process UV varnish for abrasion resistance
・ Dye-sublimation: Soft and delicate colors, works only on polyester coatings or white ceramic, high durability, unit price comparable to screen printing
Here is the quick-reference guide matching materials to processes:
・ Magnetic stainless steel bottles: Screen printing with cured adhesive, UV inkjet (requires primer), selective laser engraving with color fill
・ Matte spray-coated ceramic bottles: Screen printing is top choice, UV inkjet (check coating compatibility), dye-sublimation second
・ Anodized aluminum bottles: Screen printing, UV inkjet, and laser engraving all work well, best at retaining metallic texture
・ PP/PC plastic bottles: UV inkjet (low-temperature curing), heat transfer decals, screen printing (restricted ink types)
Before submitting digital proofs, print a physical sample on an actual bottle. That keeps screen colors and finished products from drifting further apart than expected
What Files Should You Prepare Before Submission?
If files are poorly prepared, even the best printing process cannot save them. The most common reasons for rejected custom tumbler orders are mismatched color files, inaccurate registration placement, and font sizes that are too small. Get these five items ready before submitting:
・ AI/PDF files at 300 dpi resolution or higher, with outlined fonts and bleed settings included
・ Pantone swatch callouts (Pantone Matching System, the international standard for print color), specified for C (coated) or U (uncoated) versions
・ CMYK proofs or Pantone simulation proofs to give the print shop a baseline for color matching
・ Maximum width and height of the printable area on the bottle, leaving a 3 mm safety margin top and bottom to avoid registration shifts
・ Clear notes on bottle material, surface treatment, quantity, lead time, and intended usage scenario (such as dishwasher or outdoor use)
Keep fonts at 8 pt or larger, and fine lines no thinner than 0.3 pt. Screen printing is less forgiving with detail than digital printing. Lines that are too thin will blur
Three Mistakes Clients Make Most and How to Avoid Them
Over the past few years, client file submission issues have centered on three main areas. Plainly put, these three mistakes are frequent culprits behind production rejections and costly reprints
・ Mistake 1: Submitting CMYK art while demanding Pantone color precision. CMYK uses four-color simulation with a narrower gamut than Pantone, making metallic and fluorescent colors nearly impossible to reproduce. Always provide Pantone numbers and specify the coated/uncoated version
・ Mistake 2: Using JPEG or low-resolution files. Scaling them up creates jagged edges and coarse dots. Switch to vector formats like AI, PDF, or EPS before sending
・ Mistake 3: Leaving out bottle material and quantity. Different materials require different production lines. Factory scheduling needs material details upfront to prepare plates and mix paints
If this is your first custom tumbler project, reach out directly to the Mai Strategy Knowledge Academy Consulting Team for a requirement evaluation sheet. For mid-to-high-end fully custom jobs with larger volumes, the production lines at MINDS can handle orders directly
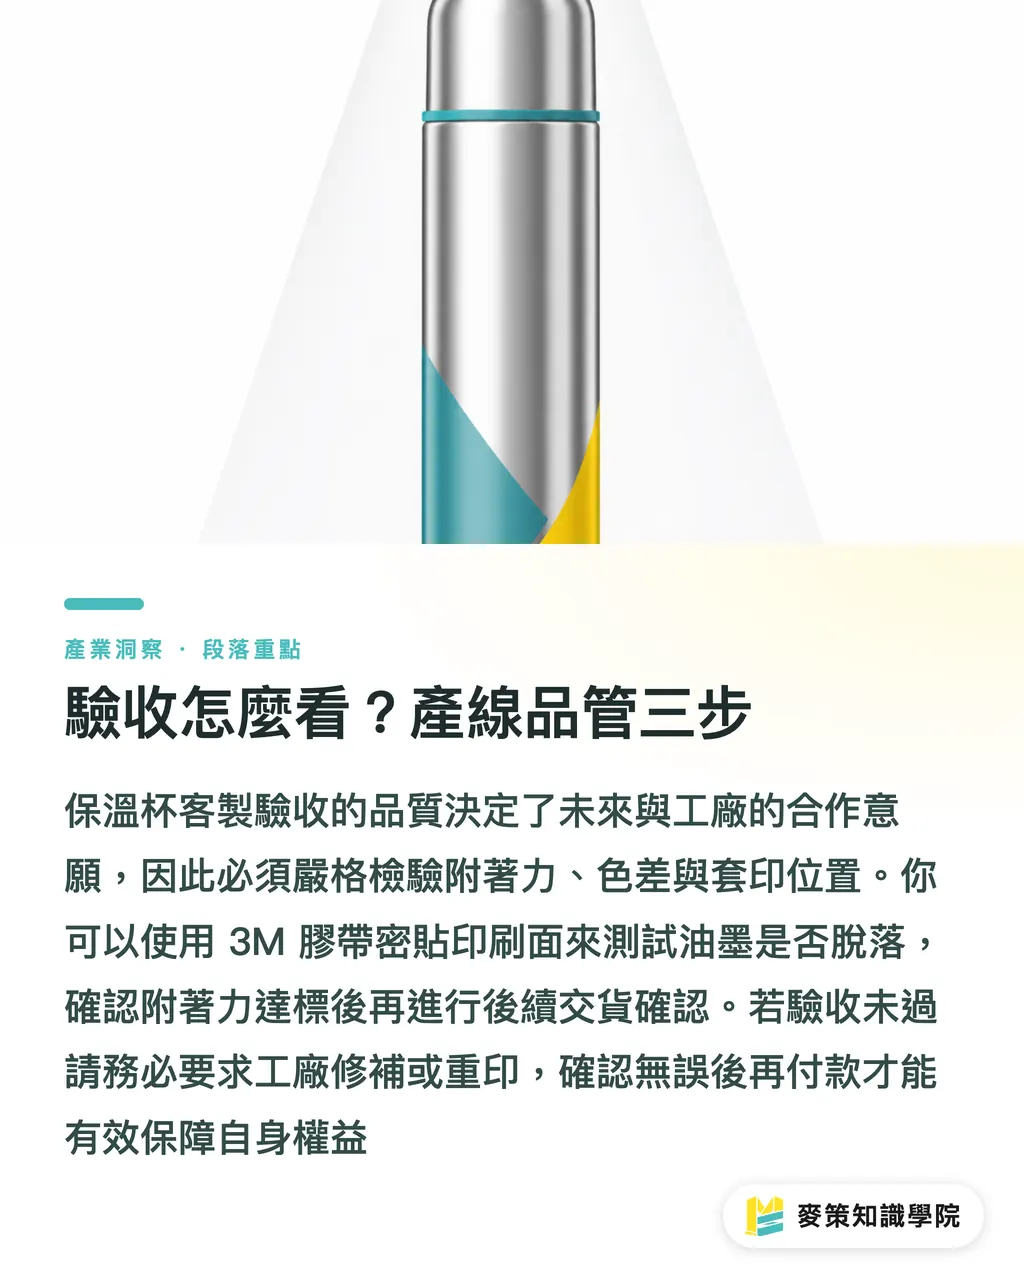
How to Handle Inspection: Three Factory Quality Control Steps
How you inspect returned samples determines whether you work with the same factory again. The baseline criteria for custom tumbler inspection come down to three checks: adhesion, color variation, and registration accuracy
・ Adhesion test: Press 3M tape (Scotch tape, standard test tape) firmly onto the printed surface and pull up vertically. If ink stays intact, it passes
・ Color variation check: Compare the Pantone swatch against the finished product under a D65 standard light source (the daylight simulation lightbox standard used in printing). Acceptable tolerance typically falls between ΔE 2 and 3 depending on factory specs
・ Registration placement: Check if the logo is centered vertically and horizontally within the safe area. Any offset over 1 mm requires re-inspection
If inspection fails, hold off on payment and request touch-up or reprint terms from the factory. Confirming delivery only after adhesion passes is the gentlest and most effective way to manage production lines
Key Takeaways
・ Bottle material dictates the printing process. Confirm material details before finalizing designs
・ Screen printing accounts for 80% of custom tumbler orders, standing as top choice for adhesion and durability
・ Send vector AI/PDF files as your primary formats, clearly labeling Pantone swatches and bottle materials
・ Keep font size at 8 pt or larger and fine lines at 0.3 pt or thicker as baseline limits for screen printing
・ Always run a 3M tape adhesion test and D65 standard light source color match during final inspection
Further Thoughts
Custom tumblers are in high demand for corporate gifts and group purchasing, yet their complexity is routinely understated. Misalign any single link among bottle materials, printing processes, or color management, and the project breaks down during final wash testing. In real-world manufacturing, adopting a three-tier SOP covering Material × Process × File Prep is the core move small businesses can make to cut rejection rates on their very first try. The next step worth taking is standardizing Pantone matching, adhesion testing, and sample sign-offs into an internal procurement SOP instead of crossing the river by feeling for stones every time
Further Reading
・ No reference URLs were provided in the source material. This article is written based on general industry principles
FAQ
- What is the minimum order quantity for custom tumbler printing to be cost-effective?
- Screen printing incurs plate-making costs. For orders under 50 pieces, UV inkjet is recommended. Above 50 pieces, screen printing offers lower per-unit cost and better wash durability than digital printing
- Can metallic and fluorescent colors be printed on tumblers?
- Yes, but you must specify Pantone numbers and use spot color inks with screen printing. Avoid CMYK four-color simulation because large gamut gaps cause noticeable distortion
- Are printed tumblers dishwasher safe?
- Most tumblers printed via screen printing with cured adhesive withstand dishwashers well. However, hand washing is recommended for UV inkjet and dye-sublimation printing to prevent high temperatures and detergents from aging the coating
- Is submitting an AI file guaranteed to work?
- Not necessarily. AI files still require converting fonts to outlines, setting resolution to 300 dpi, labeling Pantone swatches, and leaving a 3 mm safety margin. Missing any of these can lead to rejection or color misregistration
- Is flaking or peeling print on a tumbler always the factory's fault?
- Not always. Mismatched inks and bottle materials, improper washing methods, or overly fine design lines can all trigger peeling. Printing a proof sample to verify adhesion before full production is strongly recommended
Related articles
The Print × AI weekly
The print and AI know-how designers, brands and enterprises can use before they commit — one email, every week
MINDS Free Tools
Imposition calculator and preflight file check — free prepress tools, right in your browser.
MINDS Group
Need actual printing or gifting services?
From premium printing to online ordering and festive gifts — the MINDS Group sister brands take it from here.