

What is bleed? Why do you get white edges without it?
Bleed is the extra space where you intentionally extend your background or images past the trim line
Beginners are often confused when they first hear about it: if my final product is just that size, why make an extra border? The key is that printing doesn't involve carefully trimming against a screen with a utility knife; a cutter slices through hundreds of stacked sheets in a single pass
Paper shifts and blades have tolerances. Most print shops have a trimming tolerance around ±1mm, and thicker stacks mean more noticeable errors. Think about it: when the blade shifts 1mm inward, if your background stops right at the trim line, that unprinted white paper edge shows right up
So the common standard in printing is: 3mm bleed on all four sides. For an A4 design, the actual document size needs to be 216mm × 303mm (left and right each plus 3mm, top and bottom each plus 3mm). That extra border is a sacrificial area meant to be trimmed away. Its sole purpose is to make sure that no matter which way the blade shifts, it cuts into your artwork, not white paper
Remember this in one sentence: bleed is a buffer for mechanical error, not for display

What is the safe area? How is it different from bleed?
If bleed expands outward, safe area pulls inward
Bleed protects your background from showing white edges; safe area protects key elements from getting cut off. They have two different directions and two different purposes. The most common mistake is mixing them up
Practical advice: keep all important text, logos, phone numbers, and QR codes at least 3mm inward from the trim line. From that same trim line, the background extends 3mm out, while text pulls 3mm in, forming a safety belt on both sides
Why pull back that much? It comes down to tolerances again. If the blade shifts 1mm inward, that small line of text flush against the edge loses a piece. If it shifts further, your logo might get clipped. I've seen business cards with the company website URL pressed right against the bottom edge. After trimming, every single card was missing the bottom half of the URL, forcing a full reprint. One mistake like that is painful enough
A more precise way to calculate it breaks into three layers:
・Outer layer: 3mm outside the trim line, this is the bleed area that gets cut off
・Middle layer: the trim line itself, representing the real edge of the final product
・Inner layer: starting 3mm inside the trim line, this is the safe zone for essential elements
Make it a habit during design to pull out two sets of guidelines, bleed lines and safe lines, so your eyes automatically avoid the danger zone

Is 3mm always enough? When should you expand it to 5mm?
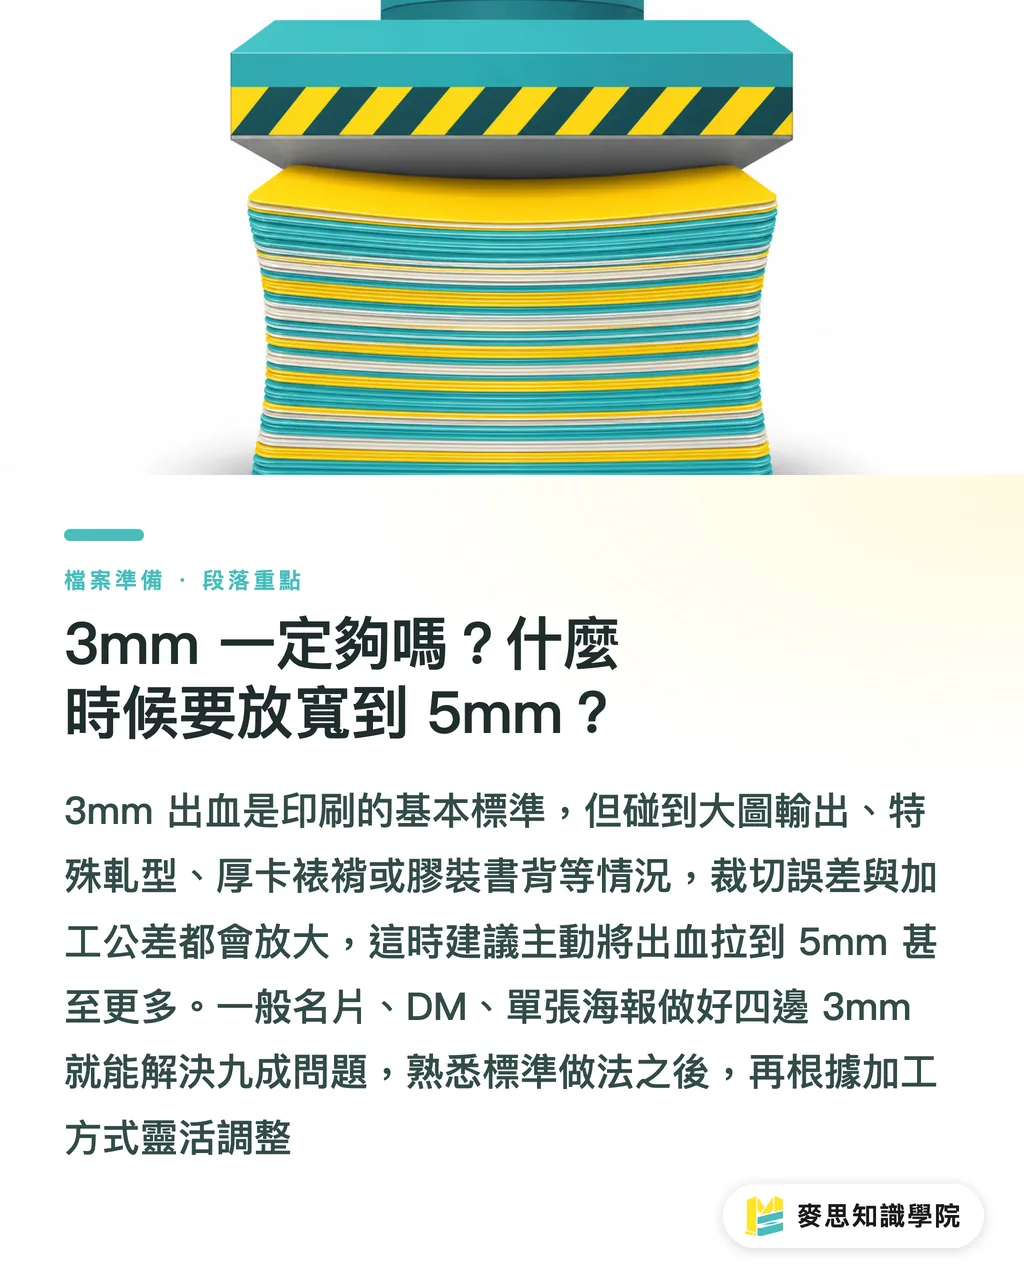
3mm is the standard, but it's not a silver bullet
In my experience, the thicker the paper, the more complex the finishing, and the larger the dimensions, the wider your buffer should be. Here are several scenarios where I proactively advise clients to leave 5mm or more:
・Large-format printing: for big items like posters, exhibition foam boards, and banners, cutting equipment and material stretch create wider variations, making 3mm risky
・Special die-cutting: custom shapes, rounded corners, or punch-outs carry inherent tool-making tolerances; placing elements right at the edge guarantees trouble
・Heavy cardstock or mounting: hardcover boxes and stacked heavy cardstock show more noticeable shifting during trimming than standard paper
・Saddle-stitched or perfect-bound books: the inner edge near the spine gets partially hidden when opened, so keep critical content away from the gutter
On the flip side, for flat single-sheet prints like standard business cards, flyers, or posters, sticking to a clean 3mm on all four sides will prevent 90% of issues. Master the basic move first, then adjust based on finishing options; don't reverse that order
The three most common mistakes designers make, how many have you made?
Having managed many designers, file delivery issues almost always fall into these three categories
First, full-bleed backgrounds without actual bleed space. The layout looks full, but artwork stops at the trim line without extending outward. It looks perfect on screen, but leaves a white border on all four sides after trimming. This is the most frequent disaster
Second, key elements glued to the edge. Text and logos sit right against the edge or right on the trim line, looking edgy and full on screen, only to end up with missing corners and clipped words after cutting. Be stylish inside the safe area
Third, partial bleed. You remember to extend the top edge, but forget the left, right, or bottom, or you swap out a background image without re-extending it. Bleed must be complete on all four sides; missing even one side leaves the result to pure luck
All three share one thing in common: they all look fine on a computer screen. Your screen won't simulate the cutting blade for you, so you have to mentally trim it yourself first

A pre-flight checklist before handing over files, how to catch every detail
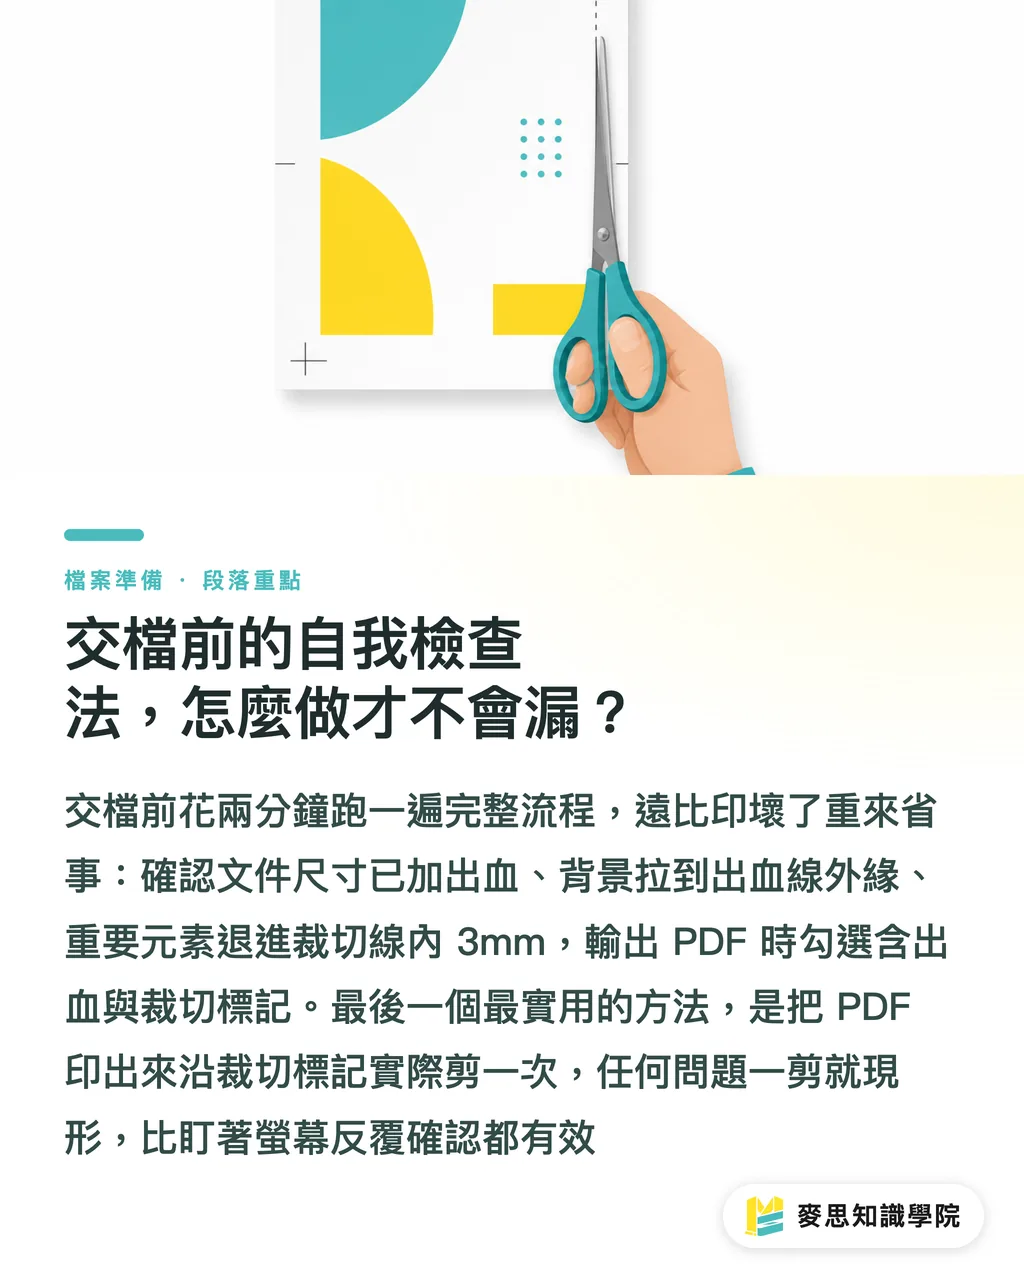
Rather than ruining a print job and reprinting, spend two minutes running through this workflow. I've broken it down into a sequence from file setup to export:
・Is your document setup correct? Document size = final product size + bleed on top, bottom, left, and right. For a 90×54mm business card, set your document to 96×60mm; don't create it directly at the final trim size
・Did you actually extend the background? Pull background graphics to the outer edge of the bleed line, not the trim line. Check all four corners, as they are the easiest to miss
・Did you pull key elements back inside the safe line? Keep text, logos, and contact details set inward by at least 3mm from the trim line
・Your PDF export must include two things: check the boxes for bleed and crop marks. Without crop marks, the print shop won't know where your finished edge is supposed to be
・Review it from the printer's point of view: imagine a stack of one hundred sheets, with the blade shifting 1mm in any direction. Does your layout still hold up?
Here's one low-tech method that works wonders: print out the PDF and cut it out with scissors along the crop marks. Trimming it physically reveals flaws or missing edges much clearer than staring at a screen for half an hour
When file preparation is solid, everything downstream, paper selection, finishing, and press runs, goes smoothly. That's why when we take on jobs at MINDS (mid-to-high-end custom commercial printing), we prefer spending an extra round confirming files with clients during handoff. Saving two minutes upfront can save a whole batch from reprinting later
Key Takeaways
・Bleed acts as a buffer for trimming tolerances. The standard is 3mm on all four sides; without it, your background shows white edges
・The safe area works in the opposite direction: inset critical text and logos by at least 3mm from the trim line so they don't get cut off
・For complex finishing like large-format items, die-cutting, heavy cardstock, or binding, expanding bleed to 5mm is safer
・Three major pitfalls: full-bleed background without extra margin, elements flush to the edge, and partial bleed. They all look fine on screen
・Always export PDFs with bleed and crop marks. Without crop marks, the printer cannot tell where the trim edge sits
Further Reflection
Bleed and safe area might seem minor, but they are the cheapest insurance policy for print quality. Spending two minutes placing guidelines and dialing in PDF settings saves an entire job from being reprinted. For designers, build bleed and safe area templates to apply on every new project, relying on workflow rather than memory. For print buyers, making 'print and cut once' a pre-flight habit beats any verbal confirmation. For teams with regular print output, turn this checklist into a one-page file delivery spec sheet for designer partners to stop errors before going to press. File preparation is the headwater of the printing process, keep the source clean so paper choices, special finishing, and cost control actually matter downstream, making it the very first priority for integrated service
FAQ
- How many millimeters of bleed do you really need for printing?
- The standard requirement is a 3mm bleed on all four sides. For large-format prints, custom die-cuts, heavy cardstock, or bound products, expanding to 5mm is recommended for safety
- What is the difference between bleed and safe area?
- Bleed extends the background 3mm outside the trim line to prevent unprinted white edges. Safe area insets essential text and logos at least 3mm inside the trim line to prevent content from being cut off. One goes out, one goes in, with completely different goals
- How do you calculate document dimensions correctly?
- Document size equals final product dimensions plus bleed on all four edges. For example, a 90×54mm business card with 3mm bleed requires a 96×60mm document setup, rather than building it directly at final trim dimensions
- Why is bleed necessary, can't the background just touch the edge?
- Because trimming carries mechanical tolerances, typically around ±1mm. If your background stops right at the trim line, any inward blade shift exposes raw paper white. Adding bleed creates a safety buffer for this margin of error
- What settings matter most when exporting a PDF?
- Make sure to check both bleed and crop marks during export. Without crop marks, printers cannot determine where your final trimmed edges belong
References
- Ghent PDF Workgroup prepress PDF specifications · Ghent Workgroup (GWG)A widely adopted preflight profile set for print-ready PDFs, covering bleed, resolution, and transparency
- ISO 15930 — PDF/X prepress data exchange standard · International Organization for Standardization (ISO)Specifies color, font embedding, and output intent for print-ready PDFs — reducing prepress errors
Related articles





The Print × AI weekly
The print and AI know-how designers, brands and enterprises can use before they commit — one email, every week
MINDS Free Tools
Imposition calculator and preflight file check — free prepress tools, right in your browser.
MINDS Group
Need actual printing or gifting services?
From premium printing to online ordering and festive gifts — the MINDS Group sister brands take it from here.