

What Actually Happens If You Print a File With No Bleed?
Files that arrive without bleed are a daily reality in prepress. For artwork that's locked to finished size, the fastest fix is Photoshop's Generative Expand feature: let the AI read the edge pixels and grow a natural 3mm extension. As long as the file clears MINDS' three-point check on the way in — ① 3mm bleed present ② 300 DPI confirmed ③ converted to CMYK, you cut the back-and-forth rejection cost dramatically
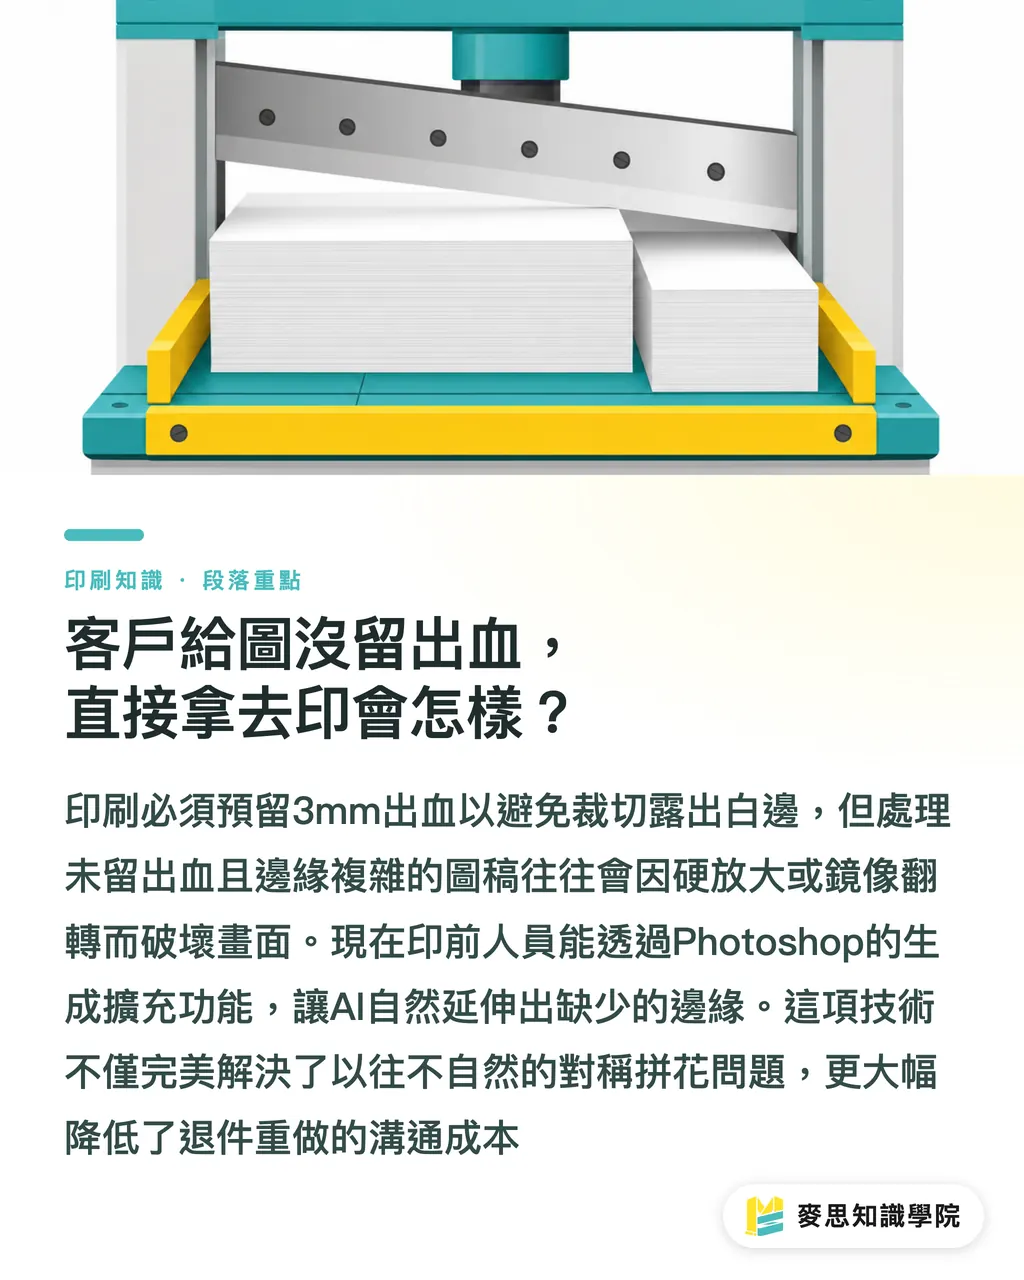
Bleed is the safety buffer built into every print job. The standard is a 3mm image extension beyond the finished trim size, so that if the cutter drifts even slightly, no bare white paper shows at the edge
Before AI, prepress staff had two bad options: scale the image up and crop into it, or mirror-flip the edges. A plain solid background could survive that. Any gradient, complex texture, or part of a person near the edge? Mirror-flip turns it into an obviously symmetrical, tiled mess. I've handled several jobs recently where clients submitted gorgeous Midjourney illustrations right up to the boundary, hard-stretch and mirror both destroy the composition
How to Use Photoshop AI Generative Expand to Add Bleed
Since Adobe folded the AI tools into the app, rescuing out-of-spec files has gotten a lot smoother. My usual move: grab the Crop Tool, drag the canvas out to include the bleed zone. If the original is A4 (210×297mm), I pull it to 216×303mm. Then I pick Generative Expand from the contextual task bar, skip the prompt entirely, hit Generate, and Photoshop reads the edge pixels and grows those 3mm on its own
For complex edges, a single full-image expand sometimes produces weird results. I'll use the Rectangular Marquee Tool to isolate one edge at a time and run Generative Fill on just that strip. Keeping the AI focused on a small zone works much better, especially when there's text or geometric lines near the edge, treating each side separately stops the model from stretching text into illegible alien script
The software is smart, but the operator's judgment is the real guard rail. After the AI offers three options, I pick the quietest, least-eventful version. That 3mm is going to be cut off or folded under anyway; its job is to act as a safe buffer, not to compete with the main image. For files that are too tricky to handle cleanly, Mai Strategy Knowledge Academy's consulting team is always available to talk through rescue options
The AI Edge Looks Perfect On Screen, But Is the Resolution Print-Ready?
A seamless-looking edge on screen and a clean edge on press are two different things. Today's AI image models are built with web screens in mind, and the pixels they generate tend to land somewhere around 72 to 144 DPI. Send that file to the press and you'll often end up with a crisp main image sitting next to a soft, noisy, pixelated border
This is one of the first things I flag when checking files. After running Generative Expand, you have to go back and check the actual pixel density of the image. If you're only adding 3mm of bleed and the original was already 300 DPI, the AI-generated border usually holds up well enough through the halftone conversion
If a client hands over a 72 DPI file and wants it scaled up plus bleed added, that's not something you can click your way out of. My approach: upscale the whole image to 300 DPI first, then run the AI edge generation. Check the entire canvas at 100% zoom and make sure there's no visible soft haze along the extended border

Will the Color Shift When You Convert the AI Fill to CMYK?
Size and resolution sorted, now comes the step where most designers get burned. Photoshop's AI generation runs in RGB color space. That means when it's building your bleed, it's working in screen-light color and will happily use vivid hues that printing ink simply cannot reproduce
You finish admiring the seamlessly extended edge, convert to CMYK to send to print, and suddenly that new border is noticeably darker and muddier than the rest of the image, a visible color break right at the seam. My desk sees these uneven-edge proofs come back as rejects regularly, all from leaning on AI fill in RGB mode without accounting for the conversion
The safest approach: do all AI generation and retouching in RGB, then flatten all layers. Convert to CMYK after flattening, and carefully compare the edge color to the main image. If CMYK total ink coverage in any dark area exceeds 250%, pull the curves down manually to prevent ink build-up and show-through on press. For brand-color jobs where accuracy is non-negotiable, we recommend arranging a physical press proof through MINDS so you can see the actual color delta before committing to a full run
Key Takeaways
・When a client's file has no bleed, Photoshop's Generative Expand can grow the 3mm edge automatically, far cleaner than mirror-flipping
・AI-generated output defaults to low resolution. After adding bleed, always check edge sharpness at 100% zoom
・Generative Fill runs in RGB, which causes color breaks on CMYK conversion. Flatten all layers before converting, then inspect the color
・When the edge contains text or complex geometry, use the Rectangular Marquee Tool with Generative Fill on individual strips to prevent distorted objects
Something to Think About
Using AI as a prepress retouching assistant genuinely saves time on client file cleanup. But no matter how smart the tool gets, it can't replace a prepress operator's physical understanding of dimensions, resolution, and color. When SaaS platforms or online print shops wire up auto-retouching APIs without baking CMYK gamut limits and DPI checks into the logic, letting customers hit a one-click bleed fix on their own will only generate more returns and complaints. Every time you bring in a new tool, make sure the physical constraints of traditional printing are hardcoded as safety boundaries right alongside it
FAQ
- What is print bleed, and why is it required?
- Bleed is a 3mm image extension added outside the finished trim size. It's a physical safeguard that accounts for cutter drift, so the trimmed edge never exposes bare white paper
- The edge Photoshop AI generates sometimes looks strange. What can I do?
- Don't expand all four sides at once. Use the Rectangular Marquee Tool to select one edge at a time and run Generative Fill in separate passes. You can also type prompts like 'plain background' or 'solid texture' to limit what the AI produces
- Why does the printed bleed area come out soft and blurry around the edge?
- AI-generated pixels are typically low resolution. Before generating bleed, make sure the entire file is already at 300 DPI. After generating, zoom to 100% and check that the edge is sharp
- Can you run AI Generative Fill directly in CMYK mode?
- No. Photoshop's generative AI only works in RGB color mode. Add the bleed in RGB, flatten all layers, then convert to CMYK and check for any color shifts
Related articles


The Print × AI weekly
The print and AI know-how designers, brands and enterprises can use before they commit — one email, every week
MINDS Free Tools
AI background removal, brand stamping, and a LINE sticker maker — free design tools, right in your browser, no upload.
MINDS Group
Need actual printing or gifting services?
From premium printing to online ordering and festive gifts — the MINDS Group sister brands take it from here.