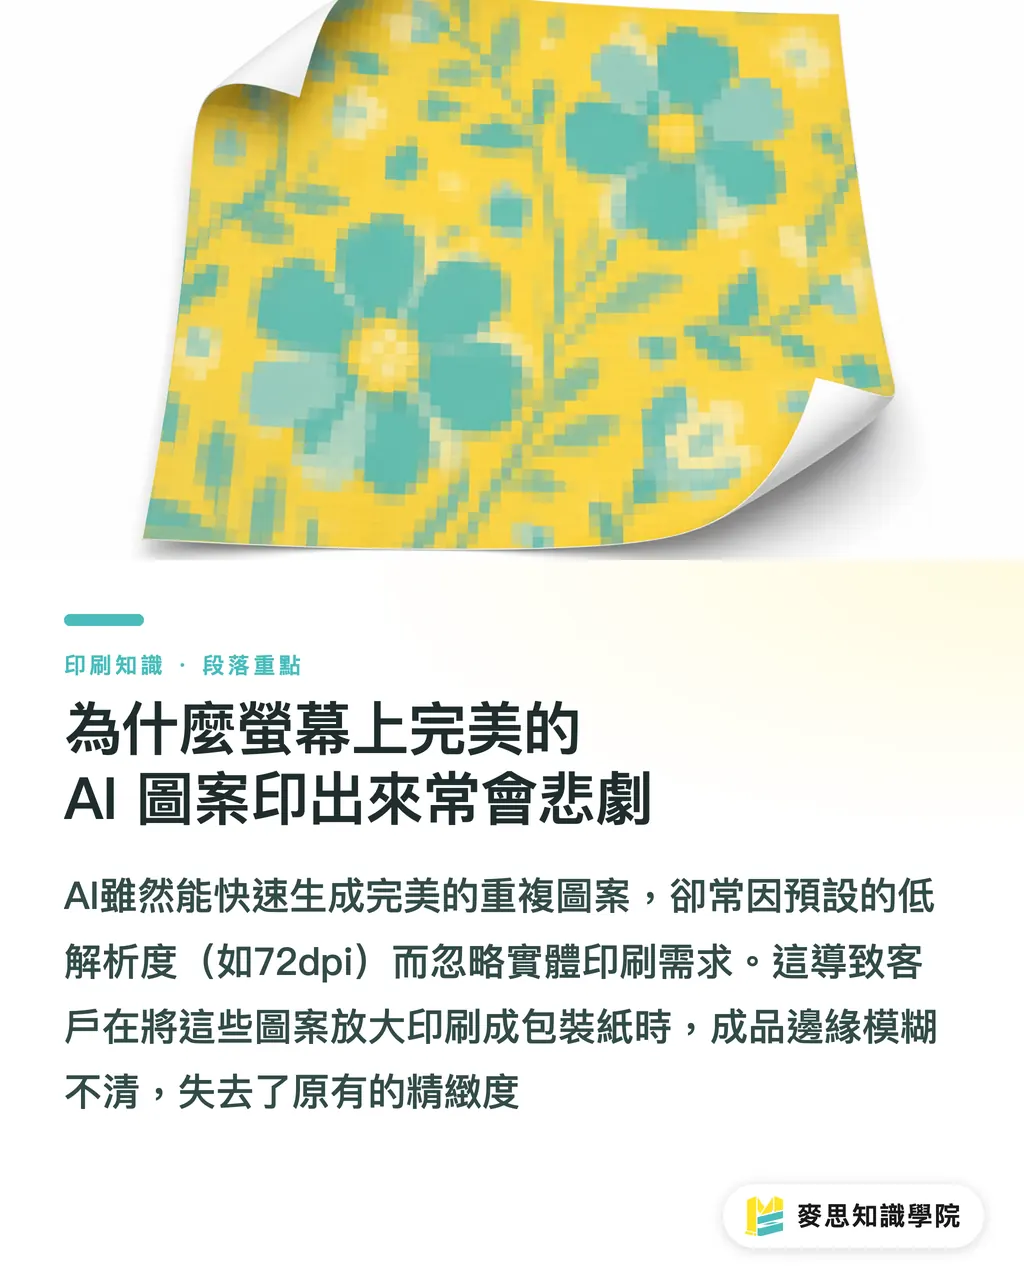
Why AI Patterns That Look Perfect on Screen Often Fail in Print
In the design of wrapping paper, gift box linings, stationery, or shopping bags, we frequently use repeating background patterns
In the past, designers had to manually align and tile these designs. Now, with AI, we can quickly generate a seamless tile
However, I frequently receive files from clients who are excited to print AI-generated patterns on 50x70cm wrapping paper
Upon inspection, the file defaults to only 72dpi. Stretching it to size inevitably leads to a tragedy of blurry edges
While AI can replace the tedious labor of manual tiling, it does not understand the physical limitations of printing
Which AI Tool Should You Choose to Produce Usable Seamless Patterns?
Currently, Midjourney remains the mainstream choice for producing the highest quality seamless patterns
Simply add the --tile parameter to the end of your prompt, and it will generate an image that perfectly connects on all four sides
The issue lies in the dimensions; the maximum output for a single image is approximately 1024x1024 pixels
If you treat this image as a 5x5cm repeating unit, the calculation yields about 520dpi, which is perfectly fine for printing
But if you want to scale it up to a 20x20cm large pattern, the resolution will instantly drop to 130dpi, far below the printing standard of 300dpi
At this point, you must use upscaling tools like Topaz Gigapixel or Upscayl to enhance the resolution before sending it to print
4 Essential Checkpoints Before Sending Files to Print
Don't rush to send the job after getting your AI-generated image; please confirm these four things in your design software first
・Check seam alignment: Create a few copies and tile them, then zoom in to 300% to see if there are any misaligned pixels or strange discontinuities at the edges
・Verify physical resolution: When the file is set to 100% actual printing size, ensure the resolution reaches 300dpi
・Convert color mode: Convert the RGB file generated by the AI to CMYK and check for severe color shifts (fluorescent colors often dull significantly)
・Review visual scale: Apply the pattern to a die-cut layout to ensure the unit size is not too large or too small for the overall packaging
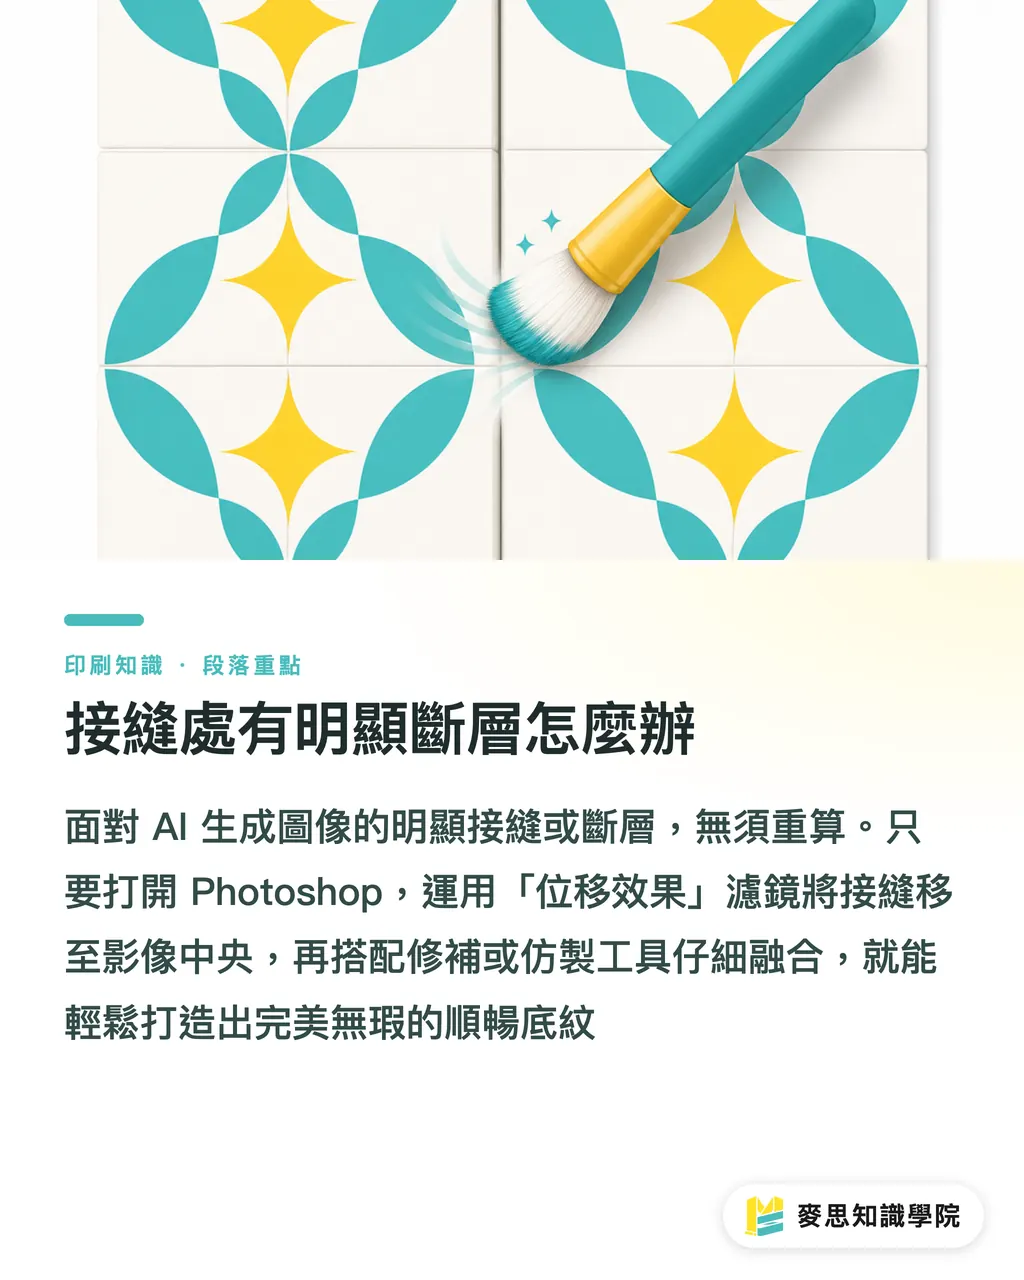
What to Do About Visible Seams
Sometimes, the patterns generated by AI still show unnatural hard edges or awkward object cuts at the borders
Do not give up and re-generate; opening Photoshop can fix this in just a few minutes
・Open the image file and note the width and height in pixels
・Go to 'Filter' > 'Other' > 'Offset'
・Set the horizontal and vertical values to half of the image width and height (e.g., if it's 1024 pixels, enter 512), and check 'Wrap Around'
・The original seams will now appear in the center of the screen
・Use the 'Patch Tool' or 'Clone Stamp Tool' to blend and smooth the center seam along the texture
・Save your changes; the resulting image is now a truly perfect, seamless background
Key Takeaways
AI image generation saves time on manual tiling, but it cannot skip the fundamental print-ready tasks of verifying resolution and color
The pixel size of your unit pattern determines its limit for physical printing; always use software to upscale before enlarging
Visual proportions on screen can be deceiving; you must place the pattern within the actual size of your die-cut lines to confirm the density
Reflections
The right mindset for designers adopting AI is not to expect one-click generation ready for print, but to treat it as a powerful sketch and material generator
Investing the time saved on layout into more refined color management and paper selection is what allows the output to truly become a high-quality physical product
For printing integration services like MINDS, the time we now spend helping clients check the resolution of AI files and assisting with format conversion is even greater than the time we used to spend checking for typos
FAQ
- If the resolution of an AI-generated image is insufficient, can I change the image size directly in Photoshop?
- It is not recommended. Photoshop's traditional interpolation will make the image blurry. Please use specialized AI lossless upscaling software instead
- Why do I see no seams on screen, but a thin white line appears in the final print?
- This is usually an issue with the layout software's preview, or 'Snap to Pixels' was not turned on during tiling. Please ensure there are no decimal points in your coordinates
- Can I directly use AI-generated images to print large-format shopping bags?
- As long as you have verified that the resolution corresponding to the actual printed layout size is 300dpi and it has been correctly converted to CMYK, you can print directly
Related articles
- From AI Image Generation to Print? A Practical Review of Midjourney, DALL-E 3, and Adobe Firefly
- AI Image Generation for Print? A Senior Consultant Breaks Down the Practical Strengths of Midjourney, SD, and DALL-E
- Can AI Preflight Be Trusted? A Senior Consultant’s Guide to Avoiding Pitfalls Through Human-AI Collaboration