
Overview
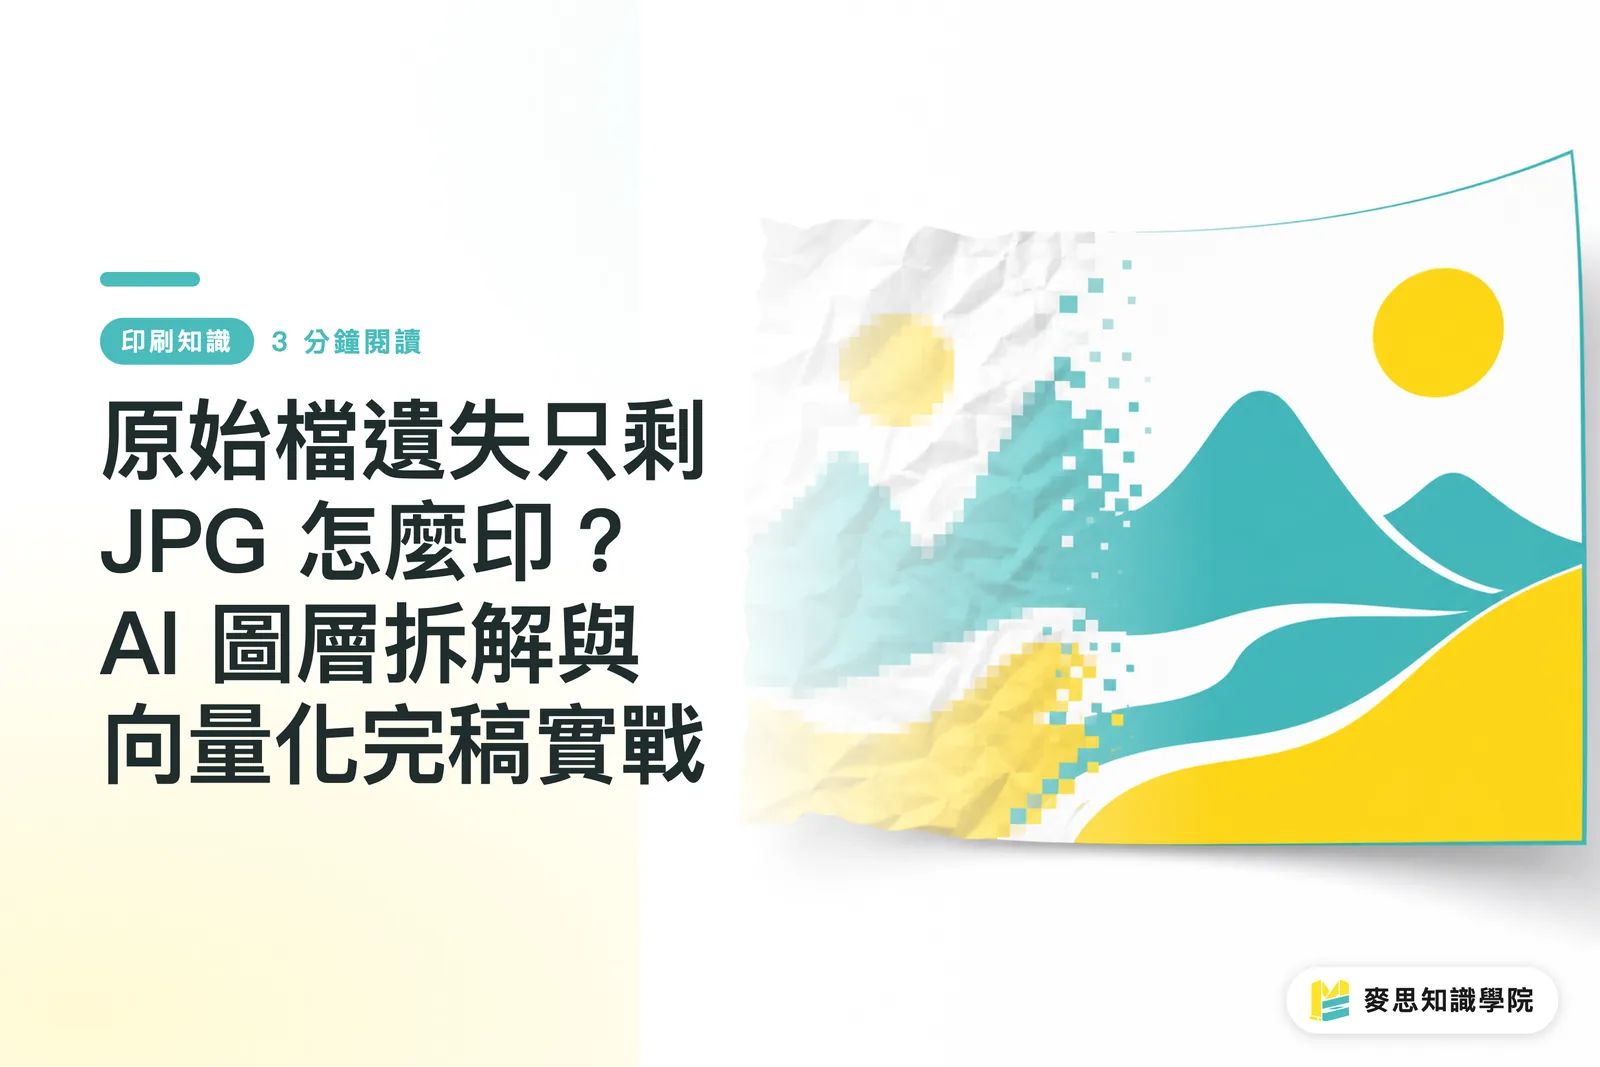
Here is the answer up front: never throw a low-resolution JPG into software, force-convert it to CMYK, and send it to print. It will print blurry. When we face a dead-end file, we usually start the file rescue workflow from the Mai Strategy Knowledge Academy consulting team: first use AI image segmentation to separate the background from the subject, then use OCR to extract the text and typeset it again, and finally run AI vectorization and smoothing on the graphic areas to fully rebuild an editable final artwork file
What is vectorization? It is the process of turning a pixel-based raster image into geometric shapes described by mathematical formulas. Vector graphics can be enlarged without distortion and keep sharp edges. They are the only standard format a printing press can read properly when you need crisp lines
Why a Dead-End JPG Cannot Be Printed Directly
Over the past month or two, I have clearly seen more clients come in because the previous handoff was messy. All they have is a compressed JPG or a flattened PDF, and they ask whether the text can be changed and reprinted. Dragging that image straight into Illustrator, forcing it into CMYK, and sending it to the printer is one of the most common traps in the industry
The JPG you received already has mosaic-like noise all around the text edges because of lossy compression. A printing press is painfully faithful. It will print those gray, blurry artifacts along with everything else. It may look passable on screen, but on paper the type will look weak and the edges of color blocks will look frayed. You have to treat the image as a reference sketch, then break it down and rebuild it. That is responsible prepress work
How Small and Midsize Print Shops Should Handle Missing Files
When a dead-end file has no layers at all, tracing it slowly with the Pen tool can destroy a designer's day. I now recommend that clients and industry peers follow the three-stage prepress check used by MINDS (MS, mid- to high-end fully custom commercial printing), putting the right tools exactly where they save the most time so editable files can be rebuilt fast
・Stage one: use image segmentation AI to separate graphics and text. Tools based on models like Segment Anything can now isolate the subject, background, and text blocks in one pass. If the background is too blurry, sample the color and rebuild it directly as a solid color or gradient
・Stage two: OCR recognition and font replacement. Do not try to preserve the original rasterized text. Run the text area through AI OCR to capture the copy, then typeset it again with a similar commercial font. That is how you make sure the printed edges come out truly sharp
・Stage three: AI vectorization for graphics. Send the Logo or illustration into Vectorizer.AI or the image tracing tool built into your software. The program will automatically rebuild pixel blocks into Bezier curves. Afterward, delete overly fragmented anchor points, or the output device may throw an error
How to Check the Rebuilt File
After rescuing the file with the workflow above, make sure you save it as a proper AI or PDF/X-4 file, convert fonts to outlines, and package all linked images. Only after this step do you have real final artwork
If you are not sure whether the rebuilt file meets modern printing standards, it is worth getting help from a mid- to high-end custom print shop such as MINDS, where professional prepress staff can handle the final checks and proofing. Get the file right once, and the next revision will not have to go through this painful rescue process again
Key Takeaways
・Printing a low-resolution JPG as-is will always come out blurry. The only right answer is to treat it as a sketch, then separate and rebuild the text and graphics
・Using AI image segmentation to separate text from graphics can greatly reduce the time designers spend retracing with the Pen tool
・Text areas must be recognized with OCR, retyped, and typeset again to make sure printed edges are truly sharp
・After vectorization, extra nodes in the graphics need to be cleaned up so the output device does not fail from excessive processing load
Further Thinking
For designers and print production staff, the value of new tools is not one-click final artwork. It is handing off the time-consuming labor of background removal, tracing, and retyping. That gives you more time to check color settings, bleed, and font licensing. Refreshing old files and building a correct digital asset library is the long-term answer
FAQ
- Can I use AI to enlarge a 72dpi image directly to 300dpi for printing?
- No. These tools fill in missing detail by guessing. For text or geometric Logos with clear edges, the result still will not be sharp. Once it goes on press, the flaws will show. It has to be rebuilt as a vector file
- Can I use a Logo directly after AI vectorization?
- Usually it still needs manual adjustment. The conversion process often creates extra nodes or wavy lines around corners. Before sending it to print, clean it up with smoothing tools and make sure the graphic still matches the original design intent
- What should I do if there is a white fringe around the graphic after removing the JPG background?
- That fringe comes from semi-transparent pixels left behind by raster anti-aliasing. After converting to vectors, delete the tiny edge shapes with impure colors, or inset the path by 1-2 pixels to get a clean edge
Related articles


The Print × AI weekly
The print and AI know-how designers, brands and enterprises can use before they commit — one email, every week
MINDS Free Tools
Imposition calculator and preflight file check — free prepress tools, right in your browser.
MINDS Group
Need actual printing or gifting services?
From premium printing to online ordering and festive gifts — the MINDS Group sister brands take it from here.