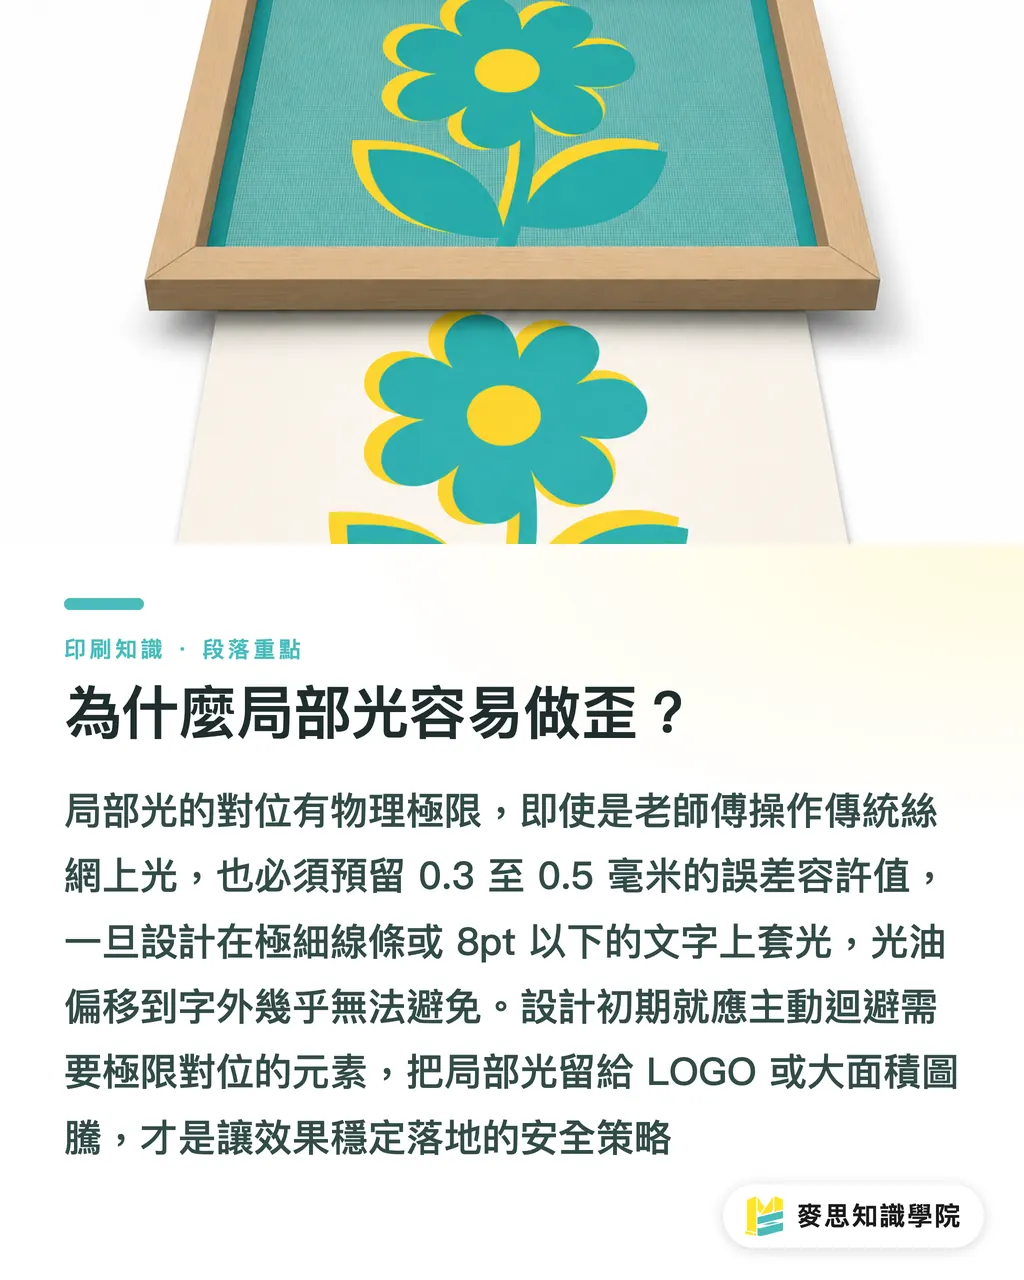
Why Is Spot UV So Prone to Misalignment?
Many designers are used to zooming in to 800% on their screens to align lines, but physical printing has its limits
Take traditional screen coating as an example; even highly experienced technicians must account for a tolerance of ±:
・0.3 to
・0.5 mm in registration error
This means if you apply Spot UV to extremely thin lines or text smaller than 8pt, there is a very high probability that the varnish will shift outside the text area
Two methods are currently common in the market: traditional screen coating, which has a fixed plate-making fee and is suitable for large layouts and mass production, and digital UV inkjet coating, which eliminates plate-making fees and offers slightly higher precision
If you are designing highly intricate patterns, be sure to avoid elements requiring extreme registration at the initial stage of design. Reserving Spot UV for logos or large graphic areas is the safest approach
How to Create the Perfect Gloss-Matte Contrast?
When clients receive a proof, they often say, 'It looks great, but it feels like it's missing something.' The answer usually lies in not maximizing the contrast between materials
The value of Spot UV lies in the collision between the glossy finish and the matte substrate
The most foolproof and visually striking combination in the industry is to apply a matte lamination to the paper surface first, followed by Spot UV coating
The matte lamination completely absorbs light and stabilizes the background color, allowing the gloss of the Spot UV to pop out immediately and create a more tactile, three-dimensional feel
Elements suitable for Spot UV include brand logos, main book titles, or transparent patterns on dark backgrounds
Never attempt large-area, uniform flood coating. Not only does this defeat the purpose of the gloss-matte contrast, but it also easily causes bubbles or surface unevenness due to shrinkage during large-area curing
Why Do Files Look Perfect on Screen but Fail to Receive Coating When Printed?
I have heard of too many cases of files being rejected by printing houses, all rooted in designers using the same CMYK logic to process post-press finishing files
To the production line, Spot UV exists in only two states: 'printed' or 'not printed.' There is no such thing as a gradient
Here are the four major prepress artwork setup traps received daily:
・No independent varnish layer: Placing the Spot UV color blocks directly on the CMYK layer makes it impossible for the machine to distinguish them. The correct method is to create an independent layer and set it as a spot color (usually named 'Spot UV' or 'Varnish')
・Color fill is not solid black: The varnish layer must be set to 100% Black (K100) and must not contain any C, M, or Y values
・Misusing gradients and opacity: UV ink cannot be printed semi-transparently. Any gradient fill or opacity setting lower than 100% will turn into a disaster when processed by the RIP system
・Forgetting to outline text: If you forget to convert text to curves (outlines) on the varnish layer, it can easily cause font errors, turning the headline you wanted to emphasize into an unrecognizable black blob
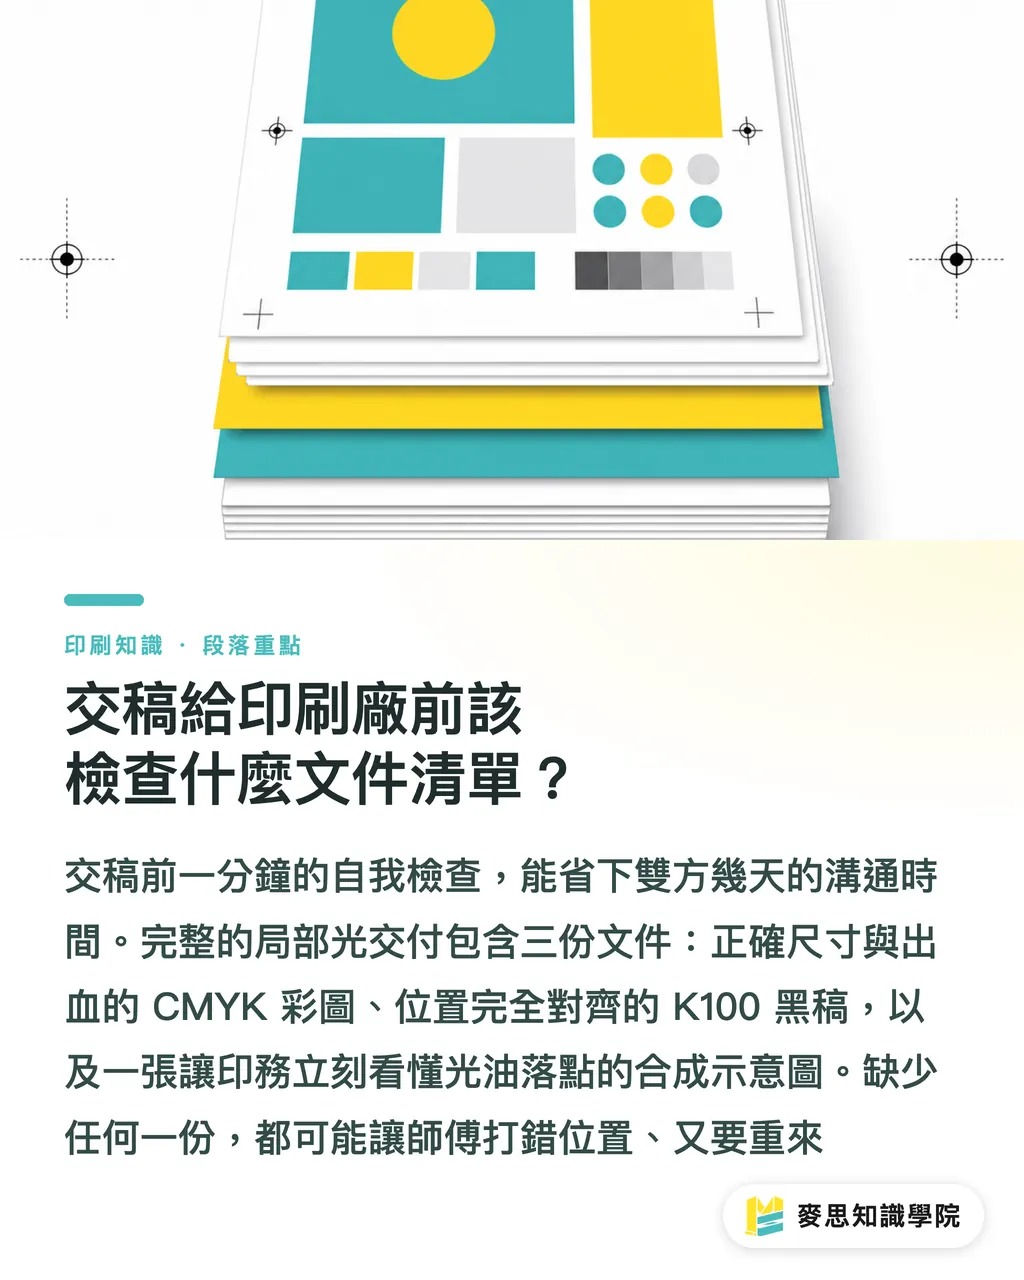
What Checklist Should You Inspect Before Submitting Files to the Print Shop?
Spending an extra minute to inspect your files before sending them to the printer can save both parties days of communication costs
A standard, foolproof Spot UV delivery file set should have clear registration references
Please confirm that the files submitted for printing explicitly include the following elements:
・CMYK printing color files, with dimensions and bleed settings configured correctly
・Spot UV black-and-white mask files filled with K100, with dimensions and positions perfectly matching the color files
・A mockup/composite preview, allowing the print operator to immediately see the absolute position where the varnish should be applied
Key Takeaways
・Traditional screen coating has a registration tolerance of ±:
・0.3
・to 0.5mm. Please avoid applying Spot UV to extremely thin lines or tiny text during design
・A matte lamination base combined with Spot UV is widely recognized in the industry as the standard method for the strongest gloss-matte contrast and premium texture
・Spot UV artwork setup must be on an independent layer, set to K100 fill, and completely prohibit gradients and semi-transparent effects
・When delivering files, in addition to the color layout and the K100 varnish layer, attaching a registration mockup significantly reduces the risk of printing errors
Further Reflections
Great print work is never just a one-way output from a machine; it requires the designer to precisely understand and handle the temperament of physical mediums
If future SaaS collaboration platforms could automatically block gradients or non-K100 fills on the varnish layer at the moment a designer exports their file, and prompt warnings about the ±0.3mm tolerance risk, they could directly eliminate 80% of prepress communication friction
Building foolproof mechanisms into the system, allowing designers to focus on creativity and print shops to focus on productivity, is the true key to progress in the printing industry
FAQ
- Can Spot UV be used on very fine text or thin lines?
- Highly discouraged. Traditional coating has an error margin of approximately ±0.3 to 0.5mm; applying Spot UV to fine text makes it extremely prone to bleeding or misalignment
- Can I mark the Spot UV layer in red or blue during artwork setup?
- The production line standard specification requires using K100 (solid black) fill and creating a separate spot color plate. Do not use any color other than solid black
- Why does the Spot UV print out with uneven edges or bubbles?
- This is usually caused by setting up a large flood-coated area. UV varnish tends to shrink unevenly when curing over a large surface. In practice, it is recommended to use it only for local accents