
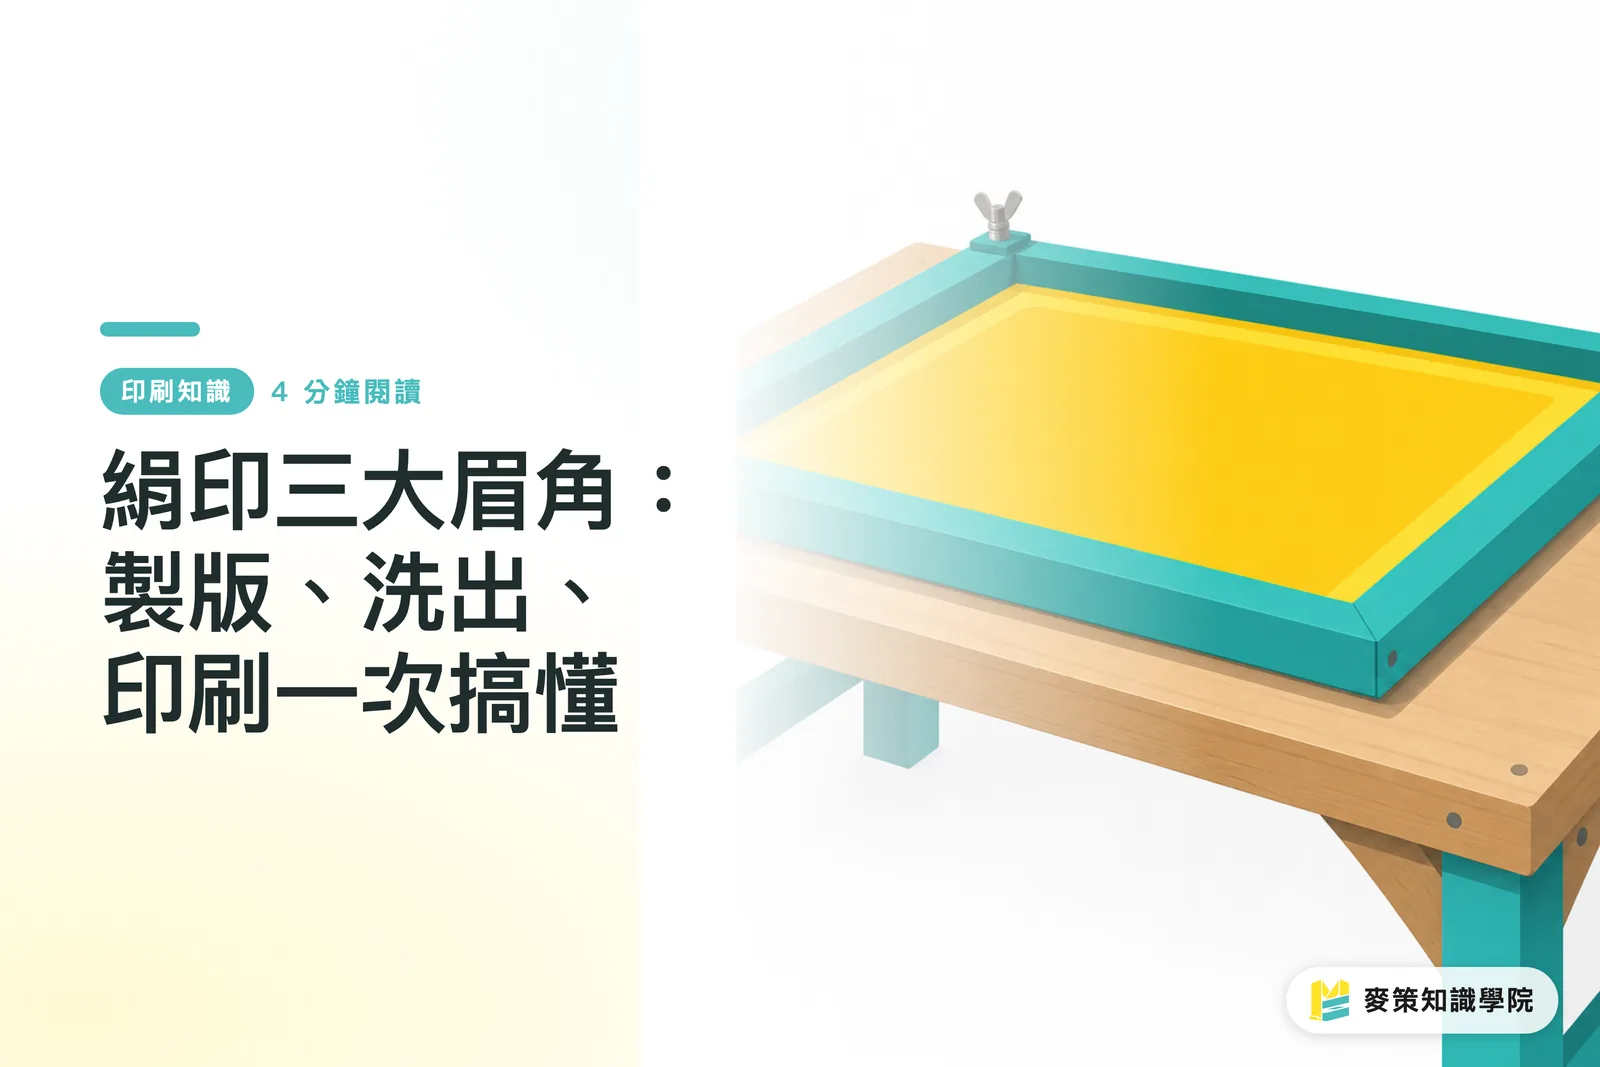
What Does Mesh Prep Actually Prep?
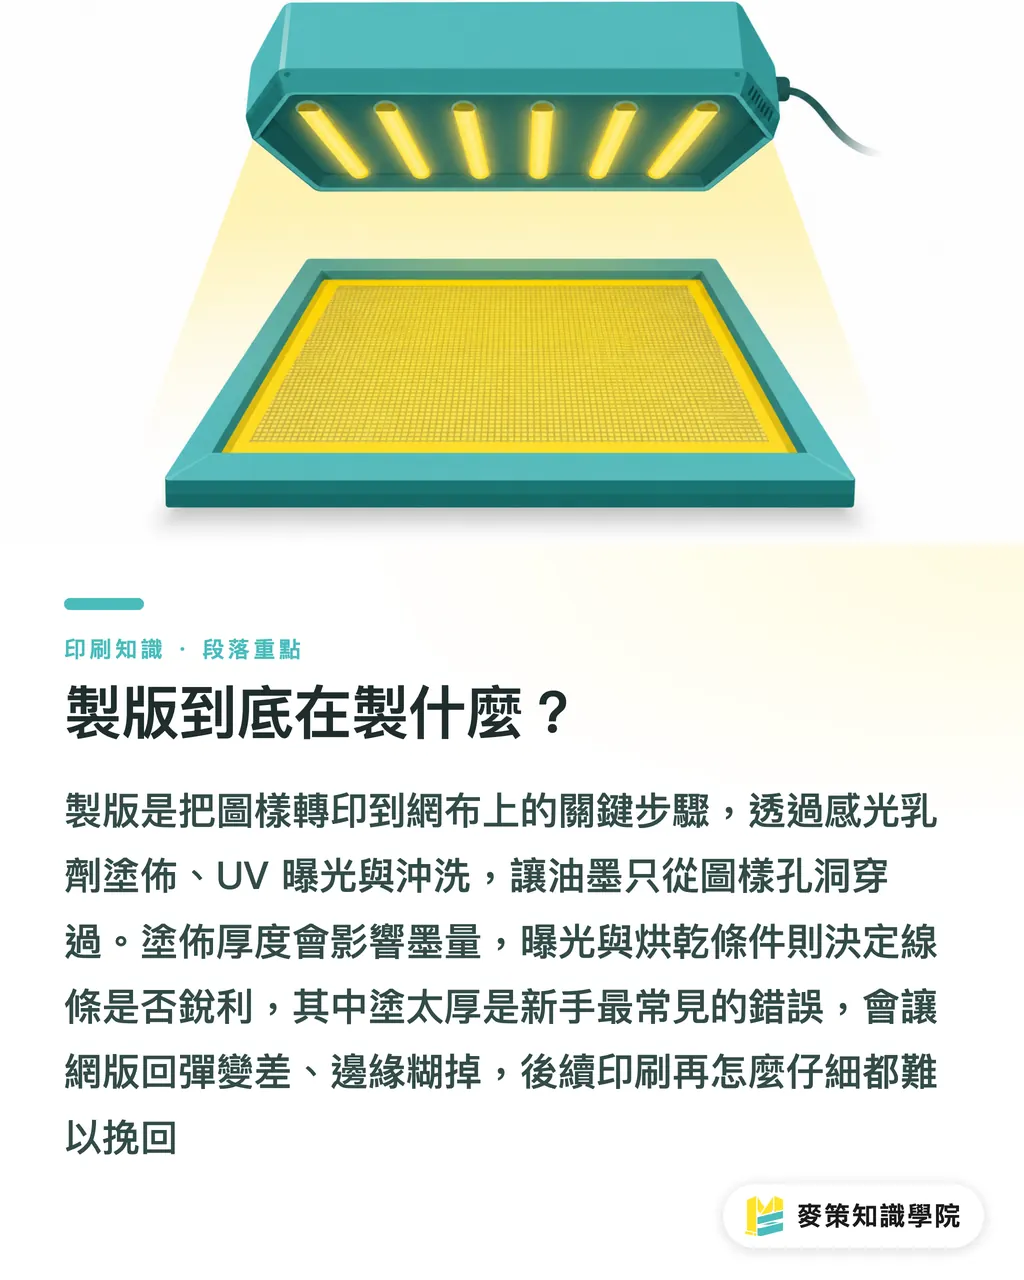
The first step in screen printing (also called silk-screen printing) is transferring your artwork onto the mesh so ink only passes through the open areas. That step is called mesh prep (or screen making)
・Core process: coat the mesh evenly with photo emulsion, dry it, lay a film positive over it, then expose to UV. The parts blocked by the film stay unhardened and wash out, leaving ink-permeable holes
・The usual details to watch: coating thickness sets ink deposit, exposure time decides whether line edges stay crisp, and under-drying lets emulsion harden prematurely so it won't wash out
・The most common rookie mistake: slathering the emulsion on thick thinking it'll block ink better, the mesh loses rebound and edges go mushy during printing
Prep quality directly decides how many prints you'll get out of the mesh and how sharp they look. Skimp here and no amount of careful washout or printing will save you
Bad Washout Booth Design: Solvent Leaks and Damaged Meshes
"Washout" is the step that rinses away the unhardened emulsion after exposure. The washout booth design shown in the video is wrong, a workplace safety landmine a lot of small-to-mid print shops overlook
・A proper booth needs three things: a stable water-pressure nozzle, a collection tray for reclaiming wastewater, and a splash guard to keep spray contained
・What a bad layout costs you: wastewater running onto the floor, solvent fumes filling the room, and meshes warping during the rinse
・Next-level move: build a Dip Tank Cart that combines emulsion coating and dip-stripping on one wheeled unit, saves space and saves labor
Washout isn't just "rinse the screen till it looks clean." It's a workstation that affects safety and mesh life. Get the design right and you recover more wastewater, lower solvent vapor concentration, and your operator isn't dodging spray while working
From Screen to Posters, Cartons, and Fabric Labels
Once the screen's ready, you're into the print run itself. The full workflow ScreenPrintDirect demos covers posters and cards, same logic applies to cartons and fabric labels
・Three things control printing: squeegee angle (typically 45° to 75°), squeegee pressure, and print speed, all three need to move together
・Registration depends on two factors: alignment marks on the mesh and proper drying time. In multi-color work, each color must be fully dry before the next hits, or it'll "bite" into the previous one
・Where it works: post-press for cartons, care labels, card printing, short-run posters, all runnable on the same screen-printing logic
For Taiwan's small-to-mid print shops, screen printing isn't just for T-shirts and tote bags. Spot UV or special colors on folding cartons, fabric labels, premium packaging, screens often beat digital on cost. The trick is standardizing the workflow
DIY Workflow Tweaks: The Cheapest Upgrade
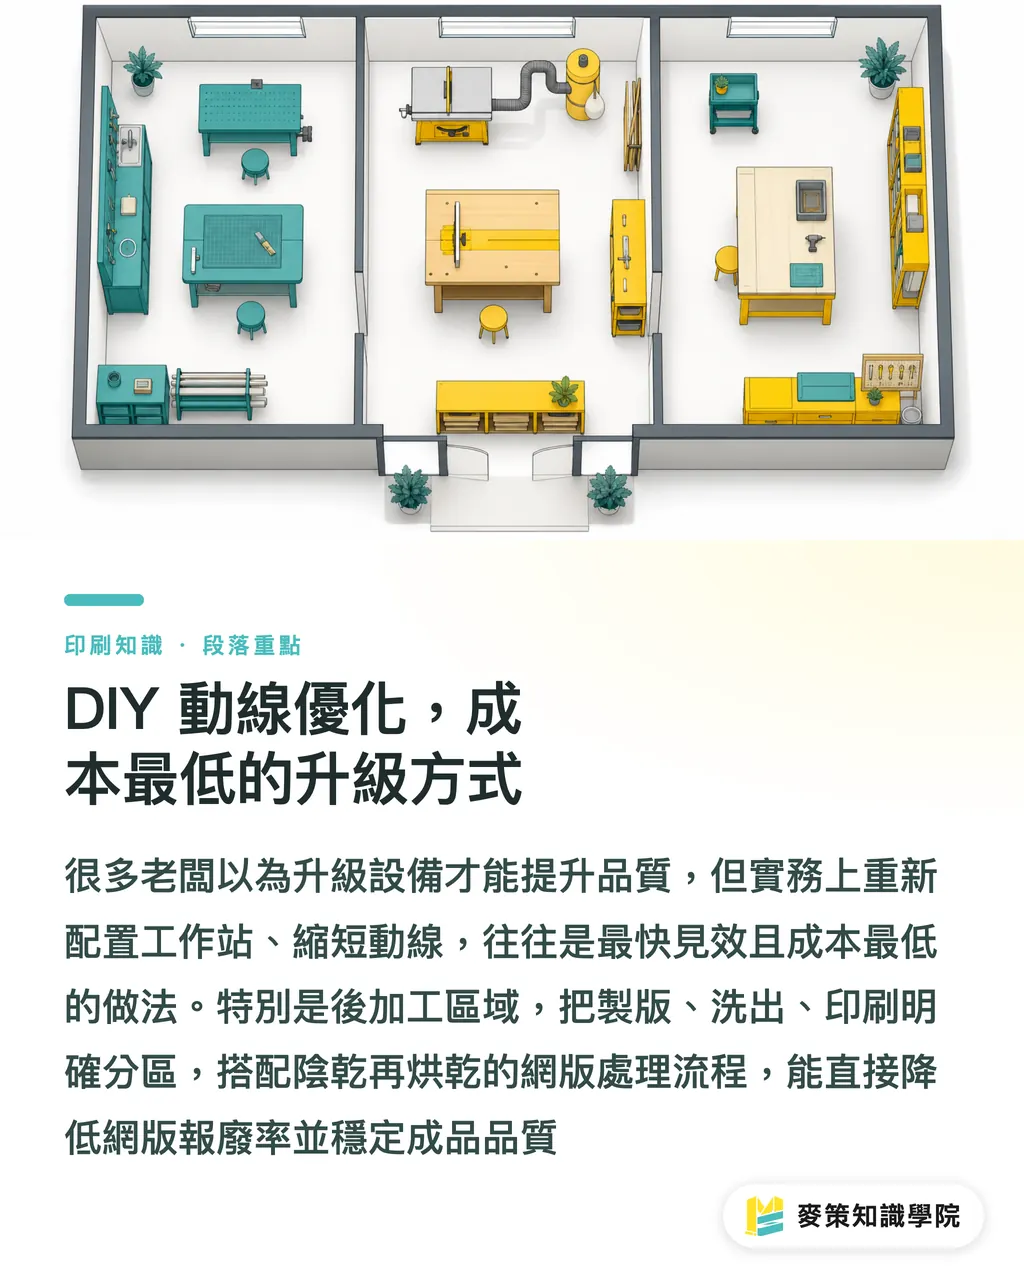
The biggest takeaway from these three videos for Taiwan's small-to-mid shops isn't buying new machines, it's redesigning the workflow
・Keep the prep area, washout area, and print area physically separate so emulsion dust doesn't contaminate the print zone
・The Dip Tank Cart concept works for any small post-press setup: consolidate tools, cut down on walking, speed things up
・Drying is the easiest step to botch: air-dry the screen first after washout, then heat-dry. Fast heat-drying shrinks the mesh and warps it
A lot of bosses think upgrading equipment is the only path to better quality. In practice, reconfiguring workstations and shortening the workflow gets you there faster for far less money. Post-press especially, a clean work environment shows up directly in mesh scrap rates
If you're sizing up custom packaging, fabric labels, or short-run specialty print finishing, MINDS Printing offers full custom commercial printing, we can plan it end-to-end from screen prep to finished product, so a bad workflow layout doesn't tank your quality
Key Takeaways
・Prep decides everything: get coating thickness, exposure time, and drying temperature wrong, and there's only so much you can fix downstream
・A washout booth isn't a sink: it's a workstation. Bad design wrecks meshes, wrecks operators, wrecks yield
・The three printing variables move together: squeegee angle, pressure, and speed are linked. Registration rides on drying time
・Redesigning the workflow beats buying new machines: zoning, carts, tool consolidation, that's the cheapest upgrade path
・Screen printing isn't just for T-shirts: spot special colors on cartons, fabric labels, premium packaging, screens beat digital on cost
What to Think About Next
These three videos look like they're teaching "how to screen print," but they're actually driving home a familiar idea: 80% of post-press quality comes from workflow and environment design, only 20% from the machine itself. For Taiwan's small-to-mid print shops, chasing the newest model matters less than zoning your prep, washout, and print areas properly, turning the Dip Tank Cart concept into your own in-house cart, and writing drying-time standards into your SOP. None of this costs much, but it shows up directly in mesh scrap rates and customer complaints. Same goes for design: if you're pitching screen printing for packaging accents, lock down your color count and drying checkpoints first, then dial the artwork complexity, don't let design outrun the process
Further Reading
FAQ
- How is screen printing different from digital printing?
- Screen printing pushes ink through mesh openings, best for large areas, special colors, and heavy ink deposits on tough substrates. Digital printing (inkjet or laser) suits short runs, fine detail, and multi-color work but costs more per unit. Low budget, short run, simple artwork? Go digital. Big volume, heavy ink, specialty substrates (fabric labels, spot UV on cartons)? Go screen
- How many times can a screen be reused?
- Depends on proper washout and drying. With standard practice, a single screen handles thousands of impressions. If washout workflow warps the mesh or leaves residual ink, that can drop to just a few dozen prints
- What equipment do I need for DIY screen printing?
- Minimum kit: a screen frame, photo emulsion, an exposure unit (a UV lamp works in a pinch), a squeegee, and washout gear. A Dip Tank Cart is the upgrade that pulls emulsion coating and stripping into one mobile station, saves space and saves labor
- What substrates work with screen printing?
- T-shirts, fabric labels, cartons, cards, posters, glass, ceramic, and more. The substrate has to be flat and able to handle squeegee pressure, otherwise registration goes out the window
- Does screen printing fade?
- It can, depending on the ink type and how it's cured. Water-based inks breathe well but wear faster. Plastisol inks give saturated color and survive washing but aren't breathable. Picking the wrong ink is the classic newbie trap
Related articles

The Print × AI weekly
The print and AI know-how designers, brands and enterprises can use before they commit — one email, every week
MINDS Free Tools
Spine width and imposition calculators — skip the manual math, free in your browser.
MINDS Group
Need actual printing or gifting services?
From premium printing to online ordering and festive gifts — the MINDS Group sister brands take it from here.