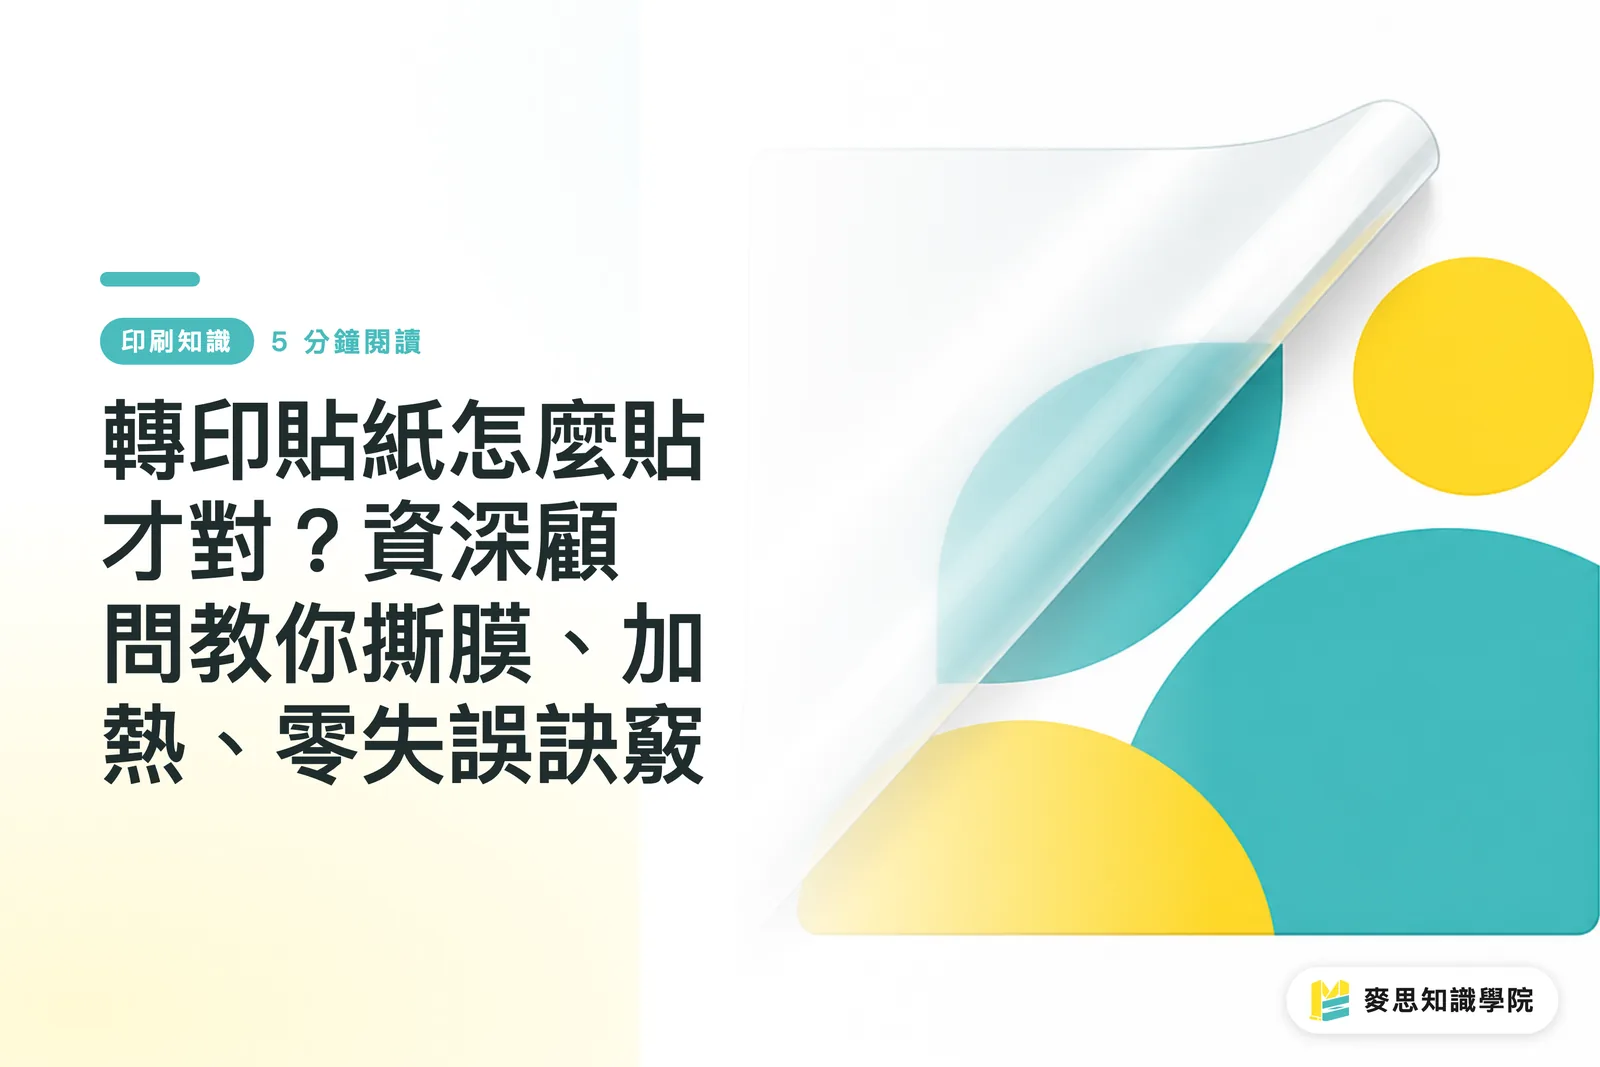
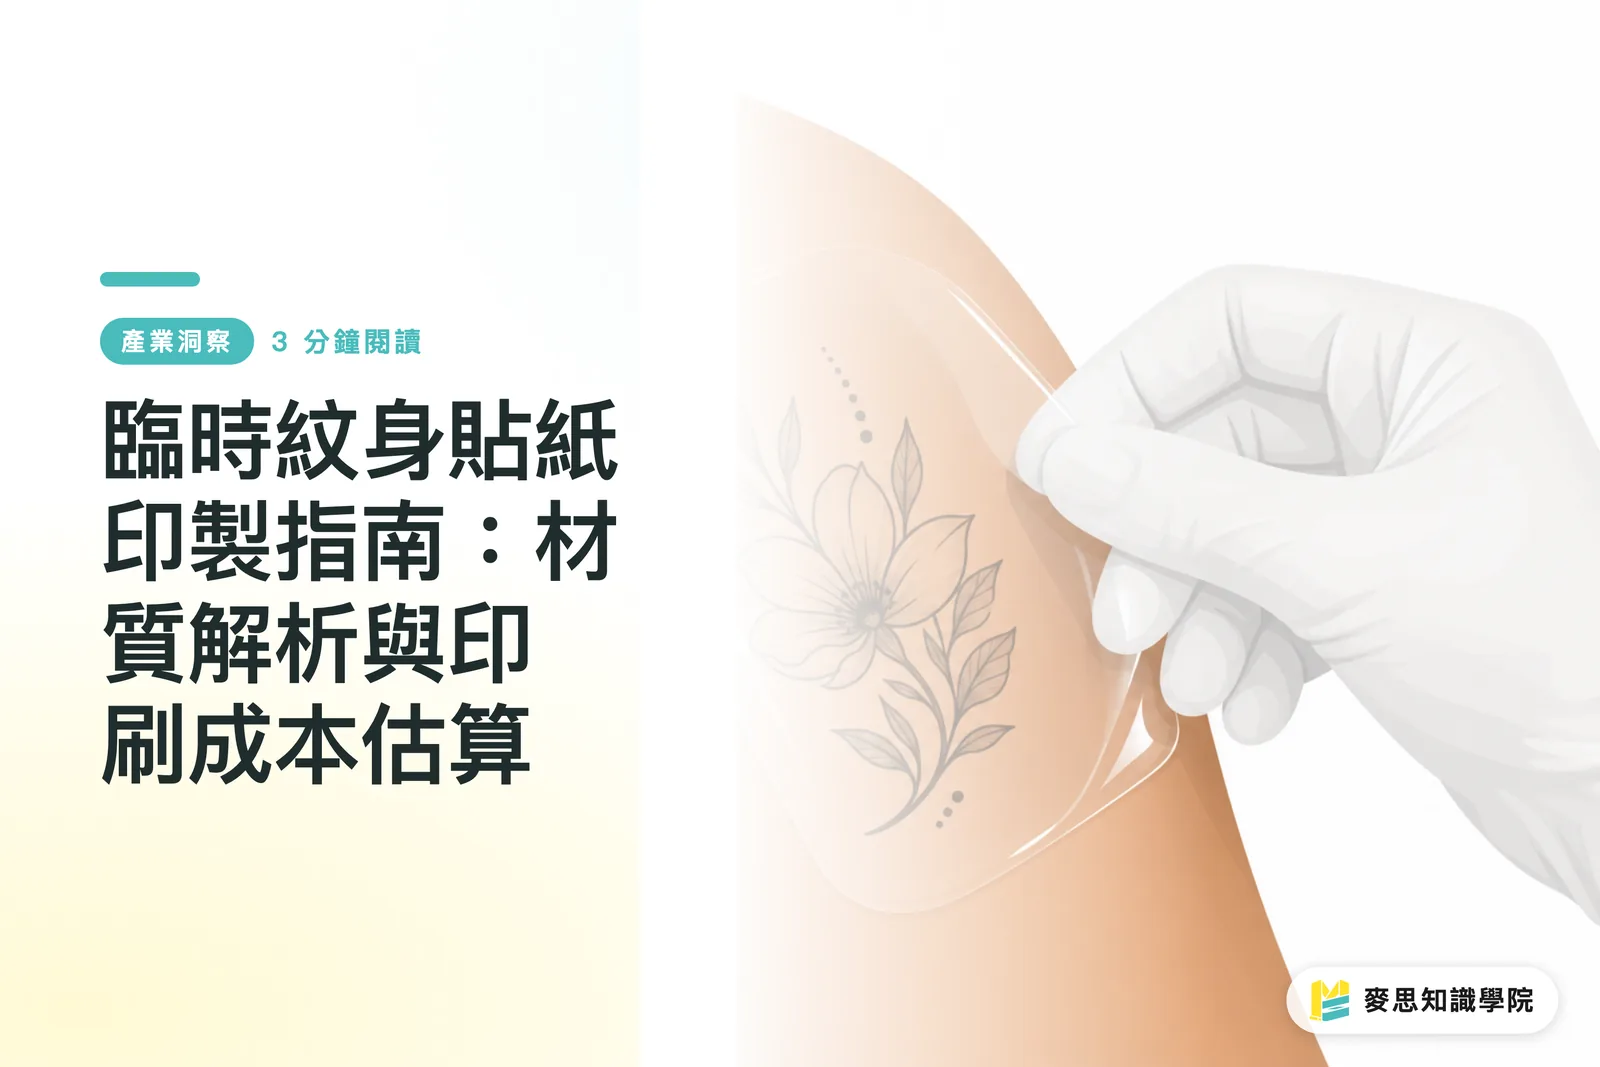
What are transfer stickers? How are they different from regular stickers?
Success with transfer stickers lies in understanding their three-layer structure and following the 'peel backing, apply, then peel transfer film' sequence. If you're heat-transferring onto fabric, temperature and time are the absolute keys to success
Based on my experience with clients, designers and brands alike, ninety percent of frustrations with transfer stickers stem from misconceptions about material properties and application sequences. This is normal, as they do involve more steps than regular stickers, but once you master the concept, they are a powerful tool for showcasing intricate designs
How do they differ from regular stickers?
Simply put, regular stickers have a single-layer structure and are ready to apply upon peeling. Transfer stickers consist of three layers and are specifically designed to transfer 'hollow' or 'finely cut' designs
I like to compare them to 'temporary tattoos' for objects. Their structure includes:
・Backing Paper: Usually a thick white sheet that protects the adhesive and the design
・Vinyl/Ink Layer: This is your design itself, which has an adhesive backing
・Transfer Film: The top transparent film, with a weaker stickiness than the backing. Its function during transfer is to 'hold together' the pieces of a hollow design, ensuring their relative positions don't shift
Without this transparent transfer film, your logo might fall apart upon peeling, which is why it's so vital for intricate designs
How to apply transfer stickers without failing?
How to apply them without errors? A breakdown of four key steps
Ruining a sticker is one thing, but ruining a hard-to-find sample or product is heartbreaking. Following the process I've overseen with technicians on production lines for years can help you avoid 90% of mistakes:
・1. Thoroughly clean the surface: This is the most skipped yet most fatal step. Any oil, dust, or wax will prevent the sticker from adhering properly. Wiping it clean with alcohol or a degreaser and waiting for it to dry completely is an essential prerequisite
・2. Remove the white backing paper: Place the sticker design-side down and peel off the 'opaque' backing from a corner. The design should remain completely on the 'transparent' transfer film. If the design follows the backing, put it back on, use your fingernail or a card to scrape over the design a few times, and try again
・3. Alignment and pressure: Hold the transparent transfer film and align the design to your target position. Starting from the middle or one side, apply even pressure with a squeegee or credit card at a 45-degree angle, pushing air and bubbles outwards to ensure every detail of the design is firmly adhered
・4. Peel off the transparent transfer film: This is the most satisfying step. Starting from a corner, slowly peel off the transparent film at a very sharp angle (close to 180 degrees). The design will perfectly remain on the object surface. If any part of the design starts to lift, simply repeat the pressure step mentioned above
How to set the temperature and time for heat transfer?
Mine is a heat transfer type. How do I determine the temperature and time?
If your transfer sticker is intended for textiles like clothing or canvas bags, it is a 'heat transfer'. Temperature, time, and pressure are the three core elements that affect durability
There is no one-size-fits-all number because it highly depends on the 'material of the transfer film' and the 'fabric being transferred onto'. However, I can provide a common industry baseline for your testing:
・For a standard cotton T-shirt, many DTF (Direct to Film) or HTV (Heat Transfer Vinyl) materials achieve excellent results at 140-160°C under medium pressure, pressed for 10-15 seconds using an iron or heat press
Remember, this is a 'starting point', not the destination. For functional fabrics like Polyester or moisture-wicking shirts, you may need to lower the temperature to avoid damaging the fabric. The most reliable information is always the data provided by the material supplier. Before mass production, testing on a scrap piece of fabric is an absolutely necessary insurance
Hot peel or cold peel after pressing? How to judge the best time to peel?
Cold peel or hot peel? Professional judgment on when to peel
After pressing, when should you remove the top transparent film? In our industry, this choice is known as 'cold peel' versus 'hot peel', and it's a common question
・Hot Peel: Peeling immediately after pressing. The advantage is speed and high efficiency, suitable for mass production. However, some films might cause the design to slightly stretch or deform if peeled while hot
・Cold Peel: Leaving it after pressing and waiting until it completely cools to room temperature before peeling. The advantage is that the design edges are sharper, and the adhesion is usually stronger, making it particularly suitable for designs with complex details or fine lines
In my experience, when you are unsure about the characteristics of the film you have, choosing a cold peel is generally the safer option. It gives the adhesive enough time to bond with the fibers; it may be slower, but it has the highest success rate
Key Takeaways
・The first step to a successful transfer sticker application is peeling off the opaque backing paper first, not the transparent transfer film
・The three core elements of heat transfer are temperature, time, and pressure. All three must work together; there is no single universal parameter
・When unsure whether to use hot or cold peel, letting it cool before peeling (cold peel) is usually the safer practice
・Be sure to thoroughly clean the surface before application. Even the smallest dust particles can cause the sticker to lift or create bubbles
Further Reflections
For designers, physical limitations of the transfer should be considered during the design phase. Overly fragmented, isolated dots or lines smaller than 1mm are prone to issues regardless of the stage. Before sending for printing, proactively communicate with the printing house about the material your design will be applied to. An experienced production manager can immediately tell you which approach has the lowest risk
For printing, manufacturing, and SaaS service providers, there is massive room for service optimization here. Customers aren't just buying a printed film; they are buying the result of a 'successful transfer'. Integrated service providers like MINDS have the advantage of transcending mere manufacturing by including exclusive operating guides tailored to 'the specific order's film material + client-specified fabric' upon shipment, or even a QR code linking to a 15-second instructional video, turning knowledge into part of the service. This is a true one-stop solution
FAQ
- What if there are bubbles in the transfer sticker?
- If the bubbles are small, you can gently pierce them with a needle tip and then smooth them out with your finger or a squeegee. For large bubbles, it's best to carefully lift a corner of the sticker up to the bubble, then use a squeegee to re-press and re-apply
- Why does my design get peeled off along with the transparent film?
- There are two main reasons: First, there wasn't enough pressure during application, so the design didn't firmly adhere to the object's surface. Second, the transfer film's stickiness is too strong, or the peeling angle is incorrect. Please try to peel it off slowly at a sharper angle (close to 180 degrees)
- Do all transfer stickers require heating?
- No. Transfer stickers mainly come in two types. One is 'pressure-sensitive' and is commonly used on hard, smooth surfaces like walls, glass, cars, or motorcycles. The other is 'heat transfer', which requires heating and is specifically designed for textiles like fabric and leather
Related articles

The Print × AI weekly
The print and AI know-how designers, brands and enterprises can use before they commit — one email, every week
MINDS Free Tools
Spine width and imposition calculators — skip the manual math, free in your browser.
MINDS Group
Need actual printing or gifting services?
From premium printing to online ordering and festive gifts — the MINDS Group sister brands take it from here.