

How Do Stickers Go from Design to Finished Product?
The correct workflow for sticker printing is clear: usage comes first, followed by material selection, precise sizing, and finishing touches. The MINDS (MS) three print-ready checkpoints are ① confirm the usage scenario, ② inspect the print file, and ③ verify finishing constraints. Complete these 3 steps, and your quotes and final product quality will stay consistent
The standard definition of a sticker is a self-adhesive printed item made of a face material, an adhesive layer, and a release liner. It can be applied to packaging, products, documents, or event materials. Common uses include brand labels, food labeling, sealing stickers, warning decals, and promotional stickers
In practice, I ask clients 4 questions upfront:
・ Where will it be attached: Paper boxes, plastic bottles, glass jars, metal, or freezer bags each interact differently with adhesives
・ How long will it be used: Short-term event stickers and long-term product labels require different material grades
・ Will it touch water: For refrigerated items, bathrooms, or delivery drink cups, paper stickers are usually not the right choice
・ Does it need a high-end feel: Matte lamination, gloss lamination, spot UV, or foil stamping are investments in visual memory points
The most common mistake I see on the production line is not bad visual design, but treating a pretty graphic directly as a production-ready file
To turn a design draft into a sticker, you must include at least 4 production details: finished dimensions, bleed, dielines, and special finishing layers
For standard stickers, we recommend a 2-3mm bleed, 300 DPI resolution, and CMYK color mode. Dielines should be set as a separate Spot Color or clearly labeled. These are not mere formalities. They prevent white borders after trimming, blurry text, and registration misalignment during finishing
If you are unsure whether your file is ready for printing, you can send your design draft, intended use, and estimated quantity to the Mai Strategy Knowledge Academy consulting team for a review. Many issues can be caught 10 minutes before sending files to print, whereas catching them after entering the production line is usually far more painful

How to Choose Sticker Materials Without Wasting Money?
Sticker materials are not better just because they cost more. They work best when matched closely to your use case. Choosing the wrong material usually leads to curling edges, fading, peeling films, or leftover adhesive residue, making your brand look like it ignores details
Here is how to evaluate common sticker materials:
・ Coated paper stickers: Smooth surface, vibrant colors, and budget-friendly. Great for general product labels, event stickers, and sealing stickers
・ Woodfree paper stickers: Natural paper texture and easy to write on. Ideal for handmade brands, stationery, price tags, and applications needing stamps
・ Synthetic PP stickers: Better water resistance than paper. Ideal for refrigerated foods, drink cups, skincare, and daily household goods
・ Clear stickers: Perfect for glass bottles, transparent boxes, and minimalist packaging, though designers must account for white ink layer setup and background interference
・ Pearlized stickers: Feature a soft luster and elegant feel. Suitable for cosmetics, fragrances, gift boxes, and boutique items
・ PVC or PET stickers: Superior weatherability and wear resistance. Ideal for outdoors, machinery labels, warning decals, and long-term use labels
A practical example: for the exact same 50×50mm circular sticker, coated paper might be fine as a coffee cup seal, but cold drink cup labels need PP or waterproof materials because condensation makes paper face materials absorb moisture and deform
Food labels require an extra layer of attention. Stickers must not only print clearly, but also match sales environments and labeling regulations
For food packaging, leave enough room for nutrition facts, expiration dates, allergen alerts, and storage conditions. Tiny fonts or reflective materials make labels hard to read on store shelves
A simple rule for selecting materials: use paper for short-term, dry, indoor use. Use synthetic materials for damp, refrigerated, or high-wear environments. If you want to build brand memory, then factor in matte, gloss, foil stamping, or spot UV
How to Size Stickers for Great Looks and Easy Application?
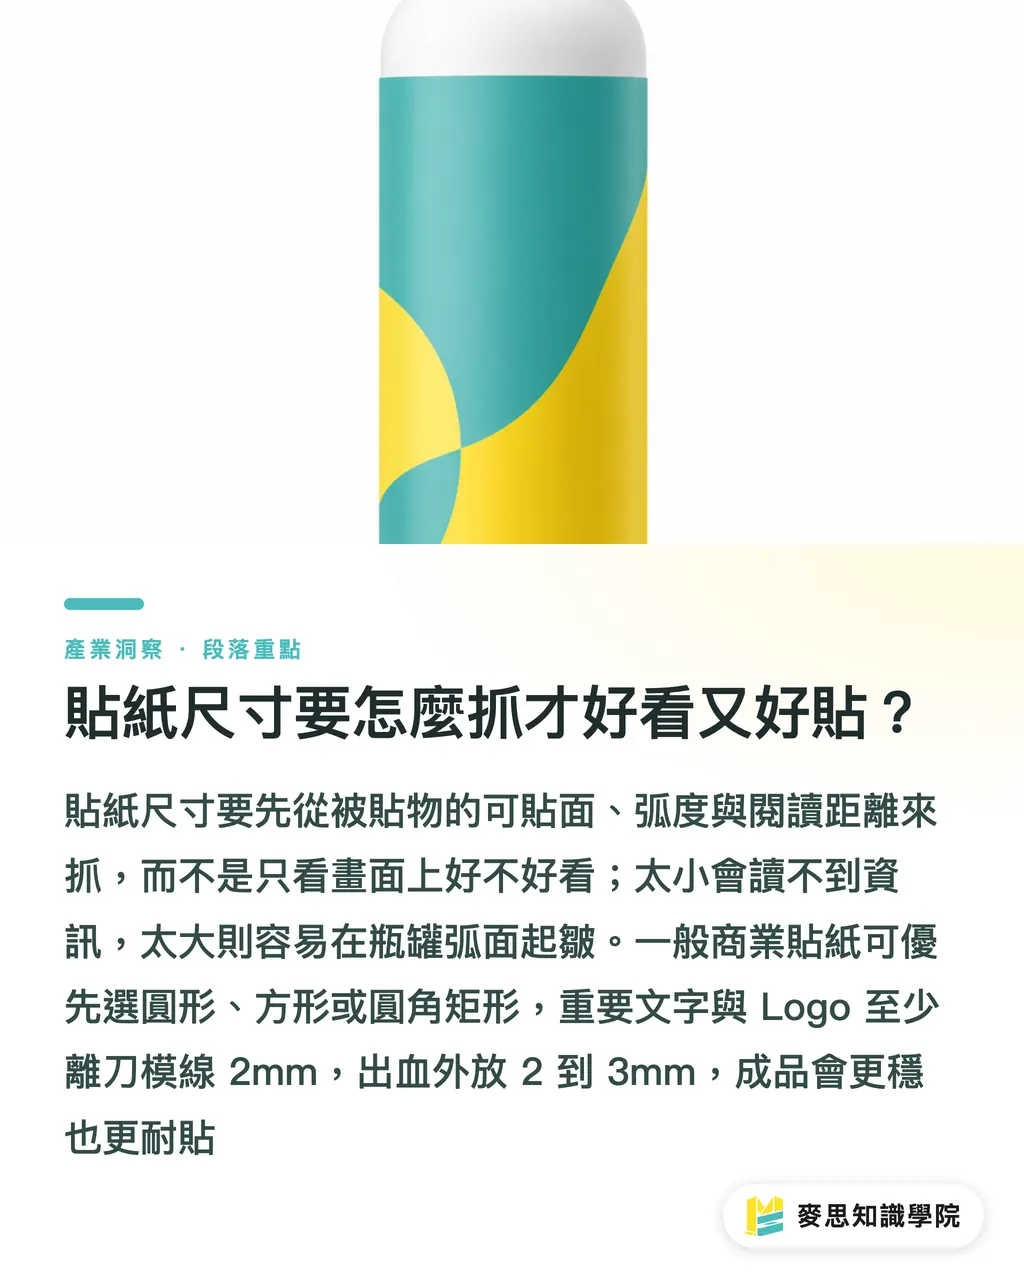
Determine sticker sizes by looking at the target object first, then checking graphic proportions, not just what looks balanced on a screen. If a sticker is too small, information becomes unreadable. If it is too big, it will wrinkle on curved bottles. Both ruin the finished look
I usually set dimensions using 3 benchmarks:
・ Packaging surface area: Measure the width, height, and curvature of the application area first. For round bottles, avoid edge curves
・ Viewing distance: Shelf labels are usually viewed from 30-60cm away, while event stickers might be scanned from over 1m away
・ Information hierarchy: Logos, product names, flavors, volume, and regulatory info should not all carry the same visual weight
Common sizing guidelines:
・ Small sealing stickers: 20-30mm diameter. Suitable for paper bags, envelopes, and bakery box seals
・ Standard brand stickers: 40-60mm square or round. Great for cups, boxes, and event giveaways
・ Main product labels: 60-100mm width. Ideal for bottles, jarred foods, and skincare front labels
・ Large package stickers: 100mm and above. Ideal for outer cartons, logistics labels, and information-heavy stickers
Dimensions must also respect dieline limitations
Sharp corners peel up easily, narrow lines snap, and overly complex custom shapes increase finishing risks and costs
For commercial stickers, I suggest starting with circles, squares, or rounded rectangles. A 2-5mm corner radius resists peeling much better than sharp points
Designers need to pay close attention to safety margins
Keep text and logos away from trim lines. Important content should stay at least 2mm away from dielines, with bleed extending 2-3mm outward. These two margin rules are the cheapest insurance for your sticker files
How to Combine Finishing Techniques for a Premium Feel?
Post-press finishing gives stickers their visual personality, but not every sticker needs a full stack of special effects. A mature design approach lets finishing serve brand positioning, rather than cluttering the entire layout
How to apply common finishing methods:
・ Gloss lamination: Makes colors pop with a shiny surface. Ideal for food, beverages, promo stickers, and energetic brands
・ Matte lamination: Offers a subtle tactile feel and low glare. Fits cosmetics, fragrances, curated brands, and premium products
・ Spot UV: Makes logos, patterns, or key text pop out. Perfect for packaging stickers that need a visual focal point
・ Gold or silver foil stamping: Fits gift boxes, luxury goods, and commemorative editions. Too much area looks tacky, so subtle accents look far better over time
・ White ink: Often used on clear stickers to stop text and graphics from getting lost on dark or transparent containers
・ Custom shape dielines: Make shapes more recognizable. Great for character stickers, brand identities, and event swag
Finishing requires paying attention to registration tolerances
Foil stamping, spot UV, and white ink all require layer alignment. Avoid making details under 0.5mm your primary selling feature in designs, as actual printing and finishing involve normal production tolerances
A common real-world mistake: a client wants to fit a brand name, QR code, foil border, and product flavor on a 30mm round sticker. Every element turns out tiny. In the end, either the QR code will not scan, or the foil stamping squishes into a shiny blob
If you put a QR code on a sticker, keep it at least 15×15mm, add a white background with a quiet zone, and avoid high-glare surfaces. Otherwise, mobile scans will be unreliable
When MINDS (MS) produces mid-to-high-end custom commercial printing, the advice I share most with clients is this: finishing needs a main character, don't let every layer fight for attention
Focusing on 1 primary finishing technique usually looks better and keeps costs under control better than stacking 3 separate effects
What File Details Should You Inspect Before Printing Stickers?
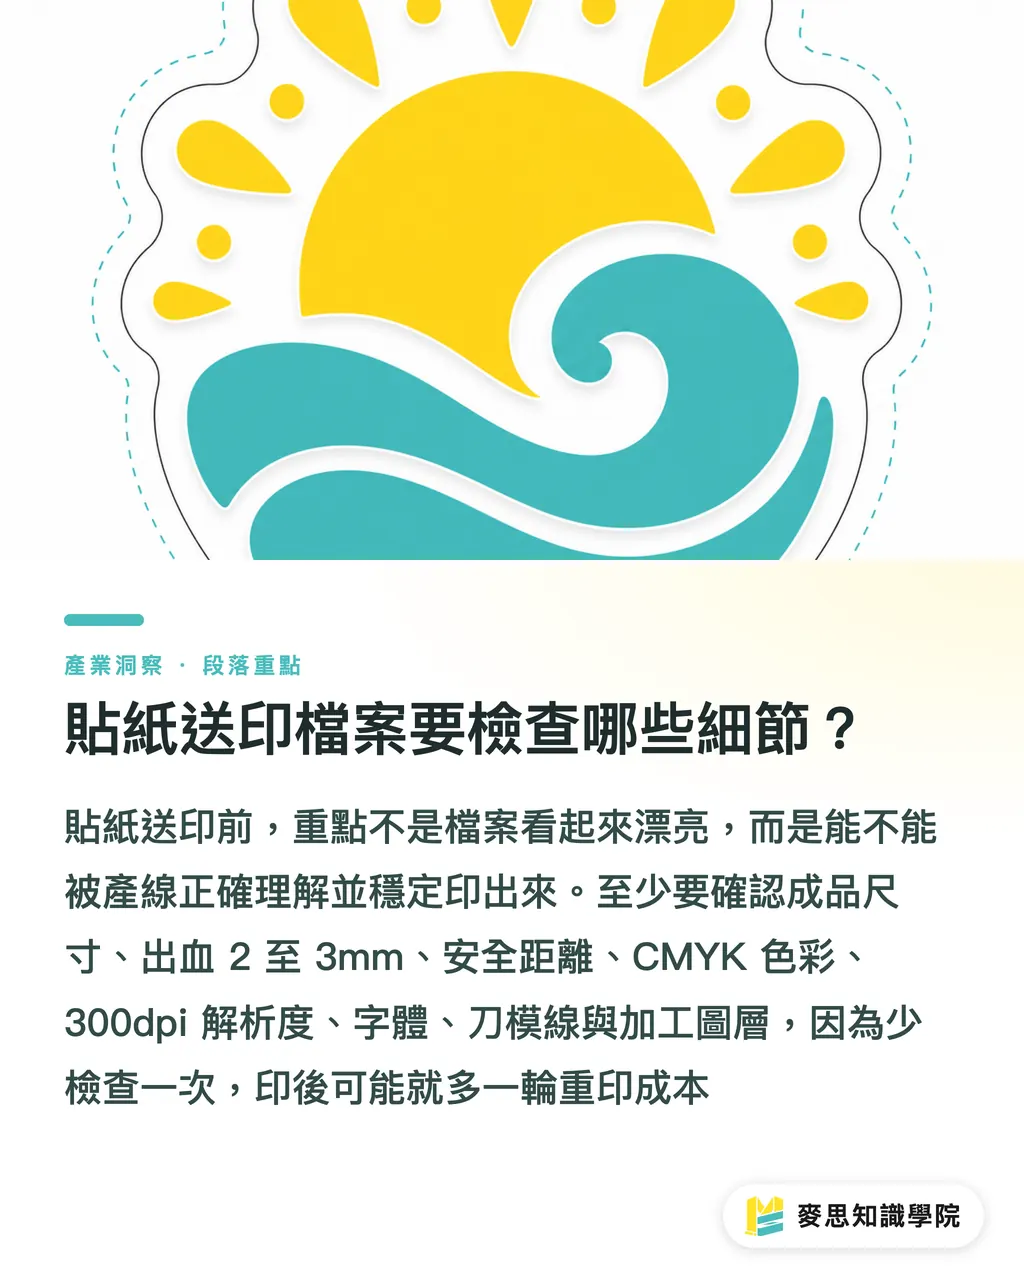
Before sending sticker files to print, review your artwork against this 8-point checklist. Skipping one check before printing can cost you an entire extra reprint fee later
Verify each item before submitting your order:
・ Size: Label finished dimensions clearly in mm, such as 50×50mm or 80×40mm
・ Bleed: Extend backgrounds and base colors 2-3mm beyond trim lines
・ Safety margin: Keep essential text and logos at least 2mm inside trim lines
・ Color mode: Use CMYK for print files to avoid color shifts caused by submitting RGB screen colors directly
・ Resolution: Keep raster images at 300 DPI. Do not stretch low-res images by force
・ Fonts: Convert text to outlines or embed fonts to prevent layout shifts upon opening
・ Dieline: Mark dielines on a separate layer or as a Spot Color. Do not mix them into print artwork
・ Finishing layers: Name foil, white ink, and spot UV layers separately so production lines can read positions and dimensions easily
AI tools can help generate sticker sketches, copy variations, series color palettes, and mockups, but AI-generated images cannot be used directly as print-ready files
Print files must return to Illustrator, InDesign, Photoshop, or compatible design software to inspect sizing, bleed, resolution, dielines, and colors. This is the final gate before design creativity reaches the production line
My advice for SMEs is simple: test the waters with small batches. You can start by prototyping 1 main size across 2 materials. Move to mass production only after splitting different product lines into shared dielines and variable content
Shared dielines save communication time and keep your brand consistent on store shelves
A sticker seems like a small detail, but it is often the very first touchpoint a customer has with your brand
Small items expose big problems most easily
Key Takeaways
・ Ask about intended use before discussing sticker materials. Quotes given without usage context easily miss the mark
・ Paper works for short-term, dry settings. Synthetic materials fit damp, refrigerated, and high-wear demands
・ A 2-3mm bleed, 2mm safety margin, and 300 DPI resolution form the baseline entry criteria for sticker printing
・ Post-press finishing needs only 1 hero. Matte lamination, gloss lamination, foil stamping, and white ink must all serve brand positioning
・ AI handles ideation and mockups, but official printing still requires production-ready dielines, layers, and CMYK files
Further Reflections
For print manufacturers, sticker printing inspires shifting from order-taking to spec consultancy: clarifying use cases, environmental factors, and finishing limits upfront ensures smooth downstream production. For designers, pretty visuals are only step one. Designs that can be trimmed, applied, and mass-produced represent the full answer for commercial design. For AI and SaaS teams, sticker printing is a scenario tailor-made for productization because it has explicit fields, file check rules, and quoting logic. The next move can start with a prepress checklist, packaging material recommendations, dimension checks, dieline prompts, and finishing risk alerts into a reusable workflow
FAQ
- What material is best for sticker printing?
- For dry indoor environments and short-term events, coated paper or woodfree paper stickers work well. For refrigerated items, drink cups, skincare, and bathroom products, synthetic materials like PP, PVC, or PET are recommended because their water and wear resistance are far more reliable than paper
- How much bleed should be added to a sticker design file?
- Standard stickers usually require a 2-3mm bleed, with key text and logos kept at least 2mm away from trim lines. This prevents white borders or accidentally clipping essential content during trimming
- Why do clear stickers often look washed out when printed?
- Clear stickers are affected by the color of the underlying surface. When placed on glass, dark bottles, or transparent boxes, graphics can easily get lost in the background. Adding a white ink underprint layer is usually necessary to make colors stand out
- Do stickers always need matte or gloss lamination?
- Not necessarily. Matte lamination delivers a subtle, understated feel, while gloss lamination creates vibrant, energetic visuals. For short-term sealing stickers or price labels, lamination may not be required. The decision depends on usage duration, handling frequency, and brand positioning
- Can AI-generated sticker graphics be sent directly to print?
- Direct printing is not recommended. AI graphics work well for concept sketches and mockups, but official printing still requires verifying CMYK color mode, 300 DPI resolution, bleed, dielines, outlined fonts, and finishing layers
Related articles



The Print × AI weekly
The print and AI know-how designers, brands and enterprises can use before they commit — one email, every week
MINDS Free Tools
Imposition calculator and preflight file check — free prepress tools, right in your browser.
MINDS Group
Need actual printing or gifting services?
From premium printing to online ordering and festive gifts — the MINDS Group sister brands take it from here.