
What Is Scaled Artwork, and When Do You Actually Need It?
Scaled artwork for large-format printing is straightforward: when the final piece is huge, you build the design file at a scaled-down ratio and include clear instructions telling the print shop the exact finished output dimensions
For an 80×180 cm display board, designing at 1:1 is manageable. Illustrator or Photoshop can handle it fine, and a resolution of 72–100 DPI is plenty. But once you move to a 3×2.4 m backdrop, a full vehicle wrap, or construction site mesh banners, a 1:1 file easily balloons to several gigabytes. On an average computer, just opening the file takes five minutes, making smooth editing impossible
That is when you scale down. Common scale ratios are 1:5, 1:10, and 1:20, chosen based on the final finished size
・Finished size under 1 m: You can usually build directly at 1:1 without scaling
・Finished size between 1–3 m: 1:5 or 1:10 is recommended, depending on your computer's performance
・Finished size over 3 m (large backdrops, vehicle wraps, fence wraps): Start at 1:10, or go up to 1:20 when necessary
I have seen this happen more than once during file preflight: a designer builds the artwork at 1:10 scale but notes nothing. The print shop technician receives the file and prints it directly at file size. A backdrop meant to be three meters wide ends up printed as a tiny 30-centimeter sample
How Do You Calculate Resolution After Scaling Down?
Many people forget that scale and resolution have to be adjusted together. You cannot just shrink the dimensions and forget to convert the DPI
The actual print resolution for large format is usually 72–100 DPI (the further the viewing distance, the lower the requirement). If you scale your working file down to 1:10, your file resolution must be multiplied by 10 to keep the total pixel count identical
Here is a concrete example: say your finished product is a 300 cm wide backdrop that needs 72 DPI at actual output. The total pixel width is 300 cm × 28.35 px/cm × 72 ÷ 2.54 ≈ roughly 85,000 pixels. Scaled to 1:10, your file width becomes 30 cm. To retain the exact same pixel count, your resolution in Photoshop must be set to 720 DPI
You can remember this conversion with a simple formula: Scaled Artwork DPI = Actual Output DPI × Scale Factor
・1:5 scale → Actual output 72 DPI → Set file to 360 DPI
・1:10 scale → Actual output 72 DPI → Set file to 720 DPI
・1:20 scale → Actual output 72 DPI → Set file to 1440 DPI
If you work with vector files in Illustrator, you run into this issue less. Vectors scale infinitely without losing quality, so as long as placed raster images have enough resolution, pure vector elements are unaffected by scaling. What you really need to watch out for are raster artwork built in Photoshop and embedded bitmap images
How Do You Handle Bleed and Hemming in Scaled Artwork?
Many people do not clearly think through how bleed should be calculated and marked
Bleed for large-format printing is usually larger than the standard 3 mm used for business cards and flyers. Fabric banners and backdrops typically require 5–10 mm of bleed for post-print trimming. Certain fabric materials also need extra allowance for hemming or pole pockets, such as hanging banners that need 3–5 cm on top and bottom for pole sleeves or stitched edges
All of these dimensions must be scaled along with your working ratio
・Finished bleed 5 mm: Bleed in a 1:10 scaled file is 0.5 mm
・Finished hem allowance 3 cm: Hem allowance in a 1:10 scaled file is 3 mm
A 0.5 mm bleed is so thin it is almost invisible, making errors very easy during production. In practice, I suggest not scaling down too aggressively. Staying around 1:5 keeps bleed lines clearly recognizable. If you really must use 1:10, clearly mark the bleed boundary in the file with dimension lines or guides, and explicitly state the actual pre-scaled numbers in your specification notes
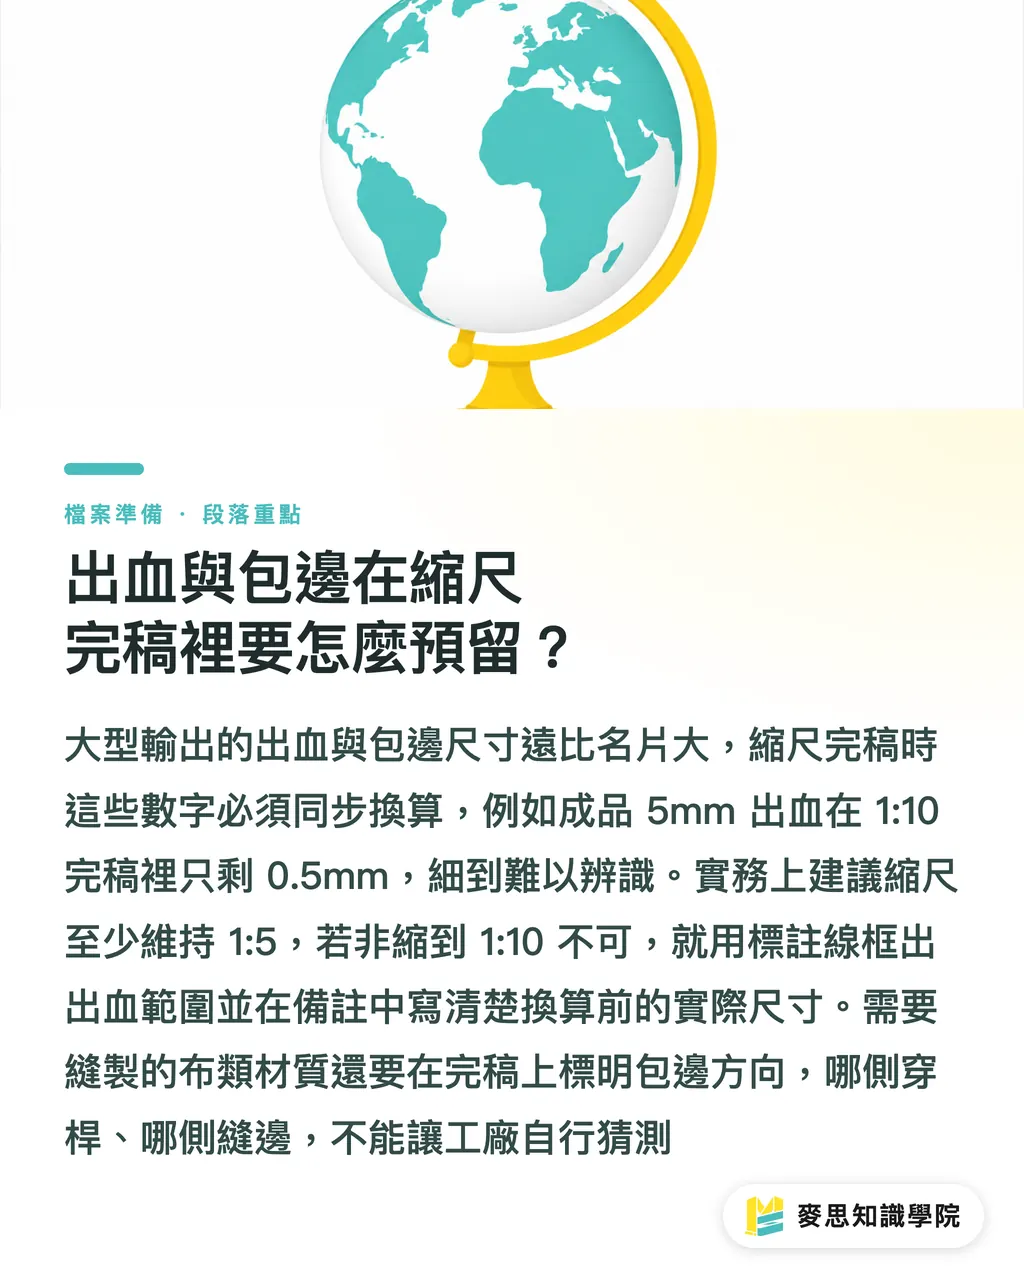
For sewn materials like banners, clearly indicate the direction of hemming directly on the artwork. Specify which side is the top edge for pole pockets and which side gets stitched, so the factory does not have to guess
How Do You Judge Minimum Readable Size for Text and Logos in Scaled Files?
Text looks tiny in a scaled file, which is normal. What you need to verify is whether the text remains legible once scaled back up to full size
Minimum legible font size for large format depends on viewing distance, not the point size in your design file. An exhibition board is viewed from 50–100 cm away. A roadside fabric banner might be viewed from 2–3 m. A vehicle wrap is seen by passersby from at least 5 m away
A good rule of thumb: for every 1 m of viewing distance, the finished text height should be at least 2–3 cm. If your vehicle wrap slogan needs to be readable from 5 m away, that text must be 10–15 cm tall at actual size, which translates to 10–15 mm in a 1:10 scaled file
The same goes for logos. Some logos have fine line details that look crisp on screen when scaled down, but that is only because of high screen density. What you need to confirm is the printed outcome, not the on-screen preview. During production, zoom in on cropped sections to actual pixel dimensions at 72 DPI to simulate output quality
How Should You Label Scaled Artwork to Eliminate Guesswork for the Printer?
No matter how accurate your artwork is, without complete labeling, mistakes can still happen
Over years of handling diverse print orders at MINDS (custom commercial printing), I developed a clear labeling logic. You do not have to use every single detail, but the more complete, the better:
Include actual dimensions and scale ratio directly in the filename
・Example: banner_300x100cm_scale1to:
・10.ai, backdrop_400x240cm_1-
・10.pdf
・Do not just name files final, v3, or approved_version, as the recipient has no idea what the dimensions are
Include these key details in file notes or artboard descriptions:
・Actual finished dimensions (length × width, including units)
・Scale ratio (e.g., 1:10)
・Actual bleed size (e.g., actual bleed 5 mm, file bleed 0.5 mm)
・Hemming direction and dimensions (if applicable)
・Material specified (e.g., glossy fabric, matte vinyl)
・Artwork resolution (e.g., 720 DPI at 1:10, equivalent to 72 DPI output)
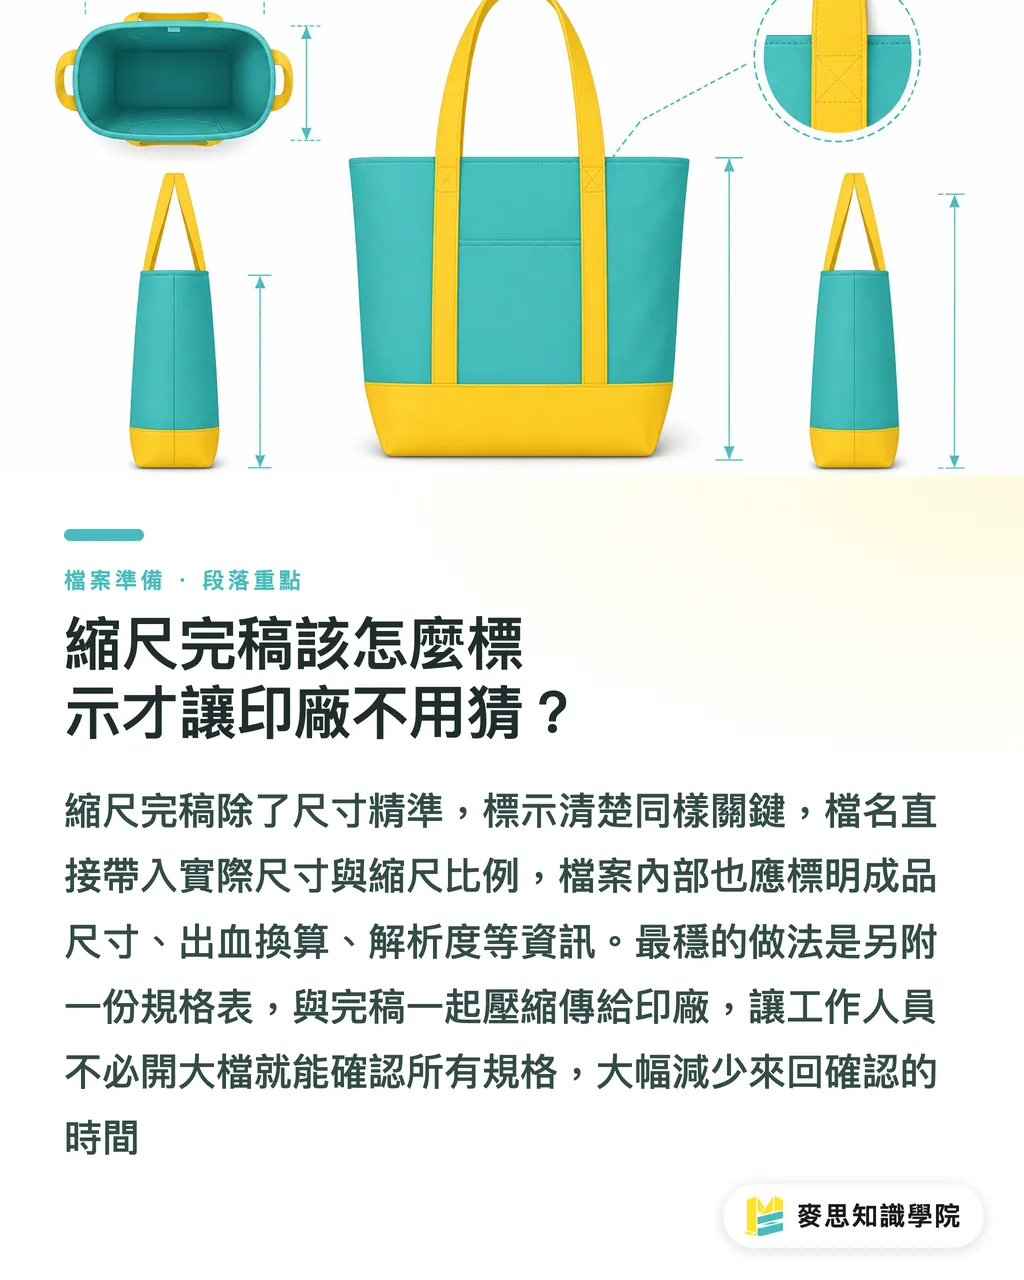
Attaching a separate spec sheet is the safest approach. A single A4 Word document or PDF listing these exact fields, zipped in the same folder as your artwork, is the fastest way for prepress staff to confirm specs without opening massive files
If you regularly produce large-format prints, build your own spec sheet template and update the numbers each time. The MINDS online ordering system also includes a size notes field where you can paste this essential information, saving customer service from back-and-forth verification
Key Takeaways
・Artwork resolution must increase proportionally with scale: for 1:10 scale, multiply target DPI by 10 so total pixel count stays intact
・Bleed and hemming allowances must be calculated and marked on the file, listing both actual dimensions and scaled values in your notes
・Calculate text and logo legibility based on actual viewing distance rather than the point size inside the scaled file
・Putting finished size and scale ratio directly in the filename is the easiest way to communicate specs before the file is even opened
・Attaching a separate spec sheet is the most effective way to eliminate the common mistake of scaled files being printed at 1:1 scale
Final Thoughts
Incomplete handoff information is where large-format jobs fail most often. Designers and prepress technicians often speak different languages: a designer says 'I scaled it,' while the print technician is left guessing
If you or your team frequently handle exhibitions, events, or brand installations requiring high volumes of print output, spending an hour or two building an internal SOP for large-format handoffs is time well spent. Define your standard scale ratios, resolution conversion logic, bleed rules, and naming conventions. From then on, you only fill in numbers, speeding up preflight and saving the print shop headaches
If you are unsure whether your artwork meets output requirements, sending your spec sheet to customer service before printing is far cheaper than reprinting a ruined job. The MINDS preflight process can verify large-format specifications before production. Reach out anytime if you need guidance
FAQ
- If a display board file is built at 1:10 scale, what resolution should I set in Photoshop?
- Actual large-format print resolution is around 72–100 DPI. At a 1:10 scale, multiply that number by 10 to get 720–1000 DPI, ensuring the scaled file maintains the same total pixel count as a 1:1 file
- How should bleed be set in a scaled artwork file?
- First check the actual finished bleed size (typically 5–10 mm for large format), then divide it by the scale factor. For example, a 5 mm actual bleed at 1:10 scale becomes 0.5 mm in the file, and both values should be explicitly stated in the notes
- How should hemming direction be indicated on fabric banner artwork?
- Add callout lines next to the artboard in Illustrator or your design software, clearly marking which side is the top edge for pole pockets or stitched hems. In your notes, specify the scaled hem dimensions. If this orientation is miscommunicated, front-facing artwork could be folded into the seam after trimming
- What is the best naming convention for large-format artwork files?
- A recommended format is 'Item + Finished Size + Scale Ratio', such as `backdrop_400x240cm_1to10.ai`, allowing the print shop to verify basic specifications right from the filename without opening massive files
- How small is too small for text in a scaled file before it becomes unreadable in print?
- Calculate based on actual viewing distance. A general guideline is at least 2–3 cm of finished text height for every 1 m of viewing distance. To check, zoom in on a cropped section to actual pixel size at 72 DPI to simulate print output, which is far more accurate than looking at your screen view
Related articles


The Print × AI weekly
The print and AI know-how designers, brands and enterprises can use before they commit — one email, every week
MINDS Free Tools
Imposition calculator and preflight file check — free prepress tools, right in your browser.
MINDS Group
Need actual printing or gifting services?
From premium printing to online ordering and festive gifts — the MINDS Group sister brands take it from here.