
Why Do Designs That Look Perfect on Screen Turn Out Flat or Cracked in Print?
Many designers are used to previewing 3D effects on screen, completely overlooking the harsh constraints of physical materials
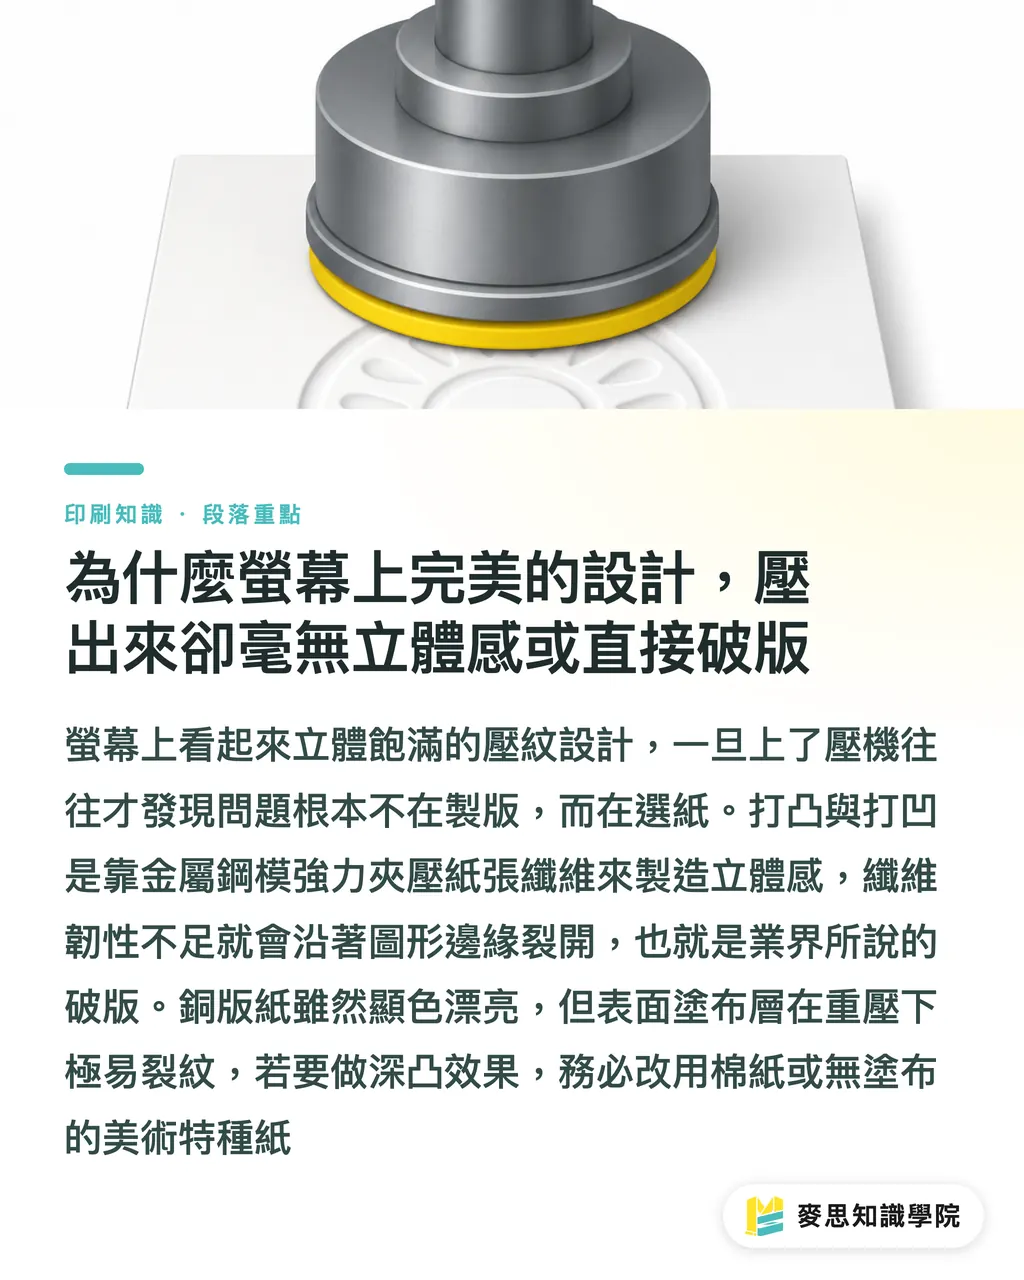
The physical mechanism of embossing and debossing relies on intense pressure applied by two matching metal dies (a female and a male die) to force the paper fibers to displace, creating a three-dimensional effect
This means you aren't just printing colors; you are actively battling the physical limits of the paper itself
If the paper fibers are too short or lack sufficient tensile strength, the paper will crack along the edges of the design the moment pressure is applied, leading to what is commonly known as paper tearing or cracking
To avoid this disaster, the key lies not in the platemaking technology itself, but in the initial paper selection
I have encountered too many projects where clients requested deep embossing on standard coated paper. Coated paper features a surface coating that delivers excellent color reproduction, but this coating is highly prone to cracking under the heavy pressure of metal dies
In contrast, cotton paper or uncoated specialty art papers are the top choices for tactile embossing, thanks to their longer fibers and superior malleability
How Thick Should the Paper Be for Embossing and Debossing?
To support a rich, substantial 3D effect, the thickness and weight (gsm) of the paper are critical benchmarks
Based on my years of experience, to achieve a texture that is clearly visible to the naked eye, the paper should be at least 200gsm
For paper below this weight, the physical height difference created by the impression is highly limited, and even slightly too much pressure can easily puncture or warp the sheet
Beyond thickness, the sequence of finishing processes also affects the final product's appearance and your budget
Blind embossing involves pressing a 3D design directly onto the paper without any ink, which best showcases the raw, pure texture of the paper itself
If you choose to print in color first and then emboss (registered embossing), registration and alignment issues become a factor
As the machine compresses the sheet, the paper inevitably stretches slightly, making a 100% perfect match between the printed graphic and the emboss extremely difficult. This requires a tolerance margin, and the quote will naturally increase due to the extra production step
Why Are Platemaking Fees on Quotes So Expensive?
Many buyers question the quote immediately, wondering why a platemaking fee for a small logo can cost thousands of dollars
Embossing and debossing are not flat offset printing; they represent genuine, physical mold-based processing
A complete embossing run requires making two matching plates: one raised and one recessed (the female die and the male die) to press the paper
The dies are typically made of zinc or copper. When extreme precision or multi-layered 3D engraving is required, brass CNC engraving is used
These are fixed hardware costs, which is why I often tell clients that allocating a bit more budget to post-press finishes makes a world of difference in texture
If your design also combines foil stamping, the registration tolerance becomes extremely tight, usually requiring a dedicated combo-die for foil and embossing, which naturally incurs a separate platemaking cost
Understanding these platemaking processes gives you a clear baseline when evaluating print shop quotes
How to Prepare Design Files to Prevent Disasters
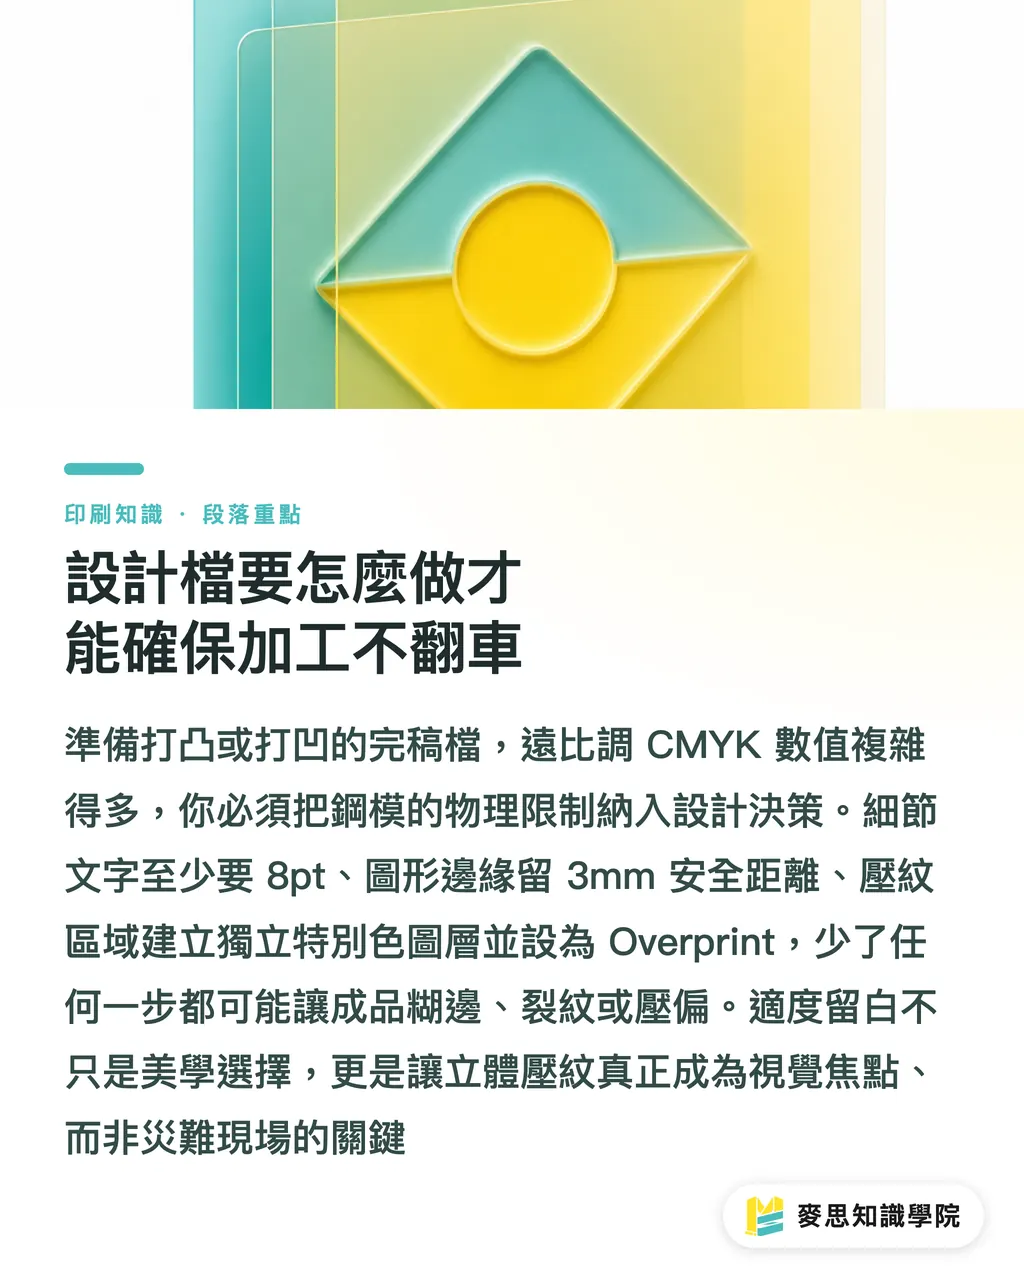
Preparing print-ready files for specialty materials and finishes is certainly not just a matter of adjusting CMYK values
You must account for the physical thickness of the molds and the stretch capacity of the paper
・Lines and Spacing: Fine details and text should not be under 8pt. Fonts that are too small or lines that are too thin will blur together when compressed by the steel dies
・Edge Safety Margins: We recommend keeping at least a 3mm margin from the edge of the artwork. Avoid placing embossed designs right next to trim lines; otherwise, the moment the blade cuts and the paper tension is released, the edges will definitely crack
・File Labeling: The areas for embossing or debossing in the production-ready file must be placed on a separate spot-color layer, typically named 'Emboss' or 'Deboss', and set to 'Overprint'
Avoid overcrowding your design; strategic use of negative space allows the three-dimensional texture to truly become the visual focal point
These seemingly tedious prepress settings are what allow your creativity to materialize flawlessly, preventing what could otherwise be a print disaster
Key Takeaways
The success of embossing and debossing lies in the length of the paper fibers. Cotton paper and specialty art papers are always superior to coated paper
Paper weights below 200gsm cannot support a sufficient 3D effect; heavy pressure will only result in paper cracking or warping
Fine text in design files must not be below 8pt, and a safety margin of at least 3mm must be maintained from the edges of the artwork to prevent cracking
Further Thoughts
Designers and SaaS product managers developing online editors often treat post-press finishes as mere visual layers. If physical constraints like 200gsm, 8pt, and 3mm can be integrated into the system's preflight check logic to block illogical process combinations before submitting the order, it would truly save communication costs for both print shops and clients. This is also the underlying logic behind how MINDS guards quality for clients through its one-stop integrated services
FAQ
- Are the platemaking fees for embossing and debossing the same?
- They are typically charged together because this process requires producing both a male and a female die to compress the paper, making it impossible to create only one side
- Why did the print shop tell me that my design cannot be embossed after printing?
- It might be because your lines are too thin (under 8pt) or there isn't enough safety margin near the edges. Post-print embossing has physical registration limits, and even a tiny misalignment will be highly noticeable
- Can foil stamping and embossing be done in a single pass?
- Yes, but it requires a specialized combination foil-emboss die. This places extremely high demands on both platemaking technology and machine registration, making the tooling fee significantly more expensive than running them as two separate steps
Related articles
MINDS Group
Need actual printing or gifting services?
From premium printing to online ordering and festive gifts — the MINDS Group sister brands take it from here.