
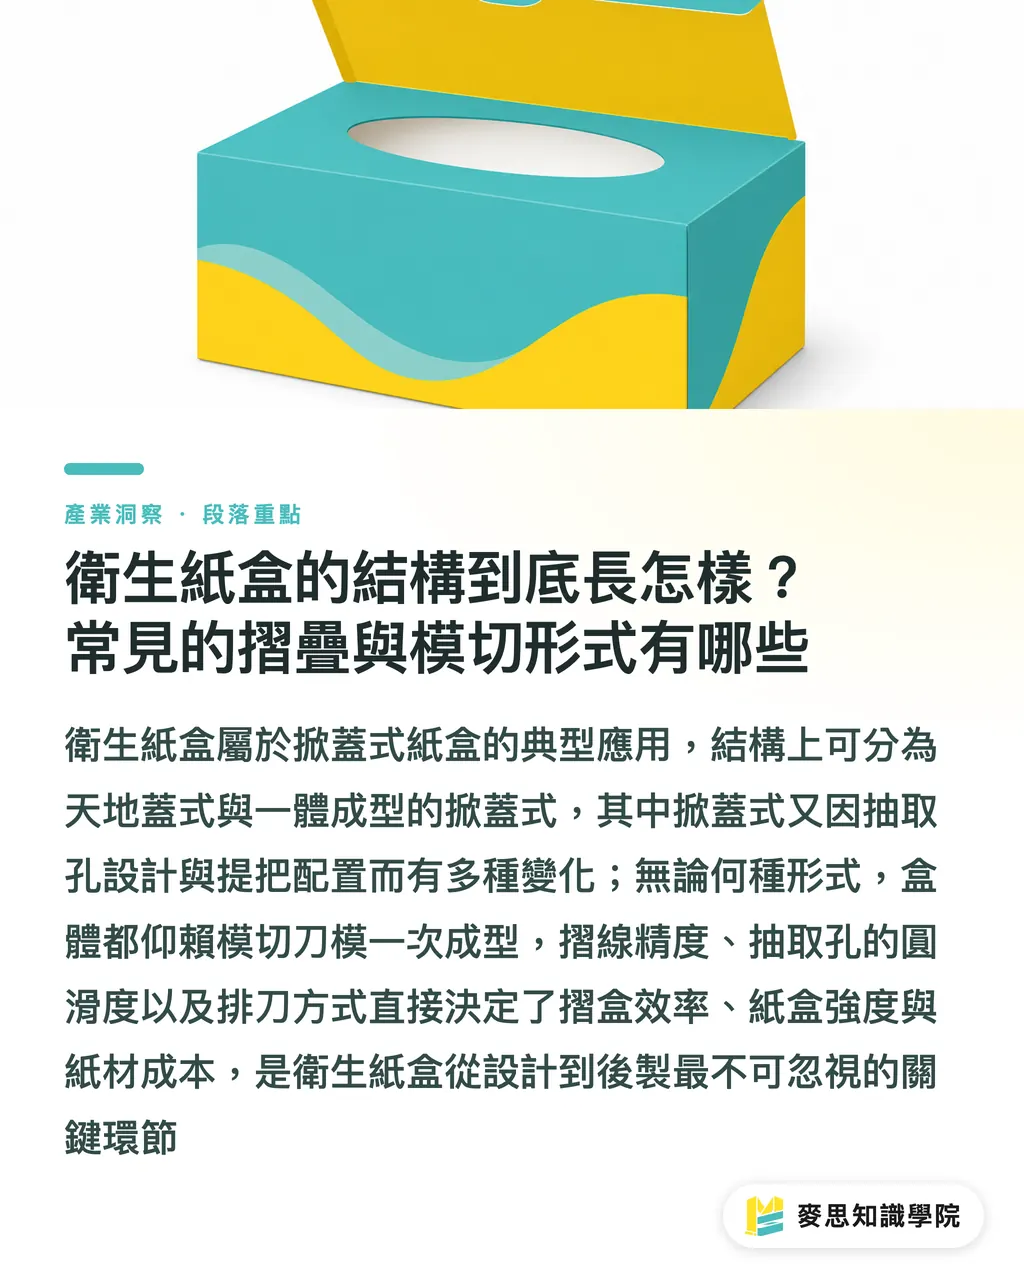
What Do Tissue Box Structures Actually Look Like? Common Folding and Die-Cut Styles
Tissue boxes are a classic application of flip-top cartons and telescope boxes. You generally see two main structures:
・Top and Bottom Box (Two-Piece Box): A separate lid and base fit together. It looks sturdy and feels like a gift set, but uses more paperboard and requires more die-cut passes
・Flip-Top Hinged Carton: The body and lid are a single piece connected by a crease line. This is standard for facial tissues and paper towels
Flip-top cartons break down further into a few variations:
・Fully Enclosed Dispenser: An oval or round opening on top so sheets pull out without the whole roll or stack falling out
・Open Front: A wide front opening for easy tissue pulling, giving it a more premium look
・Handle Box: Holes punched on the sides with rope handles, mostly used for multi-packs like 6-packs or 12-packs
All of these structures are formed in one pass with a die-cut mold. Every cut line, score line, and partial cut affects folding speed and box strength later on. When die-cutting tissue boxes, three details matter most:
・Crease precision (determines whether the box corners stay crisp and square)
・Smoothness of the opening cutout (to prevent sharp edges that can scratch hands)
・Die layout: How many boxes fit onto a parent sheet directly impacts paper yield and cost
Anyone who has handled print jobs knows that a tissue box combines full-bleed color printing, spot coating, and precision die-cutting. If the die lines are not aligned with the artwork beforehand, post-press is guaranteed to run into trouble
Which Paperboard Resists Moisture Best? The Difference Between Lamination and Coating
Moisture and humidity are the biggest threats to tissue packaging. The box might not touch water directly, but in humid spots like bathrooms and kitchens, untreated paperboard softens, warps, and grows mold quickly. Moisture protection is a basic requirement, not an optional bonus
There are two common paths for moisture protection:
・Internal Poly Coating (PE/PP Coating): Extruding a plastic film inside the box provides the best moisture resistance, but makes recycling separation harder
・External Surface Coating (UV varnish, aqueous coating, or matte PP lamination): Adds a protective barrier on the outside to block moisture from seeping in
For paperboard selection, the standard industry setups are:
・Clay Coated News Back (CCNB) + two-sided color printing: Lowest cost, common for budget tissue brands
・Solid Bleached Sulfate (SBS) + coating: Cleanest finish and best print quality, common for mid-to-high-end brands
・Corrugated Board (E-flute or B-flute): Used for multi-packs and outer cartons where structural strength is needed
In terms of board weight, there is an unwritten industry standard: single tissue boxes usually range between 250 and 350 gsm, balancing rigidity and cost. Multi-pack boxes typically step up to 400 gsm or higher
One design watch-out: solid dark prints, like an all-black background, show scratches and scuffs much faster than light colors. Step up the paperboard grade by one tier, or clients will complain that the box feels flimsy
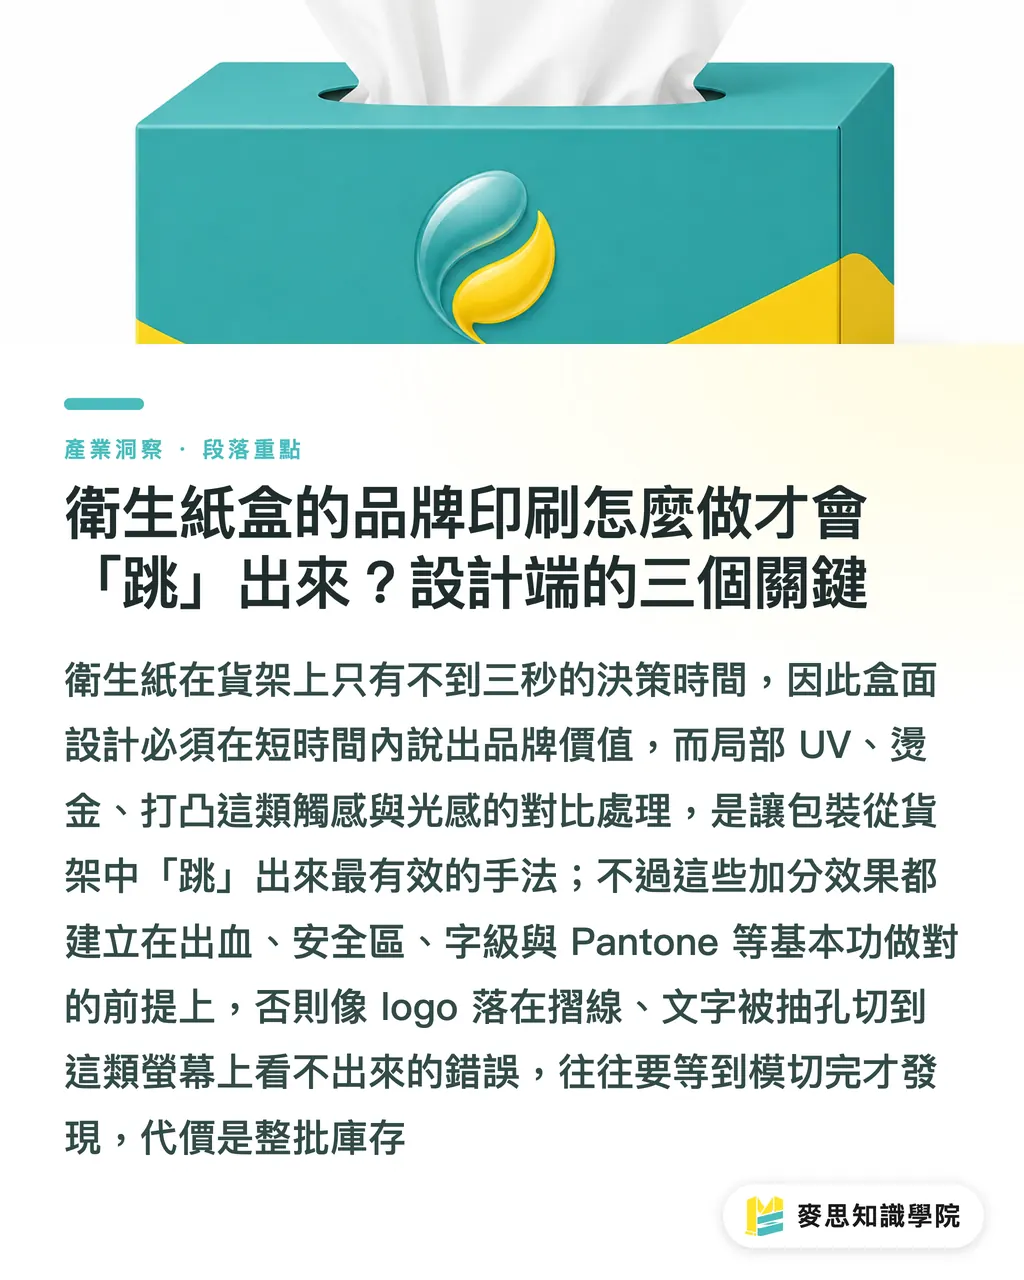
How to Make Tissue Box Branding Stand Out: Three Tips for Designers
Tissues are consumables, and shoppers spend less than three seconds looking at the shelf. The packaging carries a heavy burden: it has three seconds to communicate who the brand is and why to buy it
Looking at tissue brand packaging over the past few years, a few finishing techniques consistently add value:
・Spot UV: Applying gloss to the logo or key graphic creates a crisp contrast between gloss and matte, instantly lifting the texture
・Foil Stamping (Gold/Silver): Standard for mid-to-high-end brands, especially on logos and brand typography
・Embossing and Debossing: Gives the logo a tactile feel so customers can recognize the brand by touch on the shelf
Keep three rules in mind before sending artwork to print:
・Always leave bleed (usually 3 mm) and a safe zone (usually 3-5 mm)
・Avoid spot UV or foil stamping on small text. Anything below 6 pt is nearly impossible to align accurately
・Clarify Pantone spot colors versus CMYK early. For solid reds or golds, specify Pantone ink instead of building it from CMYK, or you will see color shifts between batches
In my experience, the most common mistake with tissue box design is placing a logo right over a fold line or running essential copy across the dispenser cutout. You will not catch these errors on a flat monitor, and noticing them after die-cutting means tens of thousands of ruined boxes
What to Watch for During Tissue Box Prototyping: Three Must-Dos Before Mass Production
Prototyping is where people cut corners in the wrong places. Whether colors match, die lines align, or the board holds its shape cannot be judged on paper. You need to hold a physical sample in your hands
Follow these three steps during sampling:
・Always produce a sample with the actual paper stock and finishing. Never use standard copy paper for color proofs, and make sure spot UV and foil stamping go through a real trial run
・Review the die-cutting mold alongside the physical sample to ensure every crease line and cutout matches the design
・Check colors inside a standard light booth (D50 or D65) to prevent color disputes caused by fluorescent or natural lighting
File checklist before going into mass production:
・Final AI or PDF artwork (including bleed and crop marks)
・Dieline file (DWG or PDF format)
・Pantone color codes
・Finishing map showing exact coordinates for UV and foil stamping
If any of these four files is missing, the press halts and you lose an entire day on the schedule. I have seen too many clients say 'I thought you had that,' and the day always ends with a missed delivery deadline
From Design to Delivery: How to Estimate Timelines and Costs for Tissue Boxes
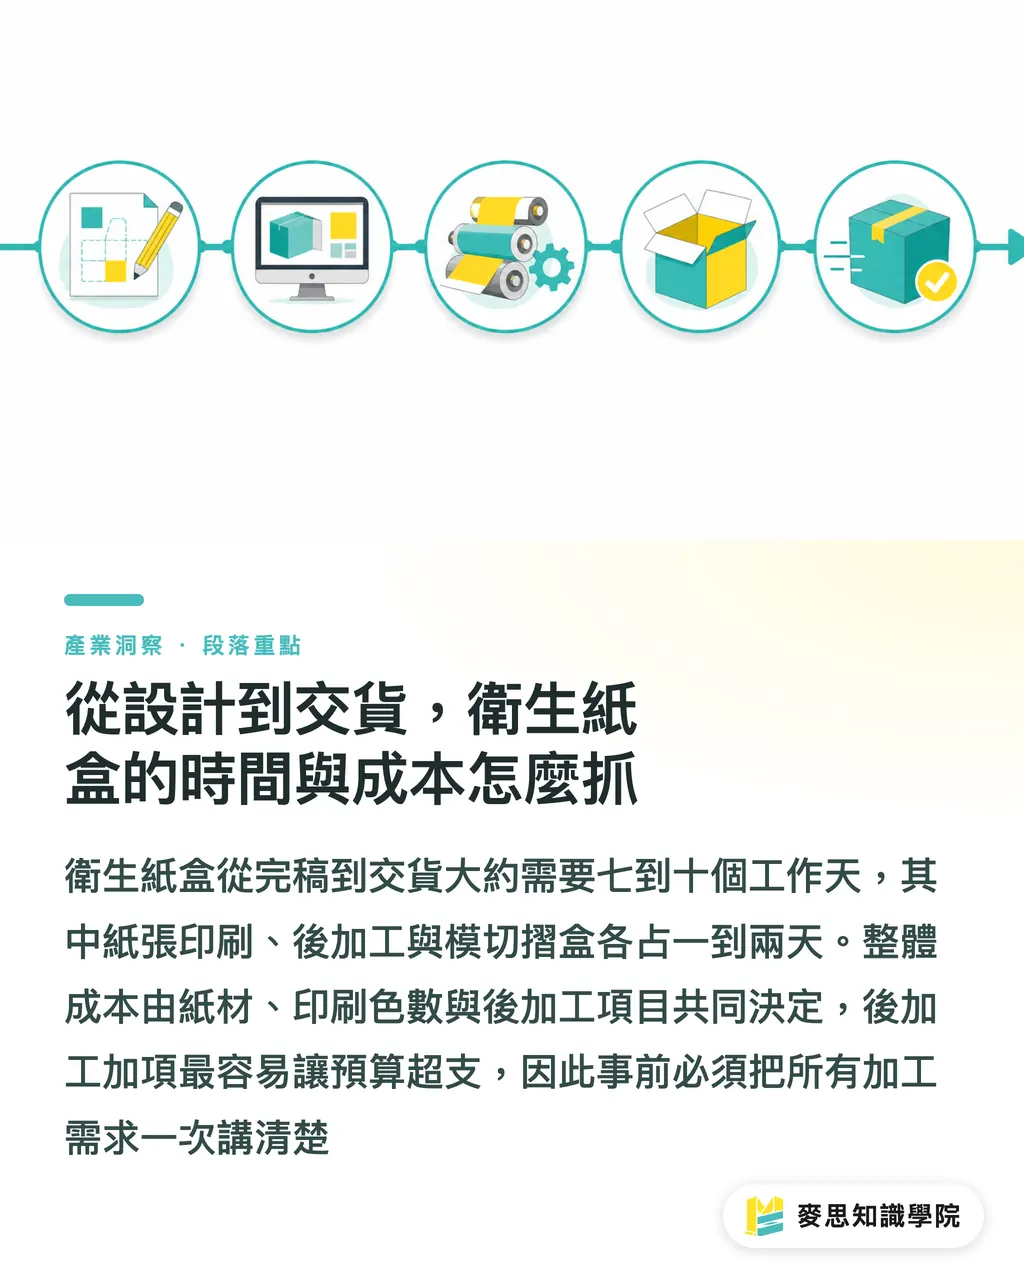
Tissue box production breaks down into five stages: artwork finalization, dieline tooling, paperboard printing, post-press finishing (UV, foil stamping, coating), and die-cutting/folding. You need to plan time and budget for each step upfront
Based on standard production timelines at Taiwanese print shops:
・Offset printing: 1-2 days
・Post-press finishing: 1-2 days
・Die-cutting and box folding: 1 day
・Buffer time: 1-2 days
Allowing 7 to 10 business days from approved artwork to delivery is a realistic estimate. Rush jobs can be compressed to 3-5 days, but expect costs to jump by 20% to 30%
In terms of cost structure, unit pricing depends mainly on three variables: paperboard stock, ink color count, and finishing treatments. Sheet usage can be optimized through efficient die layout. Full-coverage printing costs 1.5 to 2 times more than spot ink, while foil stamping and spot UV are billed by surface area
In my view, the fastest way a tissue box order blows past its budget is mid-project finishing additions. A project starts with a 4-color quote, and midway through the client asks to add foil stamping to the logo. This happens all the time in the industry, but every change impacts schedule and cost, turning into disputes if not priced out in advance
Key Takeaways
・The standard tissue box structure is a flip-top carton, where die-cutting focus falls on crease accuracy, smooth cutout edges, and sheet yield
・Moisture protection is a core requirement, handled via internal poly coating or external surface varnishing, with 250-350 gsm board being the most common choice
・Spot UV, foil stamping, and embossing add premium brand appeal, but artwork must always include proper bleed and safety margins
・Always build prototypes with actual materials and full finishing, and evaluate colors under a standard light booth
・Plan 7 to 10 business days from artwork approval to delivery, and watch out for mid-stream finishing add-ons that trigger delays and budget overruns
Further Thoughts
Looking at recent client projects for tissue brands, demand for packaging quality is noticeably climbing. The days when plain red text on a white box was acceptable are long gone. For print shops, tissue boxes are not technically difficult, but they require heavy customization. Every order uses a distinct mix of dielines, stocks, and finishes, making this a textbook example of high-mix, short-run production
For designers, the takeaway is that packaging design goes beyond making the front panel look pretty. You have to plan ahead for post-press realities, like whether the dispenser cutout slices through a logo or a crease line runs over copy. For procurement teams, verify every finishing line item on the quote sheet, and never let casual add-ons blow up your budget
Next step: if you have a tissue box project underway, overlay your dieline directly onto the artwork file. Confirm that logos, critical text, and cutouts do not overlap. That single check will eliminate 80% of potential reprint issues down the road
Further Reading
・[Tissue Box Design: Die-Cut Structures, Moisture Barriers, and Brand Printing](/zh-TW/knowledge/dalle/)
FAQ
- What is the standard paperboard weight for tissue boxes?
- Single tissue packs commonly use 250-350 gsm CCNB (duplex board) or SBS paperboard. Multi-pack boxes step up to 400 gsm or higher for greater structural rigidity and a more substantial feel
- Is moisture-proof treatment necessary for tissue boxes?
- Yes, it is highly recommended. Bathrooms and kitchens have high humidity, so untreated boxes easily soften and deform. Common approaches include internal PE poly coating or external surface varnishing
- What should be checked before sending tissue box artwork to print?
- At a minimum, include 3 mm bleed, set a 3-5 mm safety zone, avoid spot UV or foil stamping on fine fonts, and specify Pantone color codes for solid dark backgrounds
- Why should tissue box prototypes use actual production materials?
- Finishes like spot UV, foil stamping, and embossing cannot be properly evaluated on plain paper. Prototyping with real materials is the only way to verify the true look and tactile feel of the final product
- How much lead time is typically needed for tissue box production?
- Standard turnaround runs 7 to 10 business days from artwork approval to delivery. Rush orders can be compressed to 3-5 days with a 20% to 30% surcharge, though additional finishing steps will extend the schedule
Related articles
The Print × AI weekly
The print and AI know-how designers, brands and enterprises can use before they commit — one email, every week
MINDS Free Tools
Spine width and imposition calculators — skip the manual math, free in your browser.
MINDS Group
Need actual printing or gifting services?
From premium printing to online ordering and festive gifts — the MINDS Group sister brands take it from here.