Why do colors from online design tools look so different in print?
This is the most common customer complaint I encounter on the production line, clients holding up a vibrant poster from their screen and asking why the finished print looks dull and gray
The root cause lies in the physical difference between additive light and physical ink
Tools built for web interfaces, like Figma or Vectr, default to the RGB color model used by screens
Printing presses, however, use CMYK four-color ink; the color gamuts of these two are worlds apart
Take the free version of Canva, for example: it forces an RGB output. Once you use a neon green or royal blue seen on screen, it is automatically converted into a dull, muddy color when it hits the print shop's system
To avoid this trap, if your design tool can't convert to CMYK directly, be sure to pass your files through professional software for color conversion and verification before sending them to print. Never blindly trust what you see on the screen
How do I set resolution and bleed to avoid having my files rejected?
Many beginners habitually download PNGs or JPGs and send them off, which is often the start of a tragedy
The standard resolution for web images is 72dpi, but the passing grade for physical printing is 300dpi. Printing lower-resolution files will inevitably lead to pixelated edges
Another fatal mistake is forgetting to set a bleed, the margin for error during cutting
Printing presses have a physical tolerance of 1 to 2 millimeters when cutting paper
If you drew an A4-sized canvas in Figma but didn't extend your background by the standard 3mm bleed, you are guaranteed to be left with unsightly white edges after cutting
・Canva Users: When exporting, be sure to select "PDF (Print)" and check "Crop marks and bleed"
・Figma Users: I recommend using a specialized PDF export plugin, or exporting your canvas at four times the scale to get a high-resolution file, then importing it into Illustrator to add the bleed settings
Dealing with invisible landmines: font issues and transparency layers
Online design platforms often come with a massive library of cloud fonts and rich layer blending modes. While convenient for layout, they are a nightmare for prepress operators
When you send a PDF containing special cloud fonts directly to a print shop, the machine's RIP color separation system usually can't find the font and will crudely replace it with a standard font like Ming or a default Gothic, instantly ruining the layout
Transparency and shadow effects are another ticking time bomb
The way online tools handle transparency can sometimes be misinterpreted by professional printing software, often leading to bizarre white boxes or broken image edges in the final print
・Always convert text to outlines: If the tool supports it, convert all text to paths before exporting
・Rasterize complex effects: Pre-merge or convert complex backgrounds with multiple layers, shadows, or gradients into a single high-resolution image, keeping only clean vector text on the top layer
The final checklist to fill the gaps in online software
To ensure your print quality turns out right, I strongly suggest using online tools as your "front-end layout" and traditional professional software as your "prepress inspection station."
Don't send files downloaded straight from the web directly to the printer
This is advice from over a decade of experience in the prepress department; taking this extra step can save you the costs of a total reprint
Regardless of which online platform you use, you should manually perform a pre-flight check on the final exported PDF
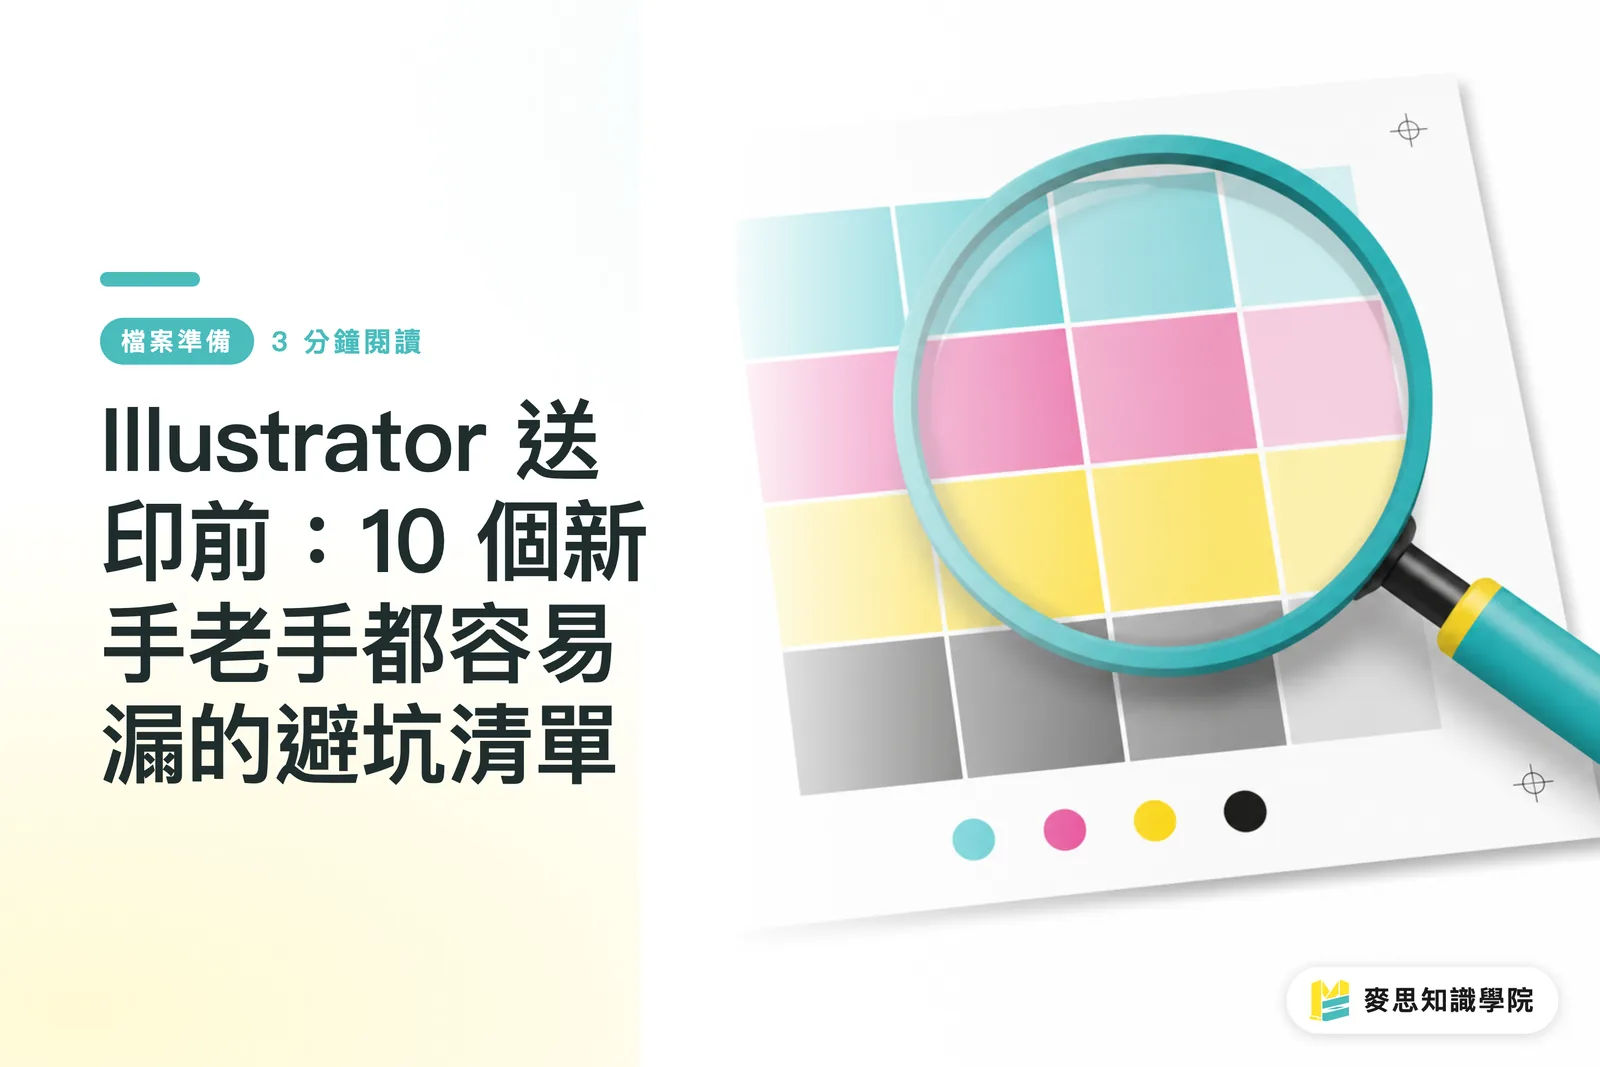
・Check color channels: Open the file in Adobe Acrobat and use "Output Preview" to confirm that only CMYK channels remain and that no spot colors are mixed in
・Confirm layer flattening: Open the file in Illustrator to check that all effects are flattened and no web-specific blending modes remain
・Double-check dimensions and bleed: Verify one last time that the document size meets physical specifications and that a 3mm safe cut zone is left on all sides

Key takeaways
・Screen-based light and physical ink behave differently; always expect a color shift when converting from RGB to CMYK
・The 72dpi web default is never enough; the basic threshold for printing starts at 300dpi
・Files without a 3mm bleed will inevitably show glaring white edges after cutting
・Flattening effect layers and converting text to outlines are key actions to prevent broken images and font disasters
Final thoughts
Online design tools have significantly lowered the barrier to entry for layout design, but "being able to design it" does not equal "being able to print it."
For designers and marketing teams, understanding the physical limitations of printing equipment is the key to maintaining quality
Next time you finish a design in Figma or Canva, try establishing a dedicated prepress SOP and treat Adobe software as your final quality control gate
This not only reduces the friction costs of back-and-forth communication with the print shop, but it also allows you to more accurately receive the perfect finished product when working with professional print services like MINDS
Further reading
・Traps when sending files from online design tools to print: File optimization techniques beyond Canva
FAQ
- Why does the black text I made in Canva look blurry around the edges when printed?
- Because the file was likely set to "Rich Black," meaning all CMYK values have percentages. During printing, the slightest misregistration on the press will cause shadowing or "fringing." The advanced approach is to use professional software to change pure text to "Single-color Black" (K100)
- Can Figma files be sent directly to print?
- It is strongly discouraged. Figma is built for UI design and lacks native CMYK color management and bleed settings. You must use third-party plugins or process the file in Illustrator before sending it off
- The print shop says my PDF fonts aren't embedded. What should I do?
- This means your design used a special cloud font that the print shop's computers cannot read. The best solution is to go back to the original file and convert all text to shapes/paths, or export the artwork as a high-resolution image format and then package it as a PDF
- The image looks perfectly clear on my computer, but it's pixelated in print?
- To optimize for web loading speeds, online platforms often automatically compress images. Please ensure that the original resolution of all imported assets is higher than 300dpi, and never choose a compressed web JPG format when exporting
Related articles


The Print × AI weekly
The print and AI know-how designers, brands and enterprises can use before they commit — one email, every week
MINDS Free Tools
Imposition calculator and preflight file check — free prepress tools, right in your browser.
MINDS Group
Need actual printing or gifting services?
From premium printing to online ordering and festive gifts — the MINDS Group sister brands take it from here.