
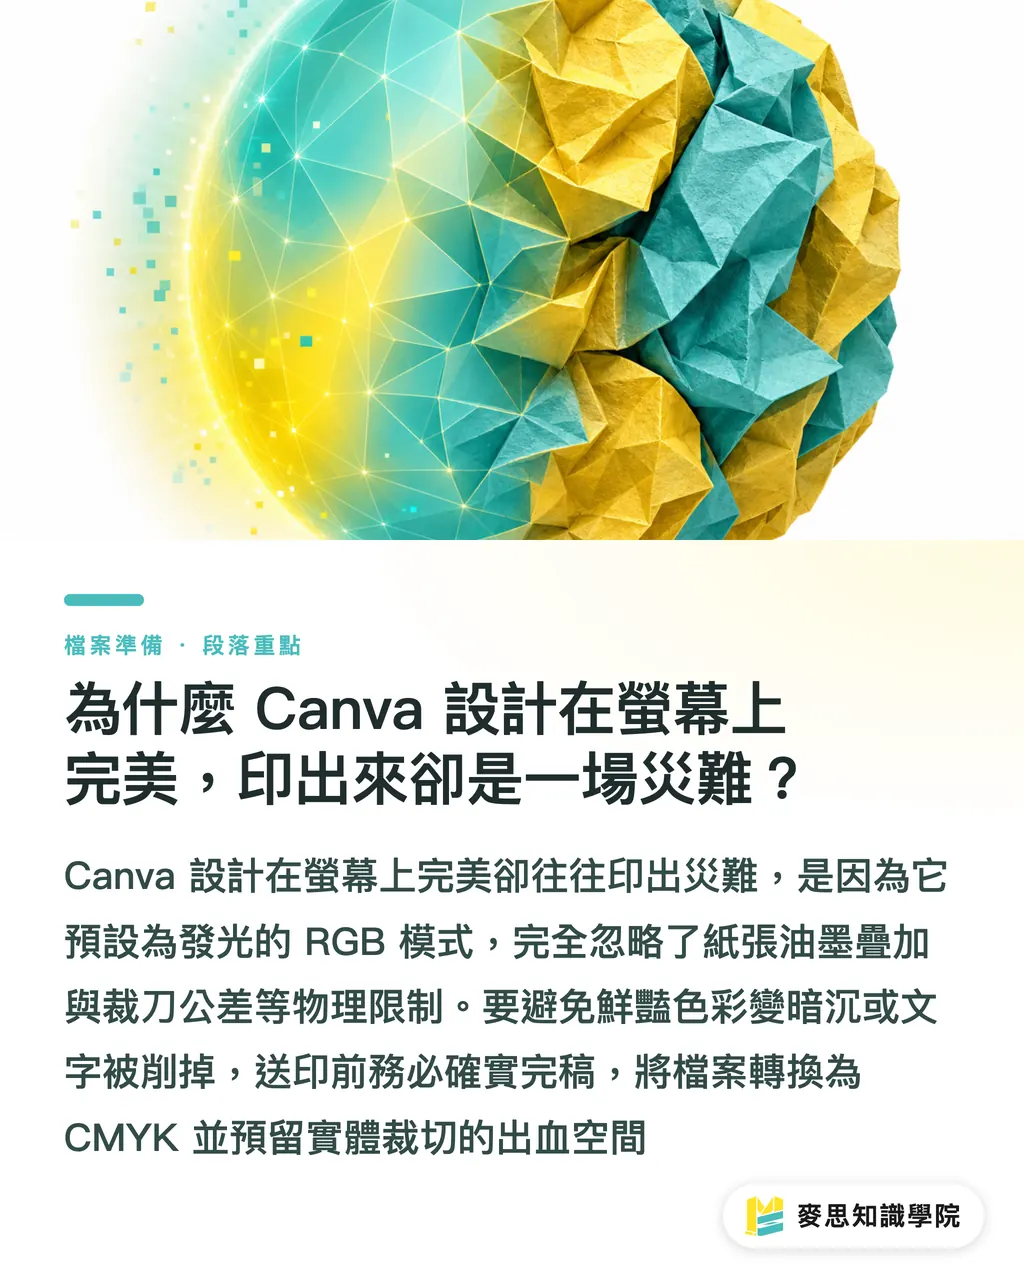
Why Does Canva Design Look Perfect on Screen but Turn Into a Disaster in Print?
Canva print jobs easily fail because its default environment uses RGB mode designed for screens, with zero tolerance for physical trimming. To fix these color shift and misplacement issues, we often advise clients to follow the "MINDS (MS, mid-to-high-end fully customized commercial printing) Three-Step Pre-Print Checklist". Building a standardized inspection workflow catches reprint disasters early
Having spent over a decade on the pressroom floor, I've noticed a clear shift recently: more and more SMB marketers are using Canva for flyers and event signages. The tool is convenient, but handing off files is where things break down. A file looks flawless on screen, but comes out with half the text sliced off or vivid blue turned into dull grayish blue
Final Artwork: The last step before printing to confirm digital files meet physical production standards. This includes correct dimensions, bleed allowance, converting colors to CMYK, and properly embedding fonts to ensure the final product matches expectations
Canva excels at quick visual design, but hides the physical limits that production faces. We deal with paper pores, mechanical cutter tolerances, and real ink layering, not glowing pixels. Handing off a screen-only file directly to a print shop is nothing short of gambling
How to Set Up Canva to Avoid Color Loss and Trimming Traps?
Safely delivering a Canva file to the pressroom isn't just about sending a file over. You need to organize the info press operators rely on beforehand. Run through the "MINDS (MS) Three-Step Pre-Print Checklist" right then to keep prepress traps outside the plant
・① Dimensions and Bleed Allowance: Never set your canvas dimensions in pixel (px) values. Enter centimeters or millimeters directly. While designing, go to settings and turn on "Show Print Bleed", then stretch your background colors or images past the red bleed line. This absorbs the 1-2 mm mechanical error of the cutting blade
・② High-Quality PDF Export: This step causes the most mistakes. When downloading, skip PNG or JPG and select "PDF Print" format. Be sure to check "Crop marks and bleed" manually. Checking this small box is the absolute key to telling machines where to cut
・③ Final Preflight and Color Verification: Canva's free version only exports in RGB. Before sending files to print, inspect your PDF with professional tools like Acrobat. Confirm that fonts are embedded properly and preview how colors look converted to CMYK, so you won't gasp at severe color shifts when receiving the finished product
Why SMB Marketers Need a Foolproof Preflight Process
Moving preflight responsibility upstream is the most direct way to cut rejection rates and control budgets. Many marketers think sending a file to sales finishes the job. Once it reaches prepress, adding bleed, adjusting font placement, and back-and-forth confirmation takes hours or delays delivery
Looking at current market trends, for standard promotional material printing, if your team understands basic PDF preflight, ordering online through MYS Print (MYS) allows you to complete the process smoothly and get items on time. However, if your design involves precise brand color control, or post-press finishes like spot UV and embossing, I recommend handing file structure over to the professional consulting team at MINDS right from the start
A clean, compliant PDF is the common language between design and print production. Getting file settings right saves you from endless revisions and ensures the event visuals you spent all day designing land on paper without a single flaw

Key Takeaways
・Canva defaults to RGB screen mode. Sending files directly to print without adjusting settings guarantees color shifts and misaligned cuts
・Choose only the "PDF Print" format when downloading files and check "Crop marks and bleed". This is the bottom line for precise production trimming
・Building a pre-print foolproof checklist catches most rejection disasters. Moving preflight responsibility upstream is key to controlling project timelines and budgets
Further Thoughts
For print manufacturers, Canva's popularity is a great opportunity to educate the market on standardized artwork workflows. Layout tools lowered the entry bar for design, but shifted prepress costs onto print shops. Printers that integrate automated preflight and color prediction directly into order systems will capture the massive dividend of SMB design self-service
FAQ
- Why do colors in PDFs exported from Canva always look dull when printed?
- Canva displays designs in RGB light mode by default, while physical printing uses CMYK inks. The two modes have different color gamuts. Vibrant bright orange or neon green on screen naturally degrade when converted to CMYK inks, making the print look visually dull
- I already aligned my design to the edges in Canva. Why does the print shop still say I didn't include bleed?
- Physical cutting blades have a tolerance of about 1 to 2 mm. If you only align elements to page edges, a slight blade drift exposes the original white paper edge. You must enable bleed settings manually and extend background colors outward to fill the bleed area for full-bleed printing
- Can't I just give the print shop a JPG or PNG file? Why must I choose PDF Print?
- JPG and PNG are raster images compressed for screens. Text edges easily blur or pixelate during printing. Selecting "PDF Print" preserves vector data and sharpness as much as possible, and it is the only format that allows Canva to output essential crop marks for production
Related articles


The Print × AI weekly
The print and AI know-how designers, brands and enterprises can use before they commit — one email, every week
MINDS Free Tools
Imposition calculator and preflight file check — free prepress tools, right in your browser.
MINDS Group
Need actual printing or gifting services?
From premium printing to online ordering and festive gifts — the MINDS Group sister brands take it from here.