
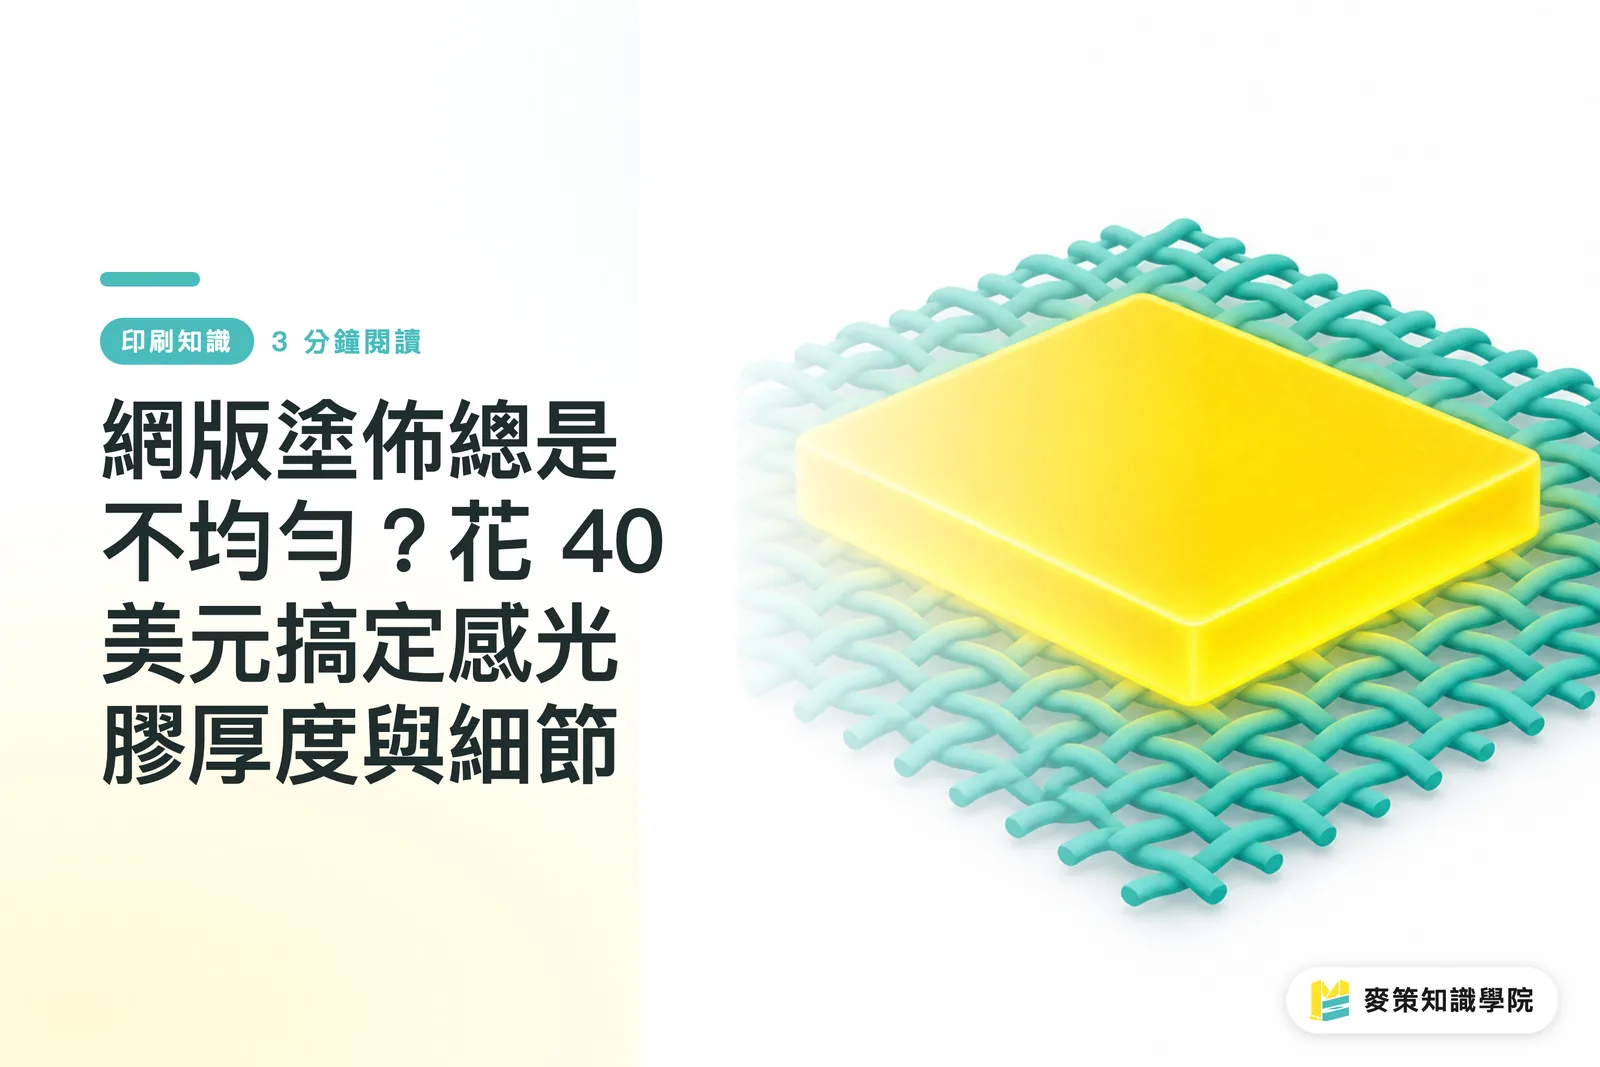
Why Emulsion Coating Makes or Breaks Your Screen Prints
Photo emulsion is the light-sensitive resin that blocks ink in screen printing. You coat it onto the mesh, expose it to light, and wash out the image area so ink can pass through while hardened emulsion seals off the non-image areas. If the coating is uneven, your stencil edges end up looking completely chewed up
From what I have seen on press floors and working with clients, beginners constantly struggle with blurry edges or uneven ink thickness between the first and hundredth carton in a single run. The culprit usually is not the ink, but a bad stencil. Traditionally, printers coat screens manually with a scoop coater. If your angle or coating speed slips even slightly, the emulsion thickness ends up uneven from side to side. When printing high-density inks or fine lines on specialty materials, that flaw is fatal
What Problems Does a $40 Tool Actually Solve?
ScreenPrintDirect recently tested an auxiliary tool priced around $40 designed specifically to fix uneven coating. The logic behind it is simple: cut out human error as much as possible
These tools usually lock the screen frame in place or use guided rails, forcing both hands to glide in a strictly parallel path
・Steady angle: Keeps the scoop coater at a constant angle against the mesh from top to bottom
・Consistent coating speed: Prevents emulsion buildup or drips caused by hand tremors and mid-stroke pauses
・Controlled ink deposit: A uniform stencil thickness ensures your squeegee passes lay down exact, repeatable ink amounts
For small print shops or hands-on packaging designers, spending a little cash to nail screen prep is far smarter than ruining and reclaiming screens over and over
How Can Beginners Control Screen Print Quality?
When printing on dark folding cartons, plastics, or metal nameplates, screen printing is the undisputed top choice. If you are sending out your first print job and want to avoid disasters, run your files through our three-step pre-flight checklist:
1. Check line weights and knockout text: Screen printing has physical limits. Ultra-thin fonts or tiny knockouts will easily choke and fill with heavy ink bleed. Thicken fine strokes during design
2. Verify substrate and ink adhesion: There are no shortcuts here. Take your actual carton stock or specialty material and ask the printer to run a spot test. Once dry, perform a fingernail scratch test to see if the ink lifts
3. Evaluate stencil prep and pricing: Do not just compare unit costs. Look at how the vendor controls emulsion thickness. For projects demanding pristine stencil resolution, partnering with a professional press like MINDS that runs strict quality control saves massive back-and-forth communication
Overall, screen printing comes with clear strengths and trade-offs:
Pros:
・Heavy ink deposit with unmatched opacity, covering dark substrates without any show-through
・Works on glass, metal, fabric, and almost any non-paper substrate
Cons:
・Every color requires its own screen, driving setup costs sky-high on short multi-color runs
・Poor fit for subtle gradients or photorealistic full-color images found in magazines
Key Takeaways
・Screen print sharpness depends directly on how evenly emulsion is coated during screen prep
・Inexpensive coating guides keep your hand movement steady, slashing human error and scrap rates
・When designing for screen print, avoid hairline strokes and tiny knockouts, and always test ink adhesion in advance
Final Thoughts
For boutique brands and design studios building an in-house setup, chasing expensive equipment is an endless money pit. Instead of dropping big money on an automatic coating machine right away, start with simple tools that isolate variables and master the basics. Once production volume outgrows manual tools, that is your cue to bring in professional trade printers and reallocate resources
Further Reading
FAQ
- What is screen printing emulsion?
- A UV-sensitive liquid coating applied to mesh. Once dried and exposed, it blocks ink in non-image areas and serves as the core consumable in screen making
- Why are my screen printed edges coming out blurry?
- Beyond using mesh with too low a count or overly runny ink, the most common reason is uneven emulsion coating. This causes stencil breakdown or ragged edges during washout
- Who should buy this $40 coating guide?
- Small packaging shops, design studios running in-house finishing, and beginners who frequently ruin screens due to sloppy manual coating
- Should I use screen printing or digital for short carton runs?
- If you are printing on dark paperboard or need thick, tactile ink, screen printing is mandatory. If you are printing standard colors on white cardstock in small batches, digital printing is far more economical
Related articles


The Print × AI weekly
The print and AI know-how designers, brands and enterprises can use before they commit — one email, every week
MINDS Free Tools
Spine width and imposition calculators — skip the manual math, free in your browser.
MINDS Group
Need actual printing or gifting services?
From premium printing to online ordering and festive gifts — the MINDS Group sister brands take it from here.